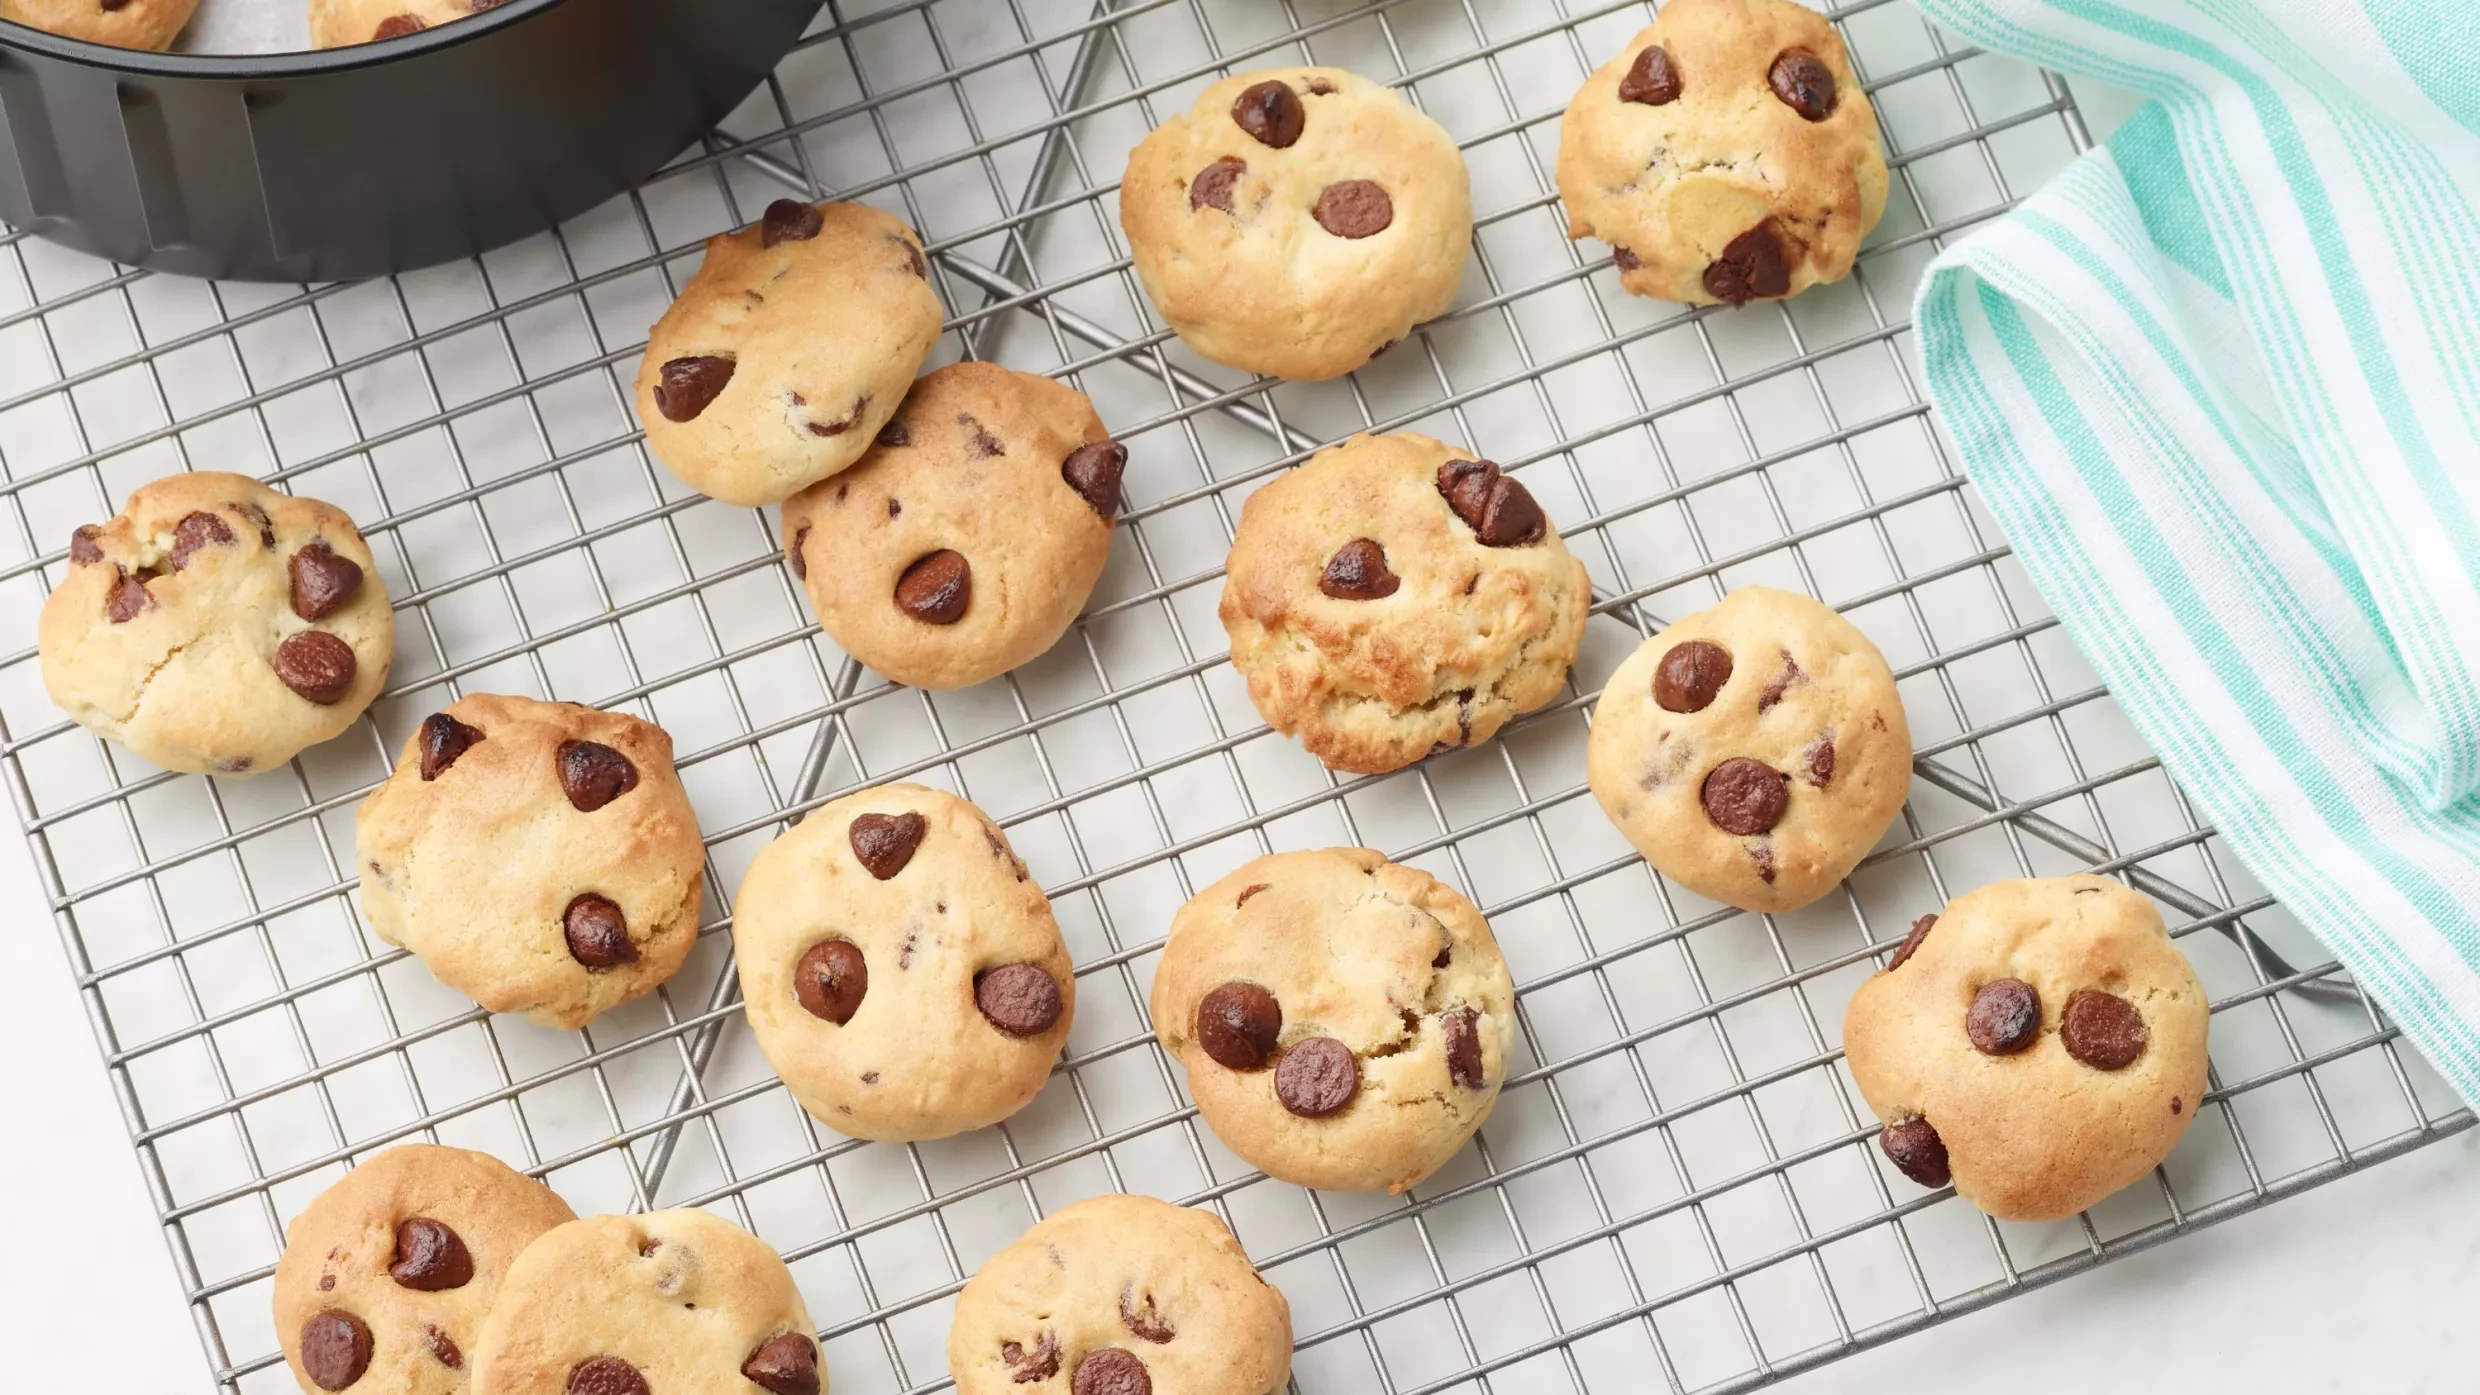


Iced Vanilla Cookies (Valentine's Day)

This mouth-watering recipe is ready in just 1 hour and 15 minutes and the ingredients detailed below can serve up to 25 people.
Related Recipes

Ingredients
Method
Preheat your oven to 180°C
Place your butter, sugar and vanilla seeds into your mixing bowl and beat until they are combined on slow or with your spoon.
Mix in the egg until combined.
Tip all the flour in and beat on slow until dough is formed. If it’s too dry add a few drops of water, if too wet a pinch more flour, you need a nice dough that’s come together but not sticky.
Dust the surface and roll out your dough to approx 5-6mm depth. Cut out your shapes and pop onto your baking tray and bake for around 10-15 mins depending on size, check them after ten mins, they should be a golden colour and springy to the touch. Cool on a wire rack, they will firm up as they cool.
For the icing:
Pop your icing sugar in the mixing bowl and add your egg whites and lemon juice. Once combined you are looking for this to mix into a stiff consistency, for example as stiff as peanut butter or Buttercream. Beat on slow. If the mix looks a little dry add some more lemon juice, if too runny add a little more icing sugar. Beat on slow for 5 mins. If you don't have an electric mixer you can do this slowly with a whisk or wooden spoon but it's a bit tricky, I'd go for the shop bought version if you don't have the mixer.
If I am decorating several different cakes with a selection of colours by adding the colouring drops or paste and stirring with a teaspoon. I make these up with about 2 tbsp of royal icing in a piping bag.
To decorate:
You’ll need some soft peak royal icing for your outline and some runny to fill in the shape. To make these, add a few drops of water to your icing so it is a soft peak consistency, check this by lifting the teaspoon up, the peak of icing will drop slightly rather than be a stiff spiky peak. This is for your outline. Place in a piping bag with a No. 2 nozzle or simply snip a tiny hole in the pointed end just a couple of millimetres. For the runny icing, add some more water so the consistency is similar to runny honey. It needs to be runny enough to flood the centre of your outline shape but runny enough to sit flat onto the cookie.
Now trace all around the edge of your cookie drawing the line of the shape in a thin line just inside the edge of the cookie shape. You’ll have a coloured edge going right around. Do all of the outlines.
Now go back to the start and flood the middle of the shape by snipping the end of the piping bag with the runny icing, and flooding the centre filling with icing until it is full. Take care not to over fill! If you are using any glitter or sprinkly sugar add it at this point while it’s wet.
Leave to dry for a few hours then add the detail by going back over the outline to finish and pipe a line across the centre to make the lips! Once dried over night you can wrap if you wish and give to your lucky recipient!