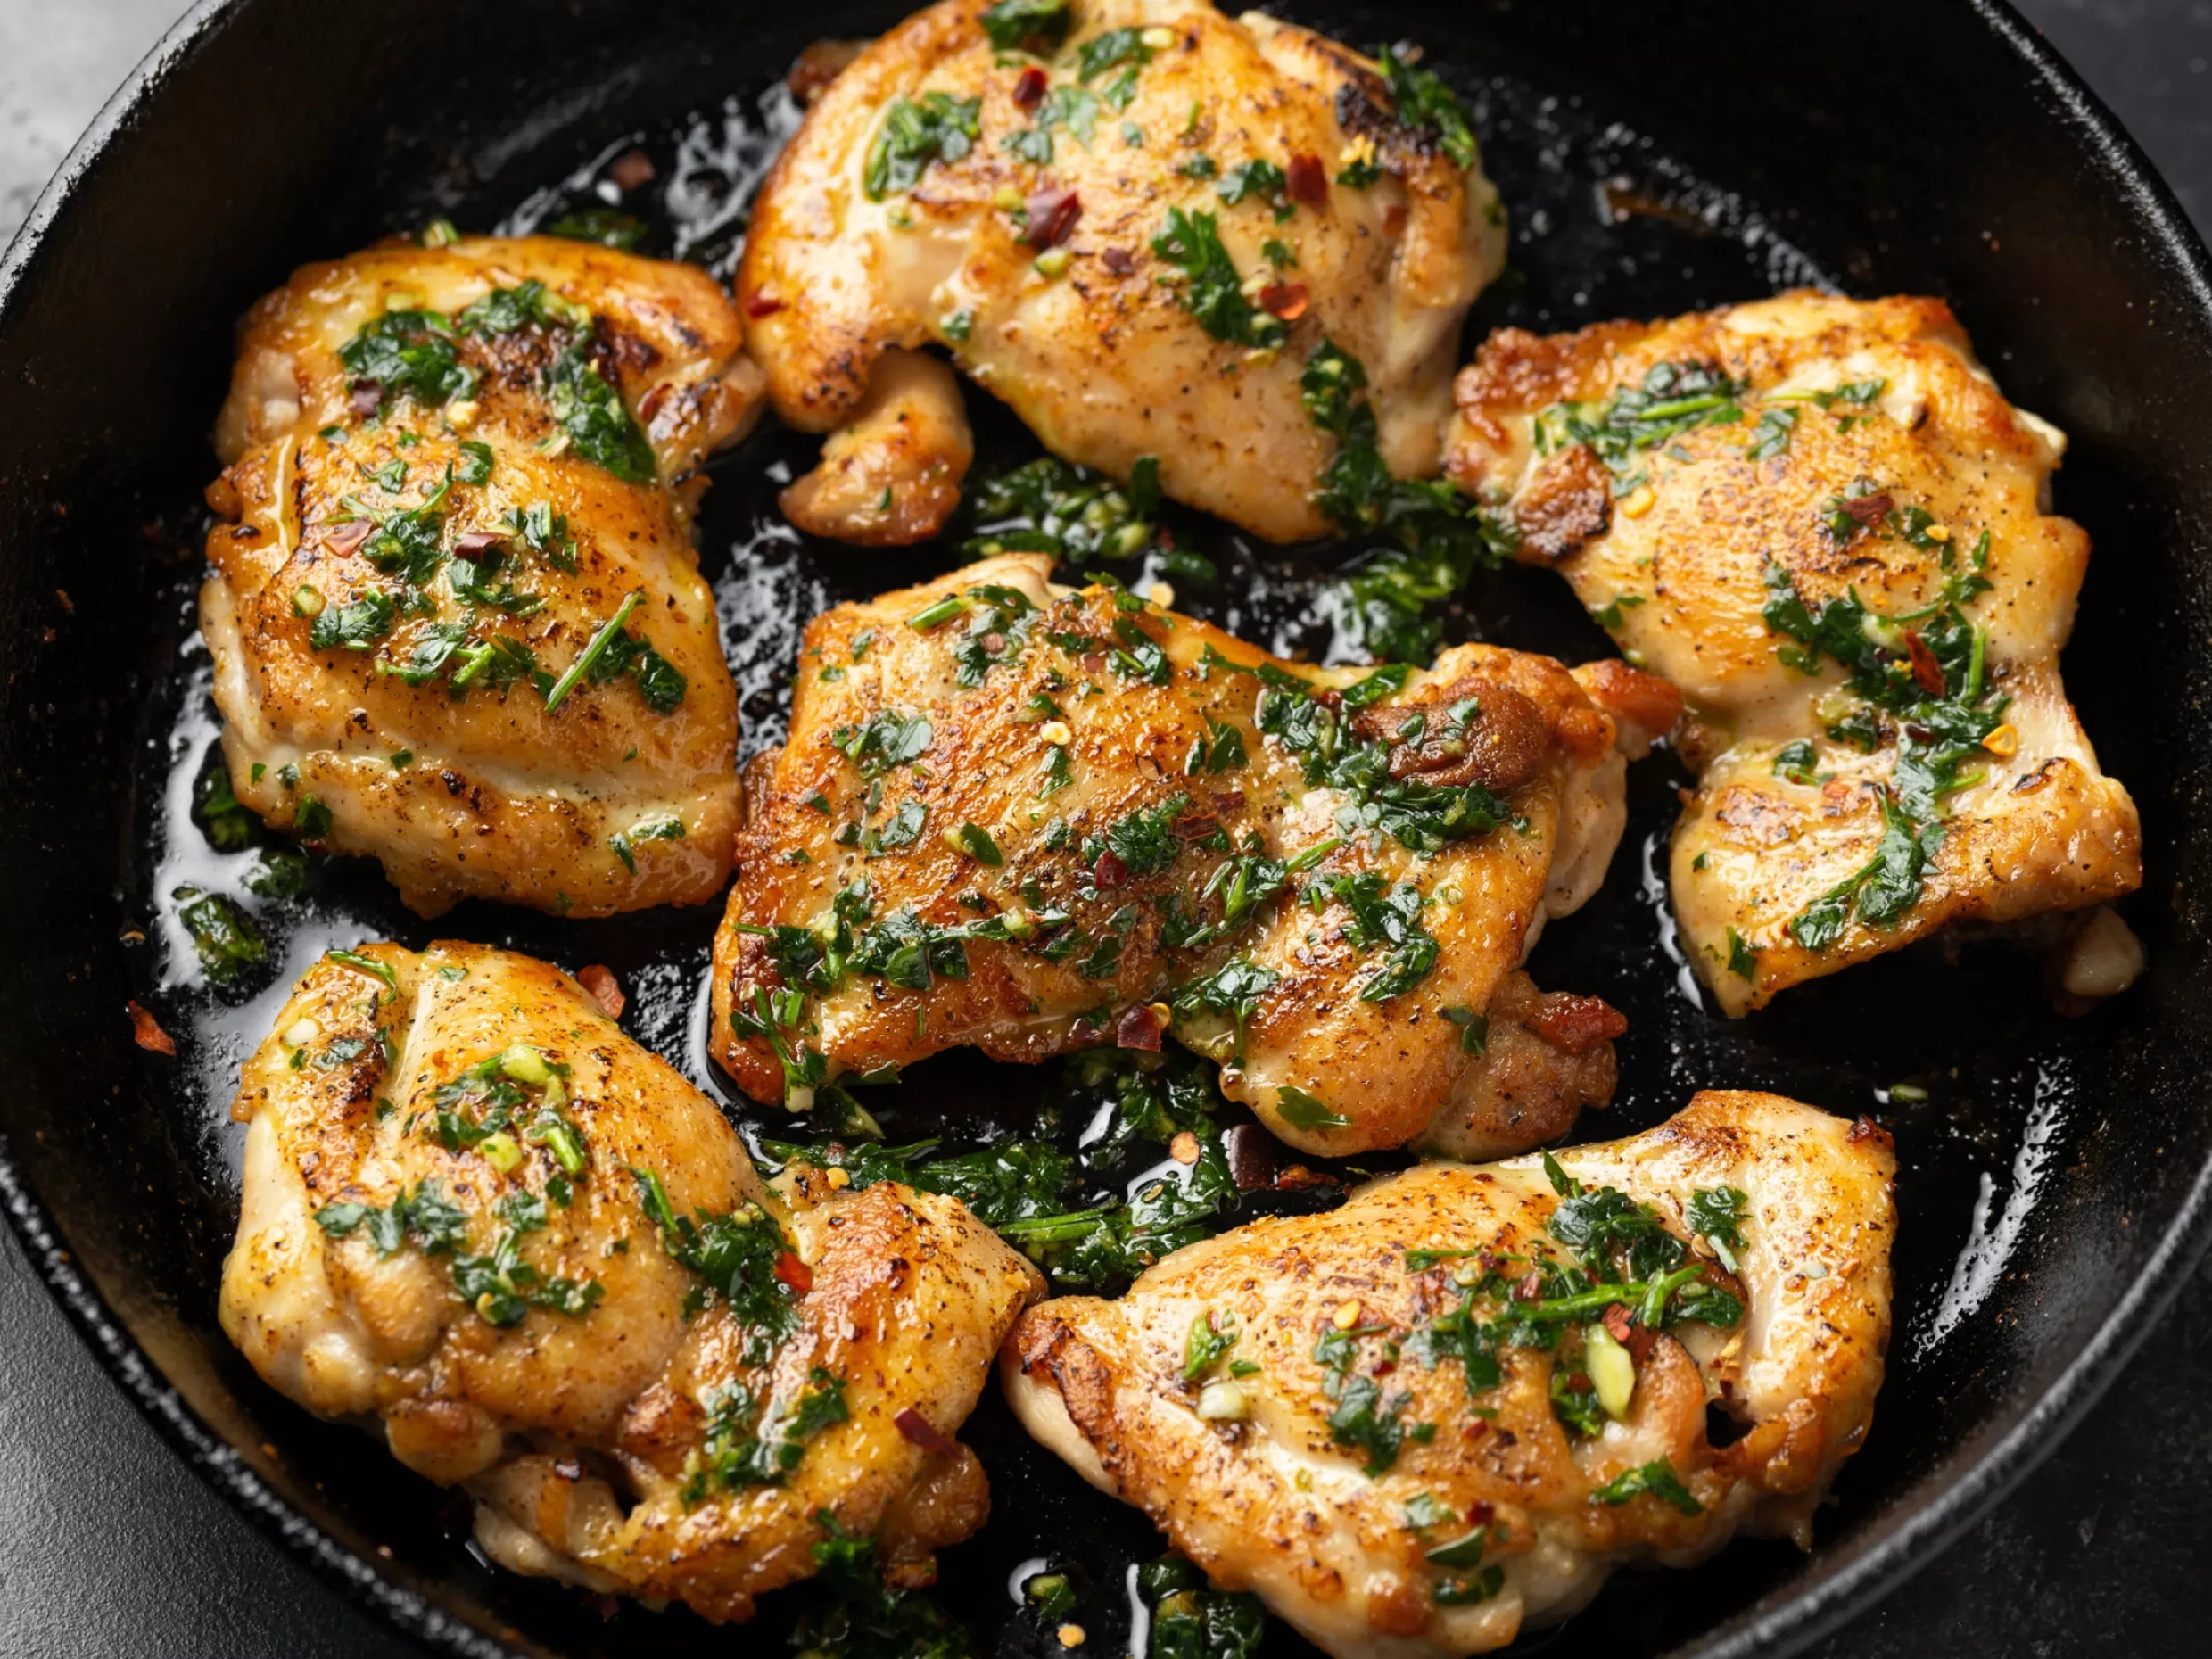


Herb Roasted Chicken
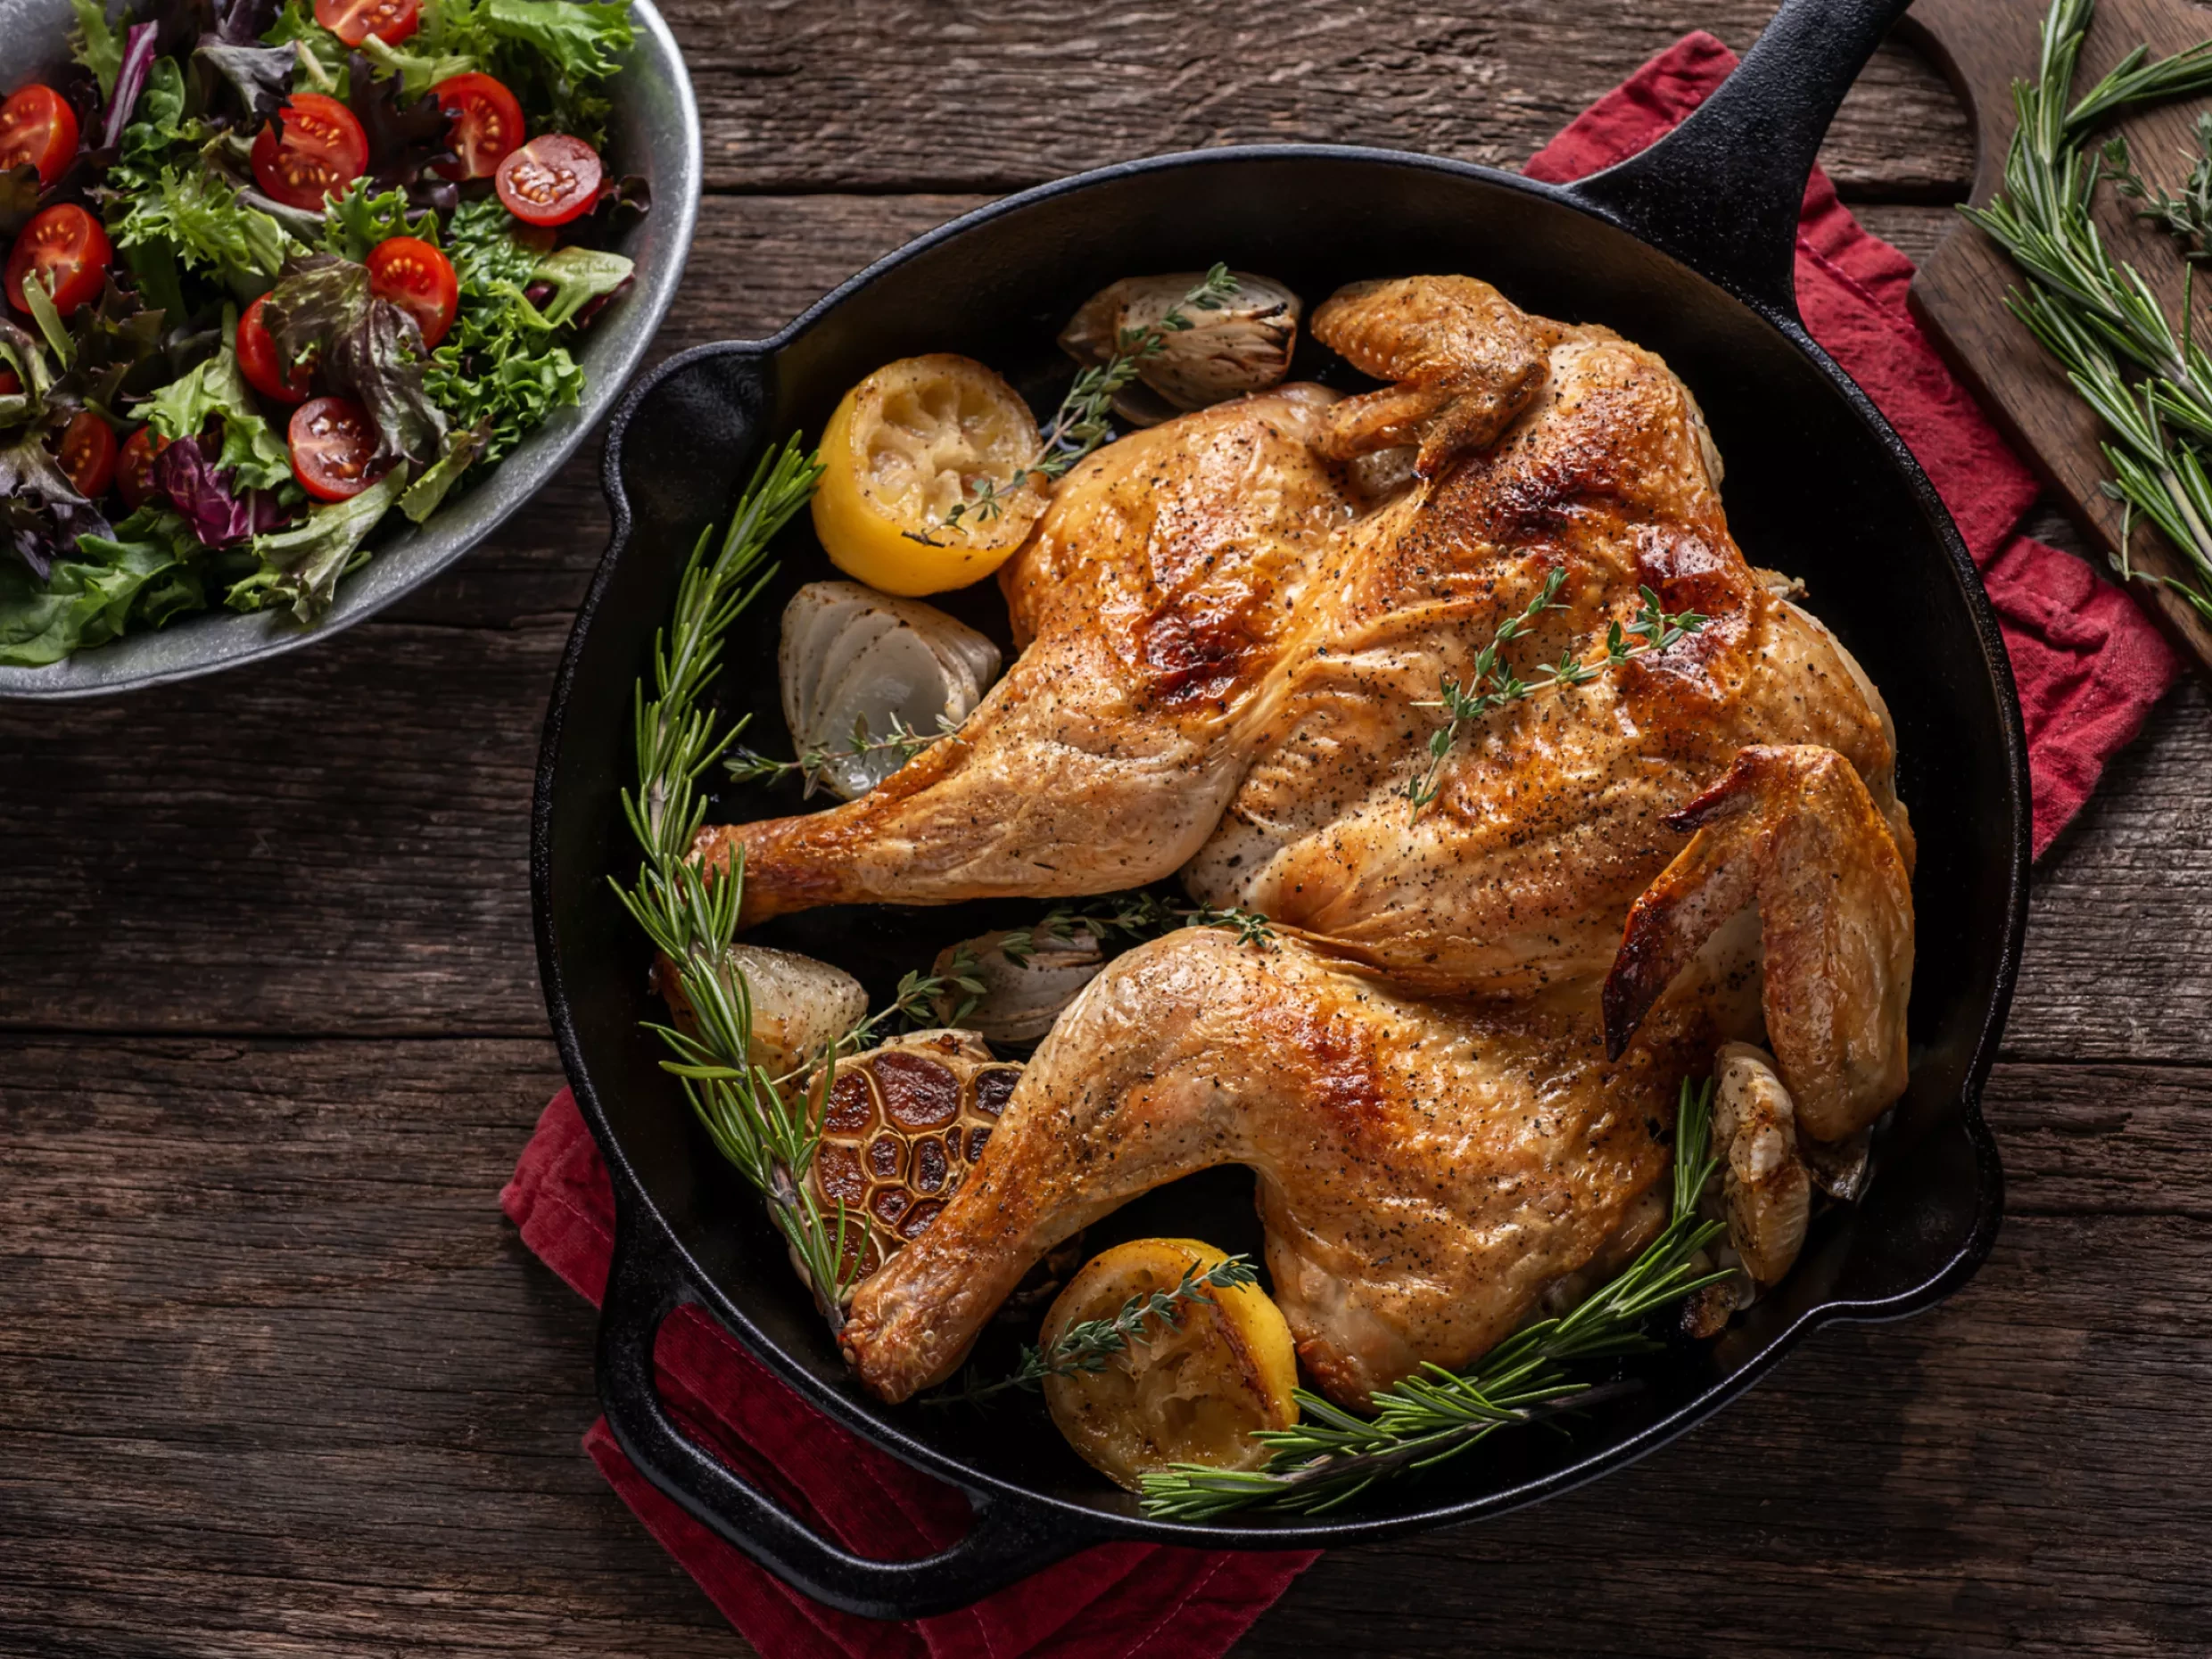
This herb roasted chicken recipe is a timeless centrepiece that delivers serious flavour in every bite.
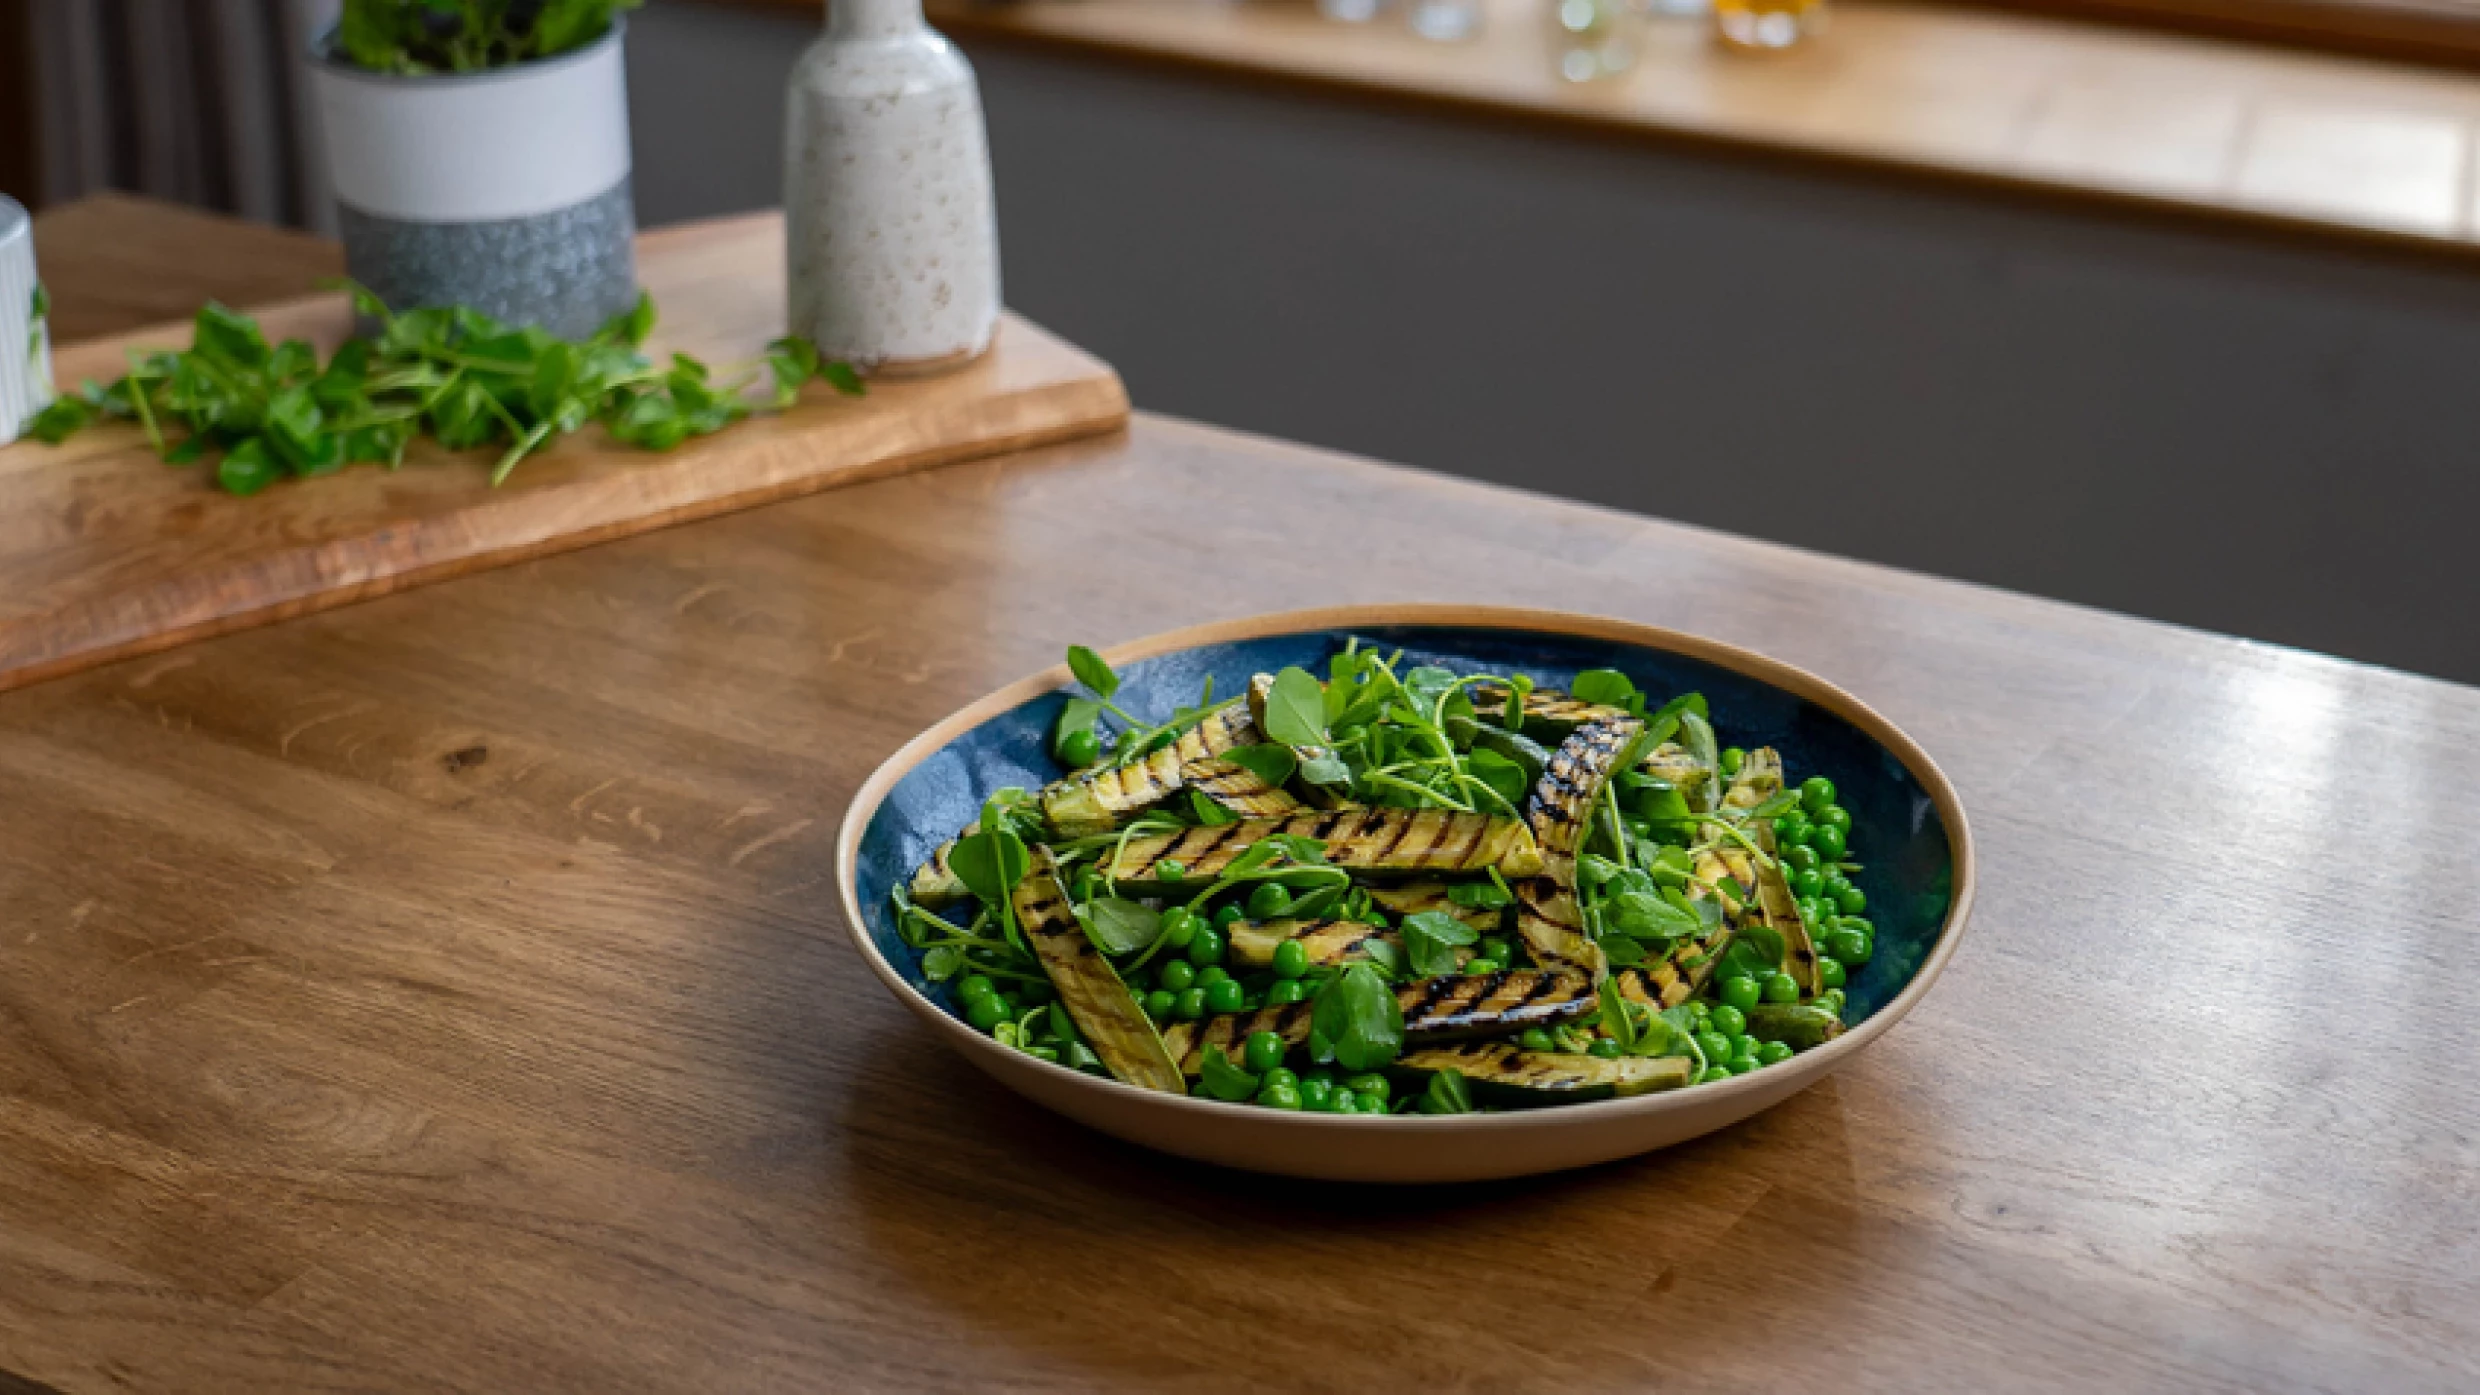
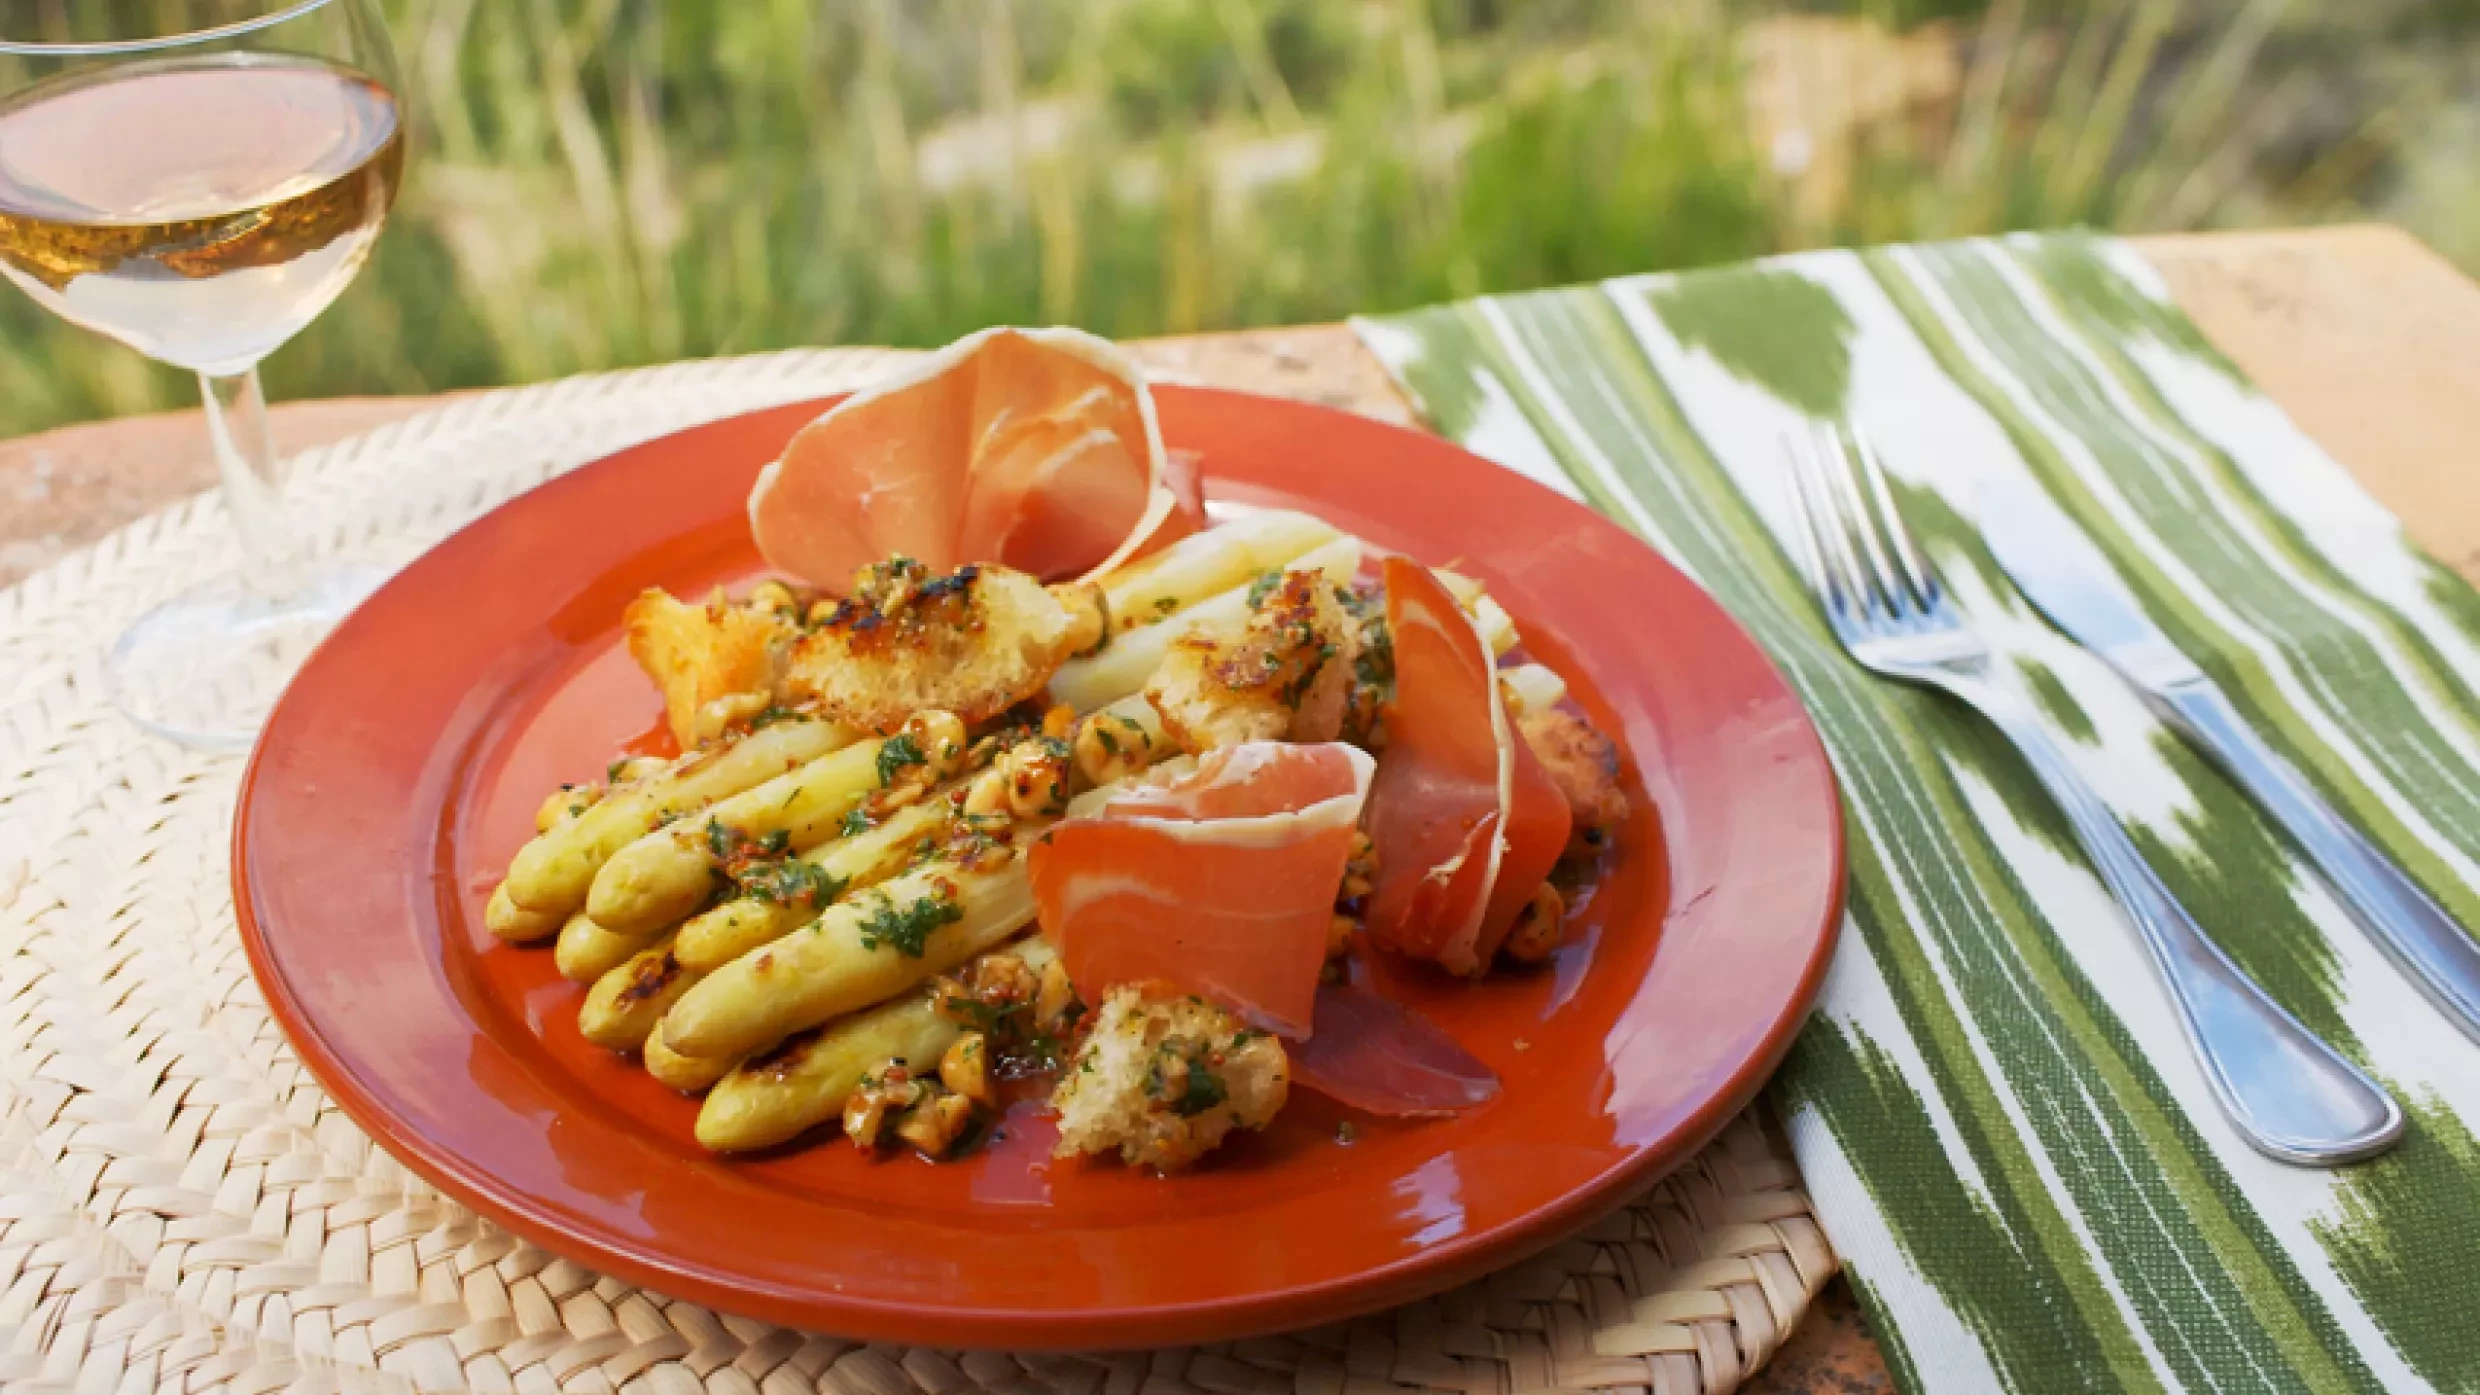
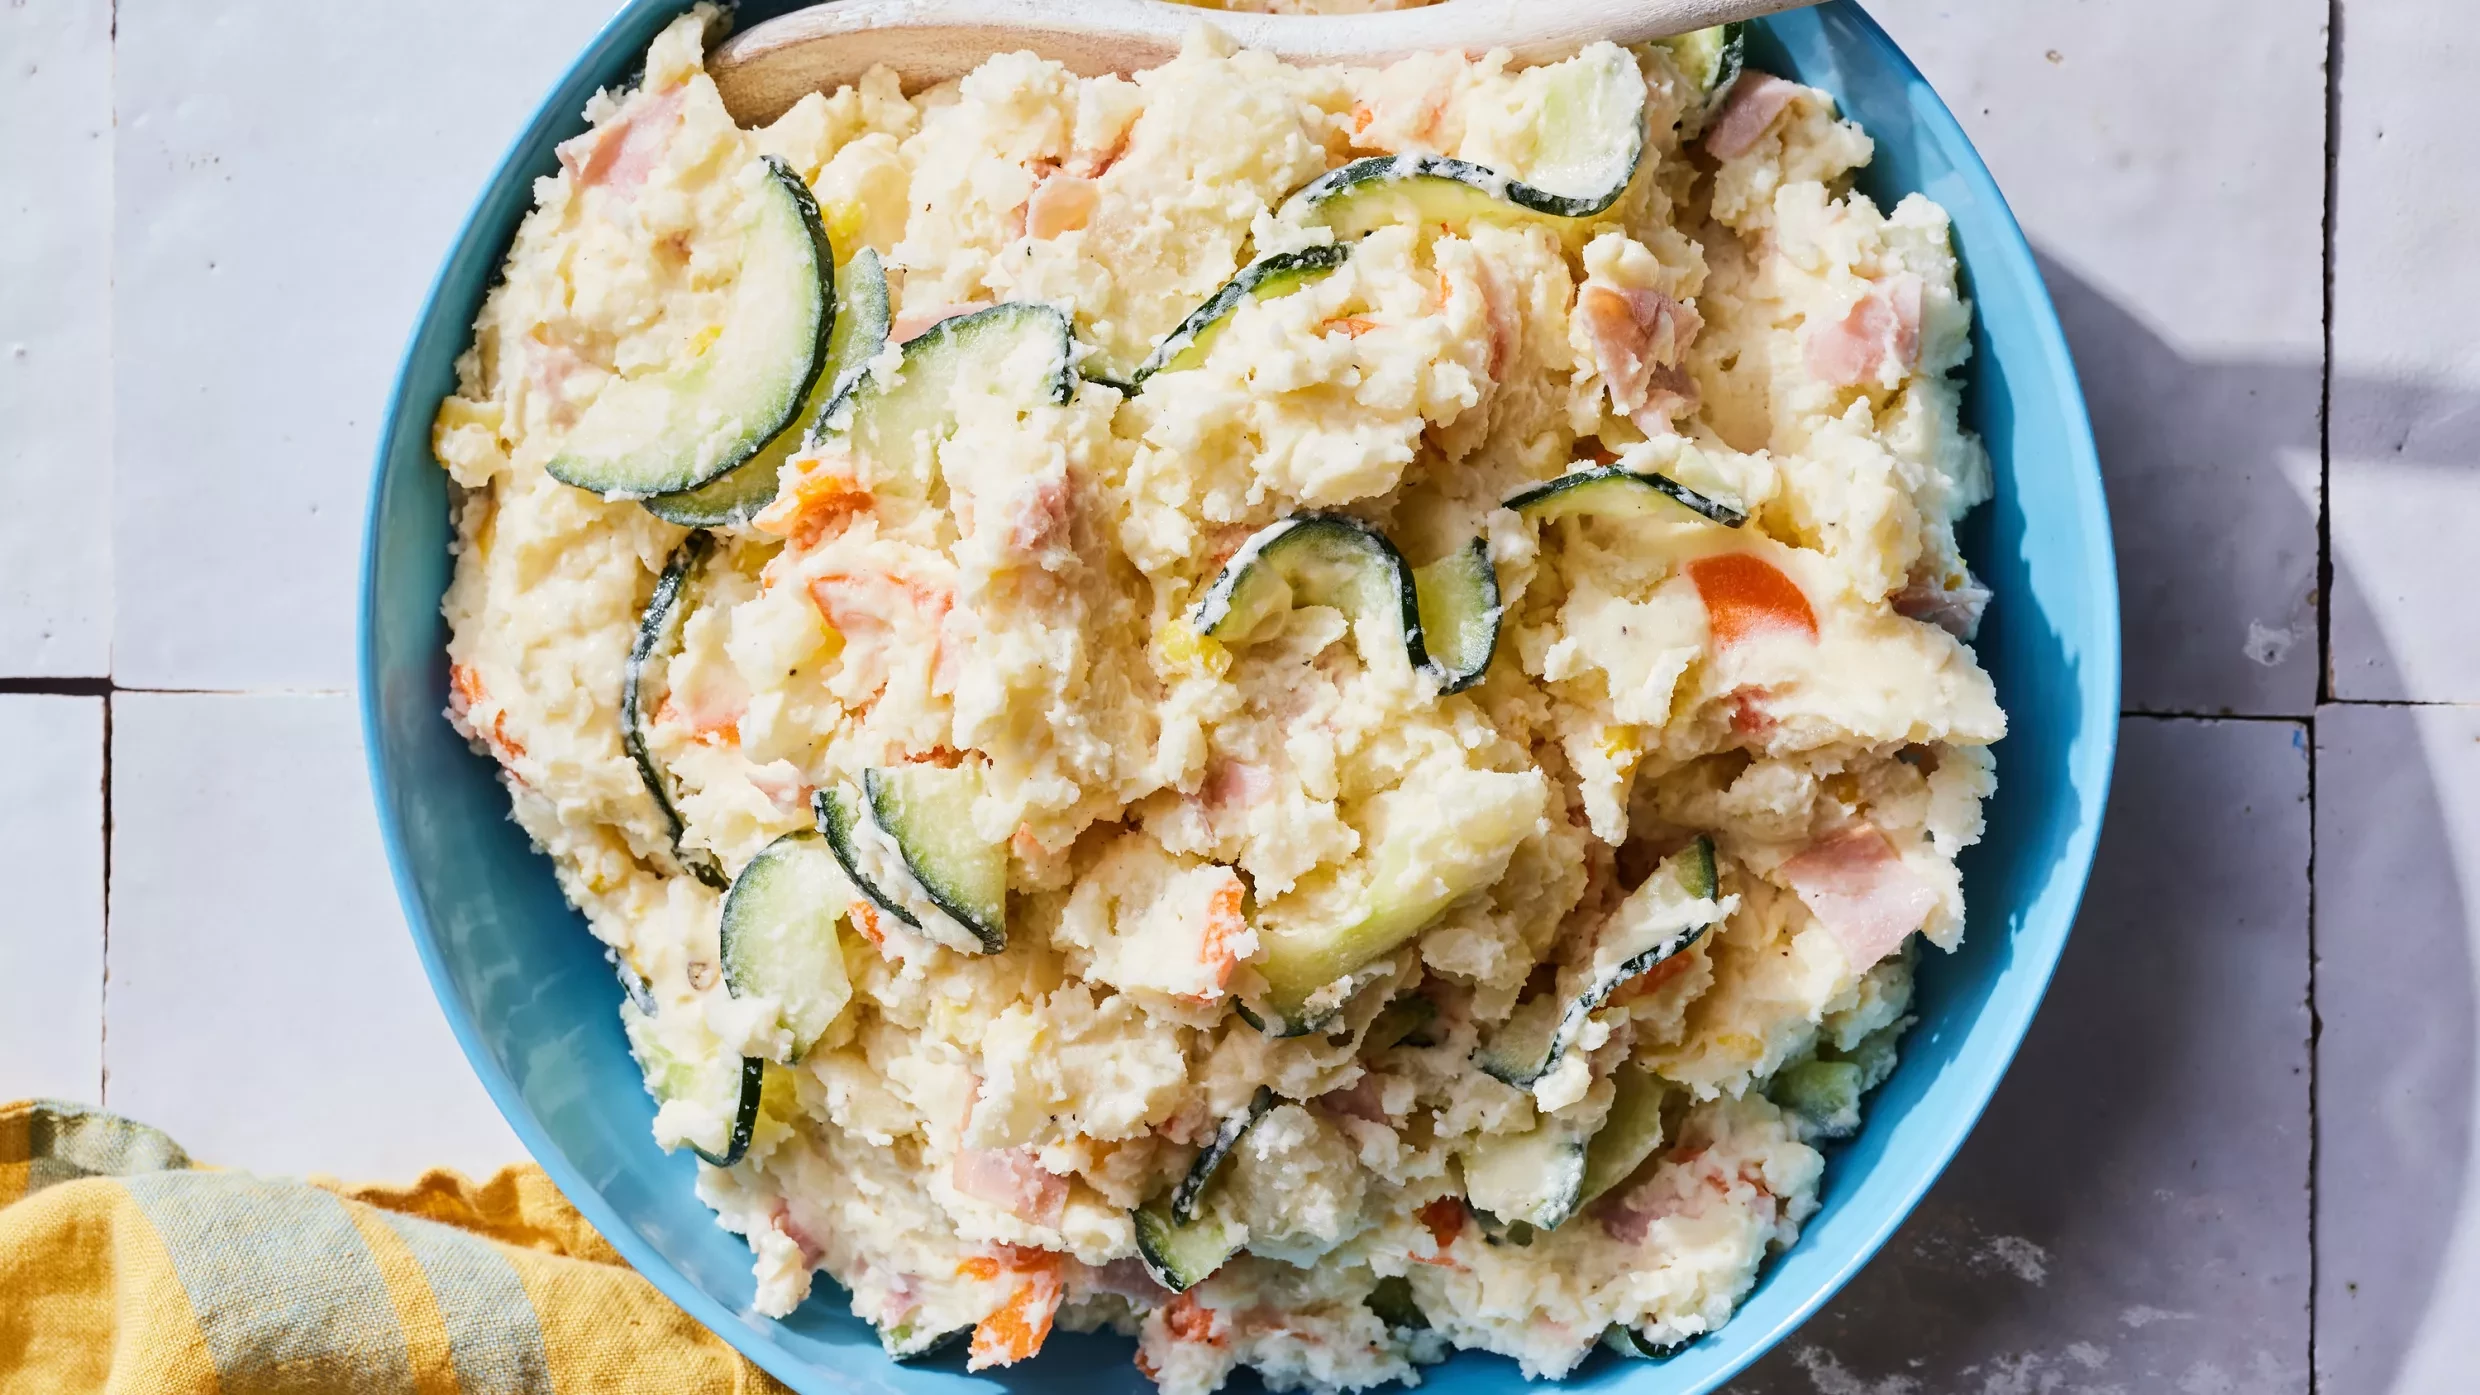
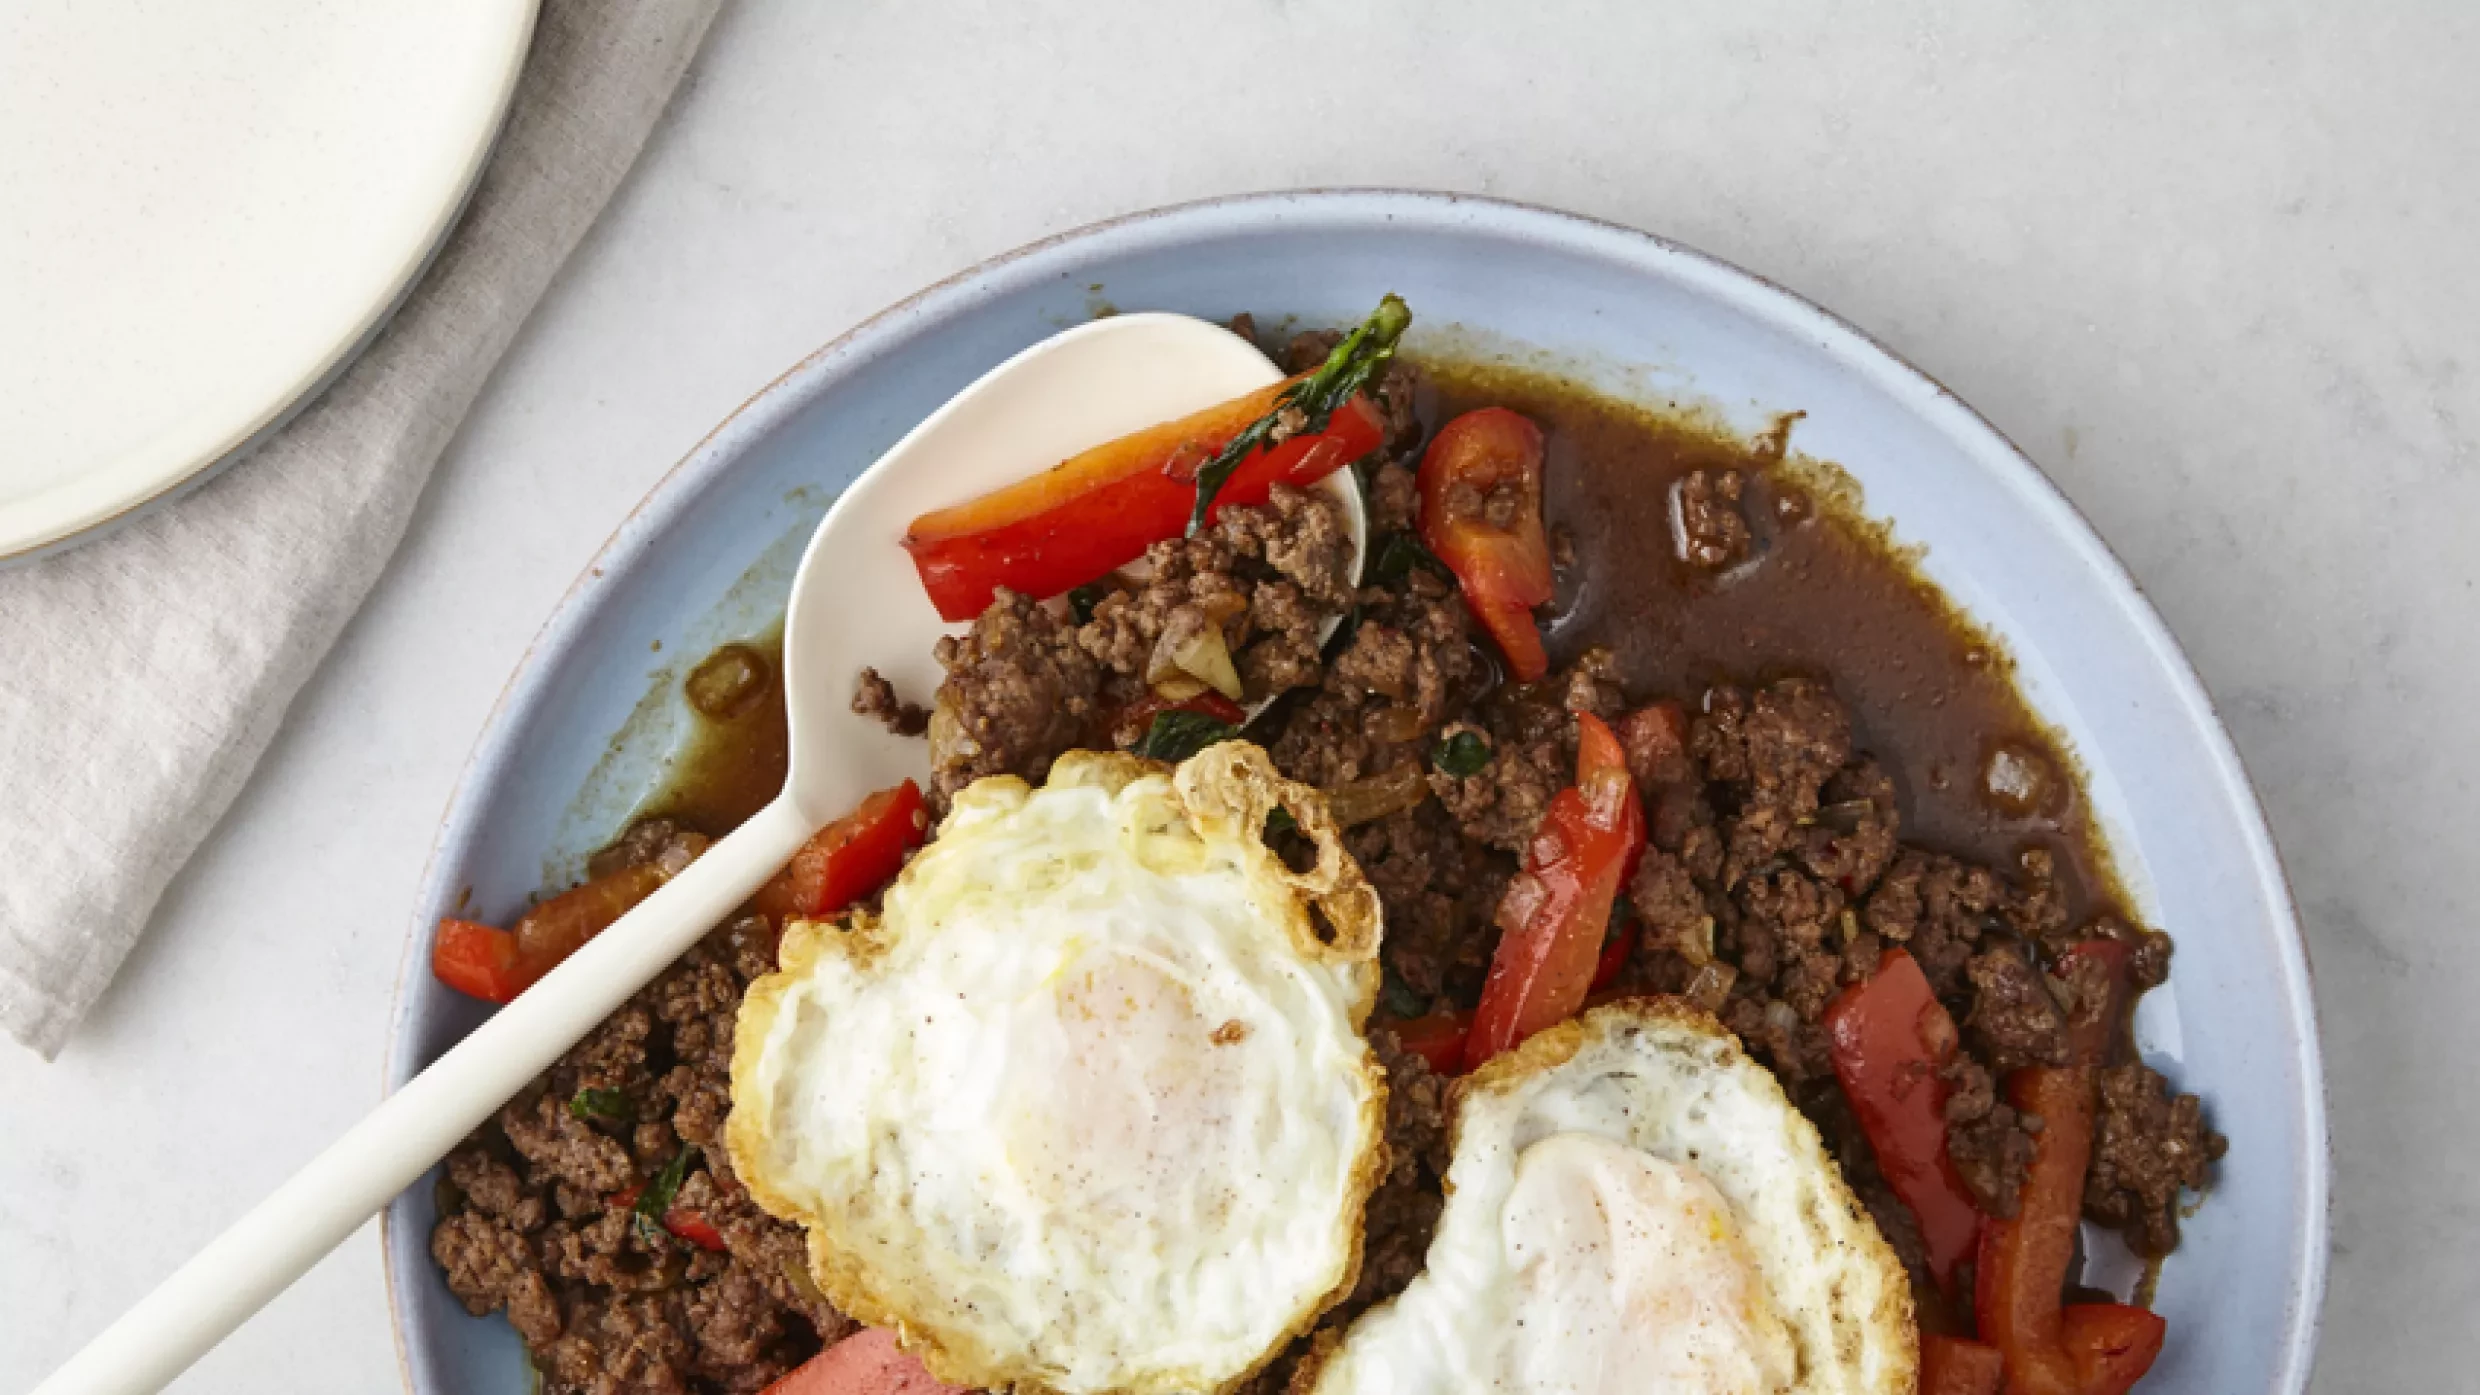
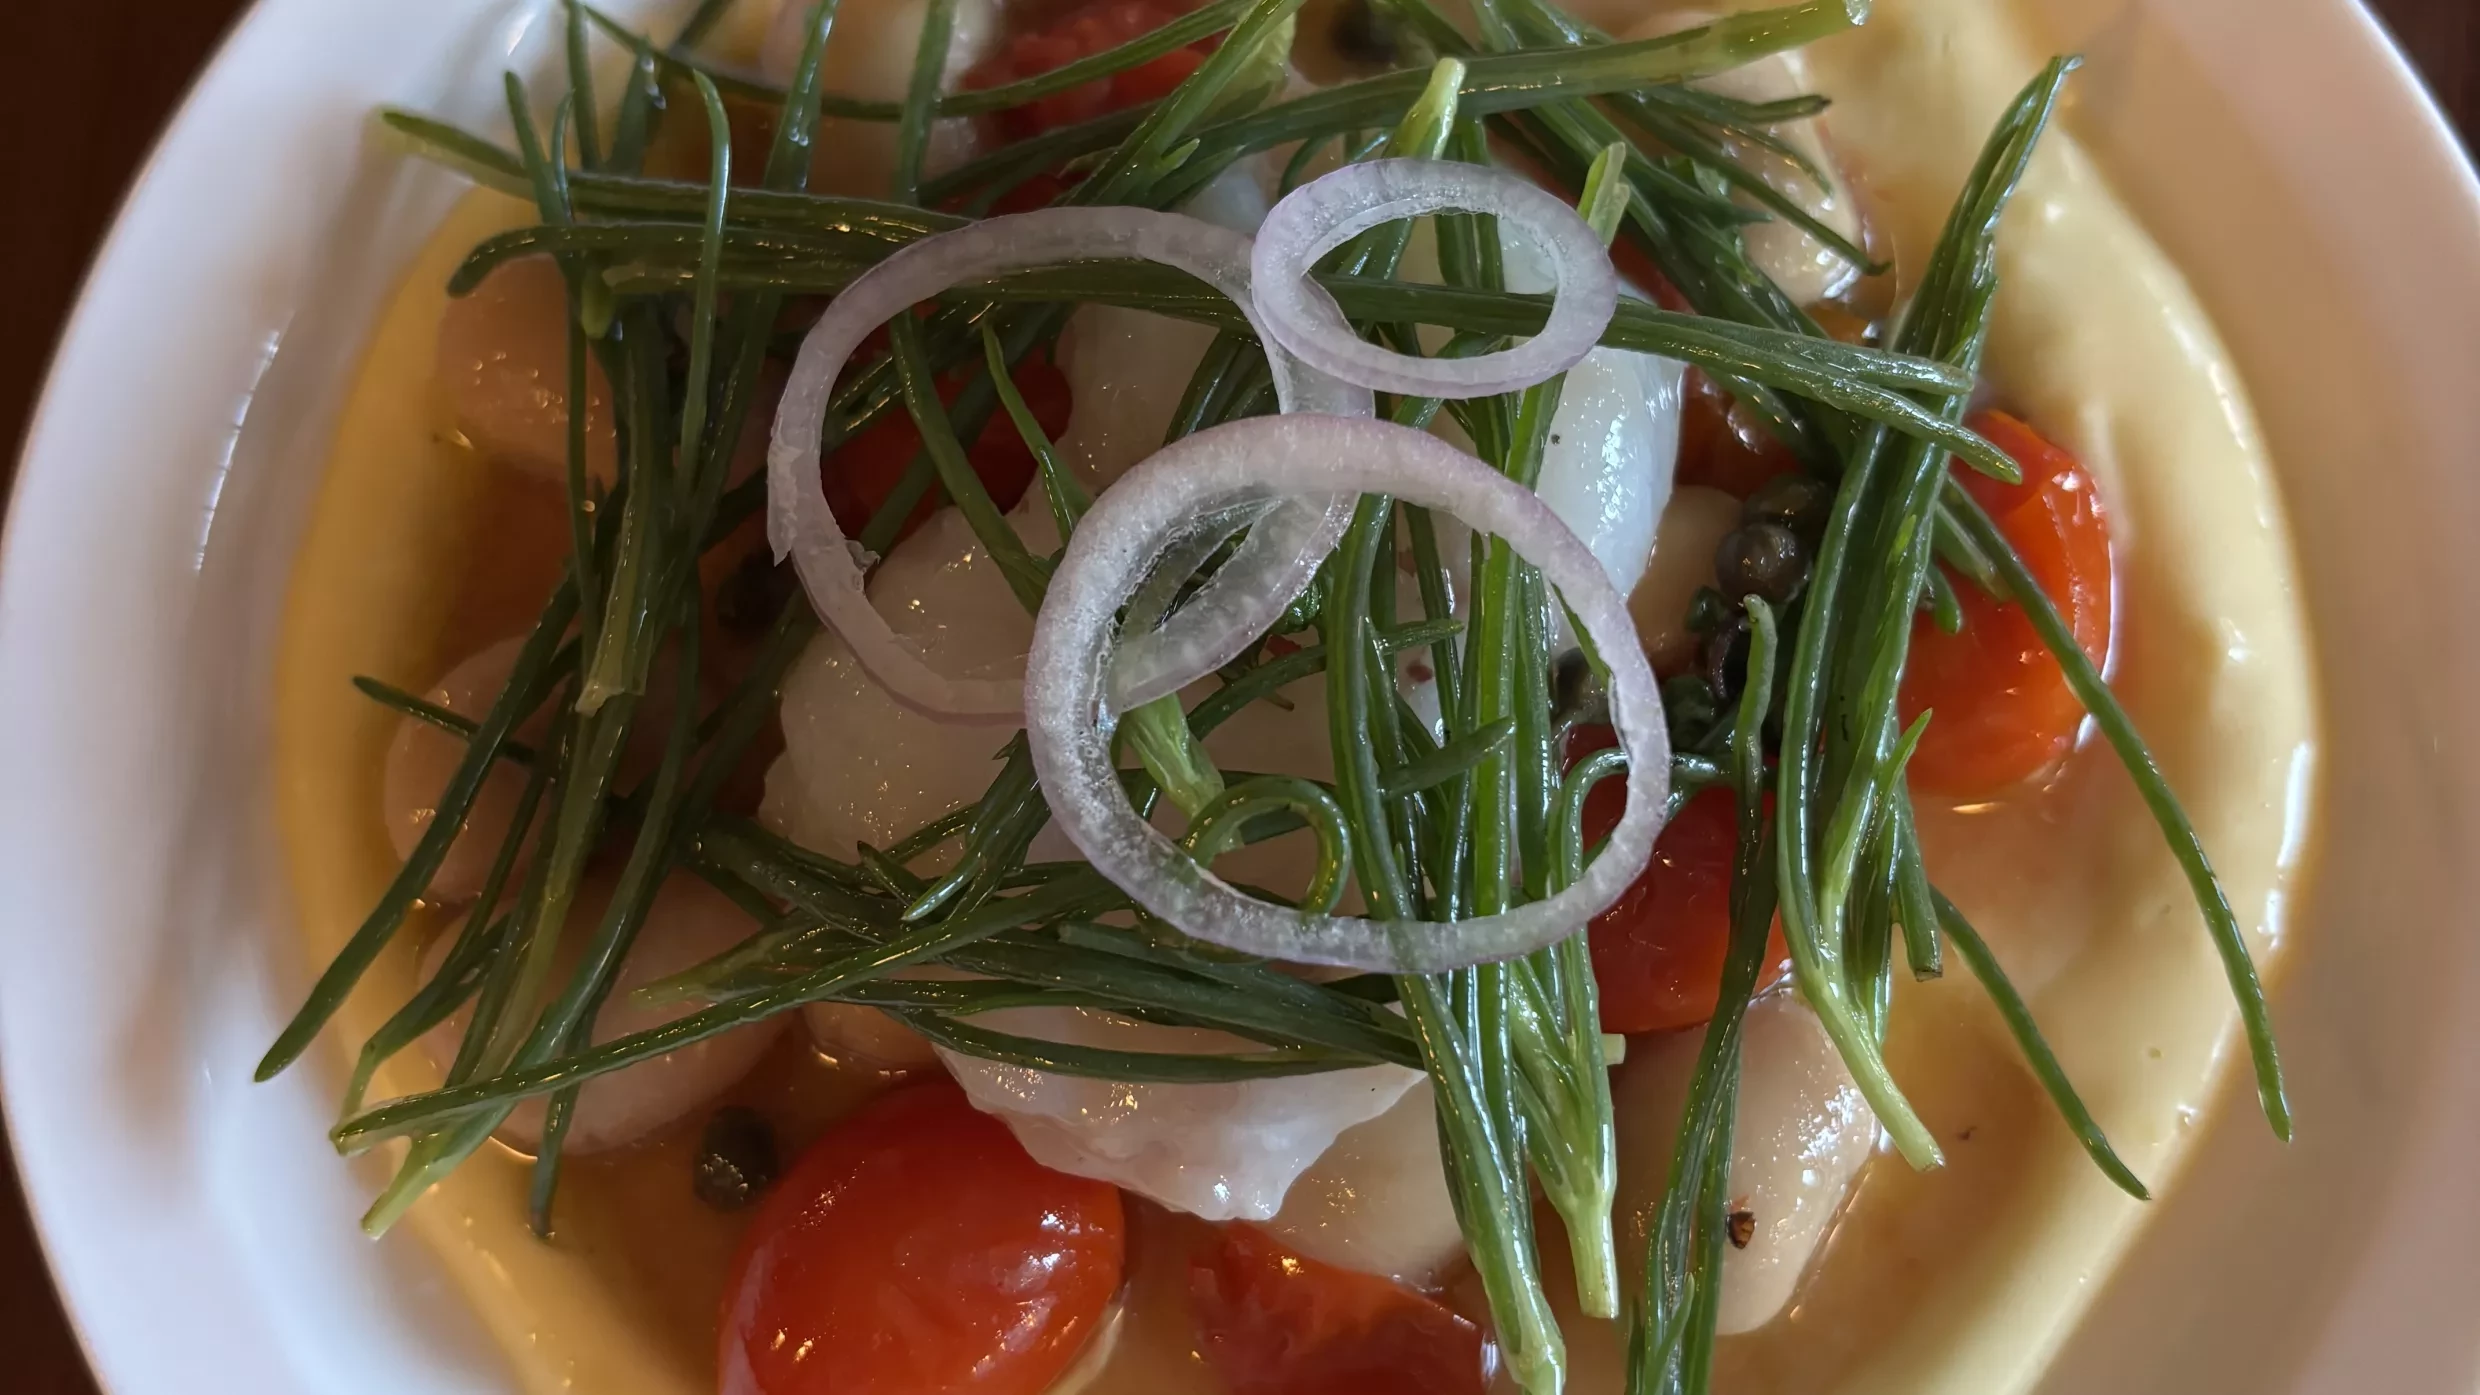
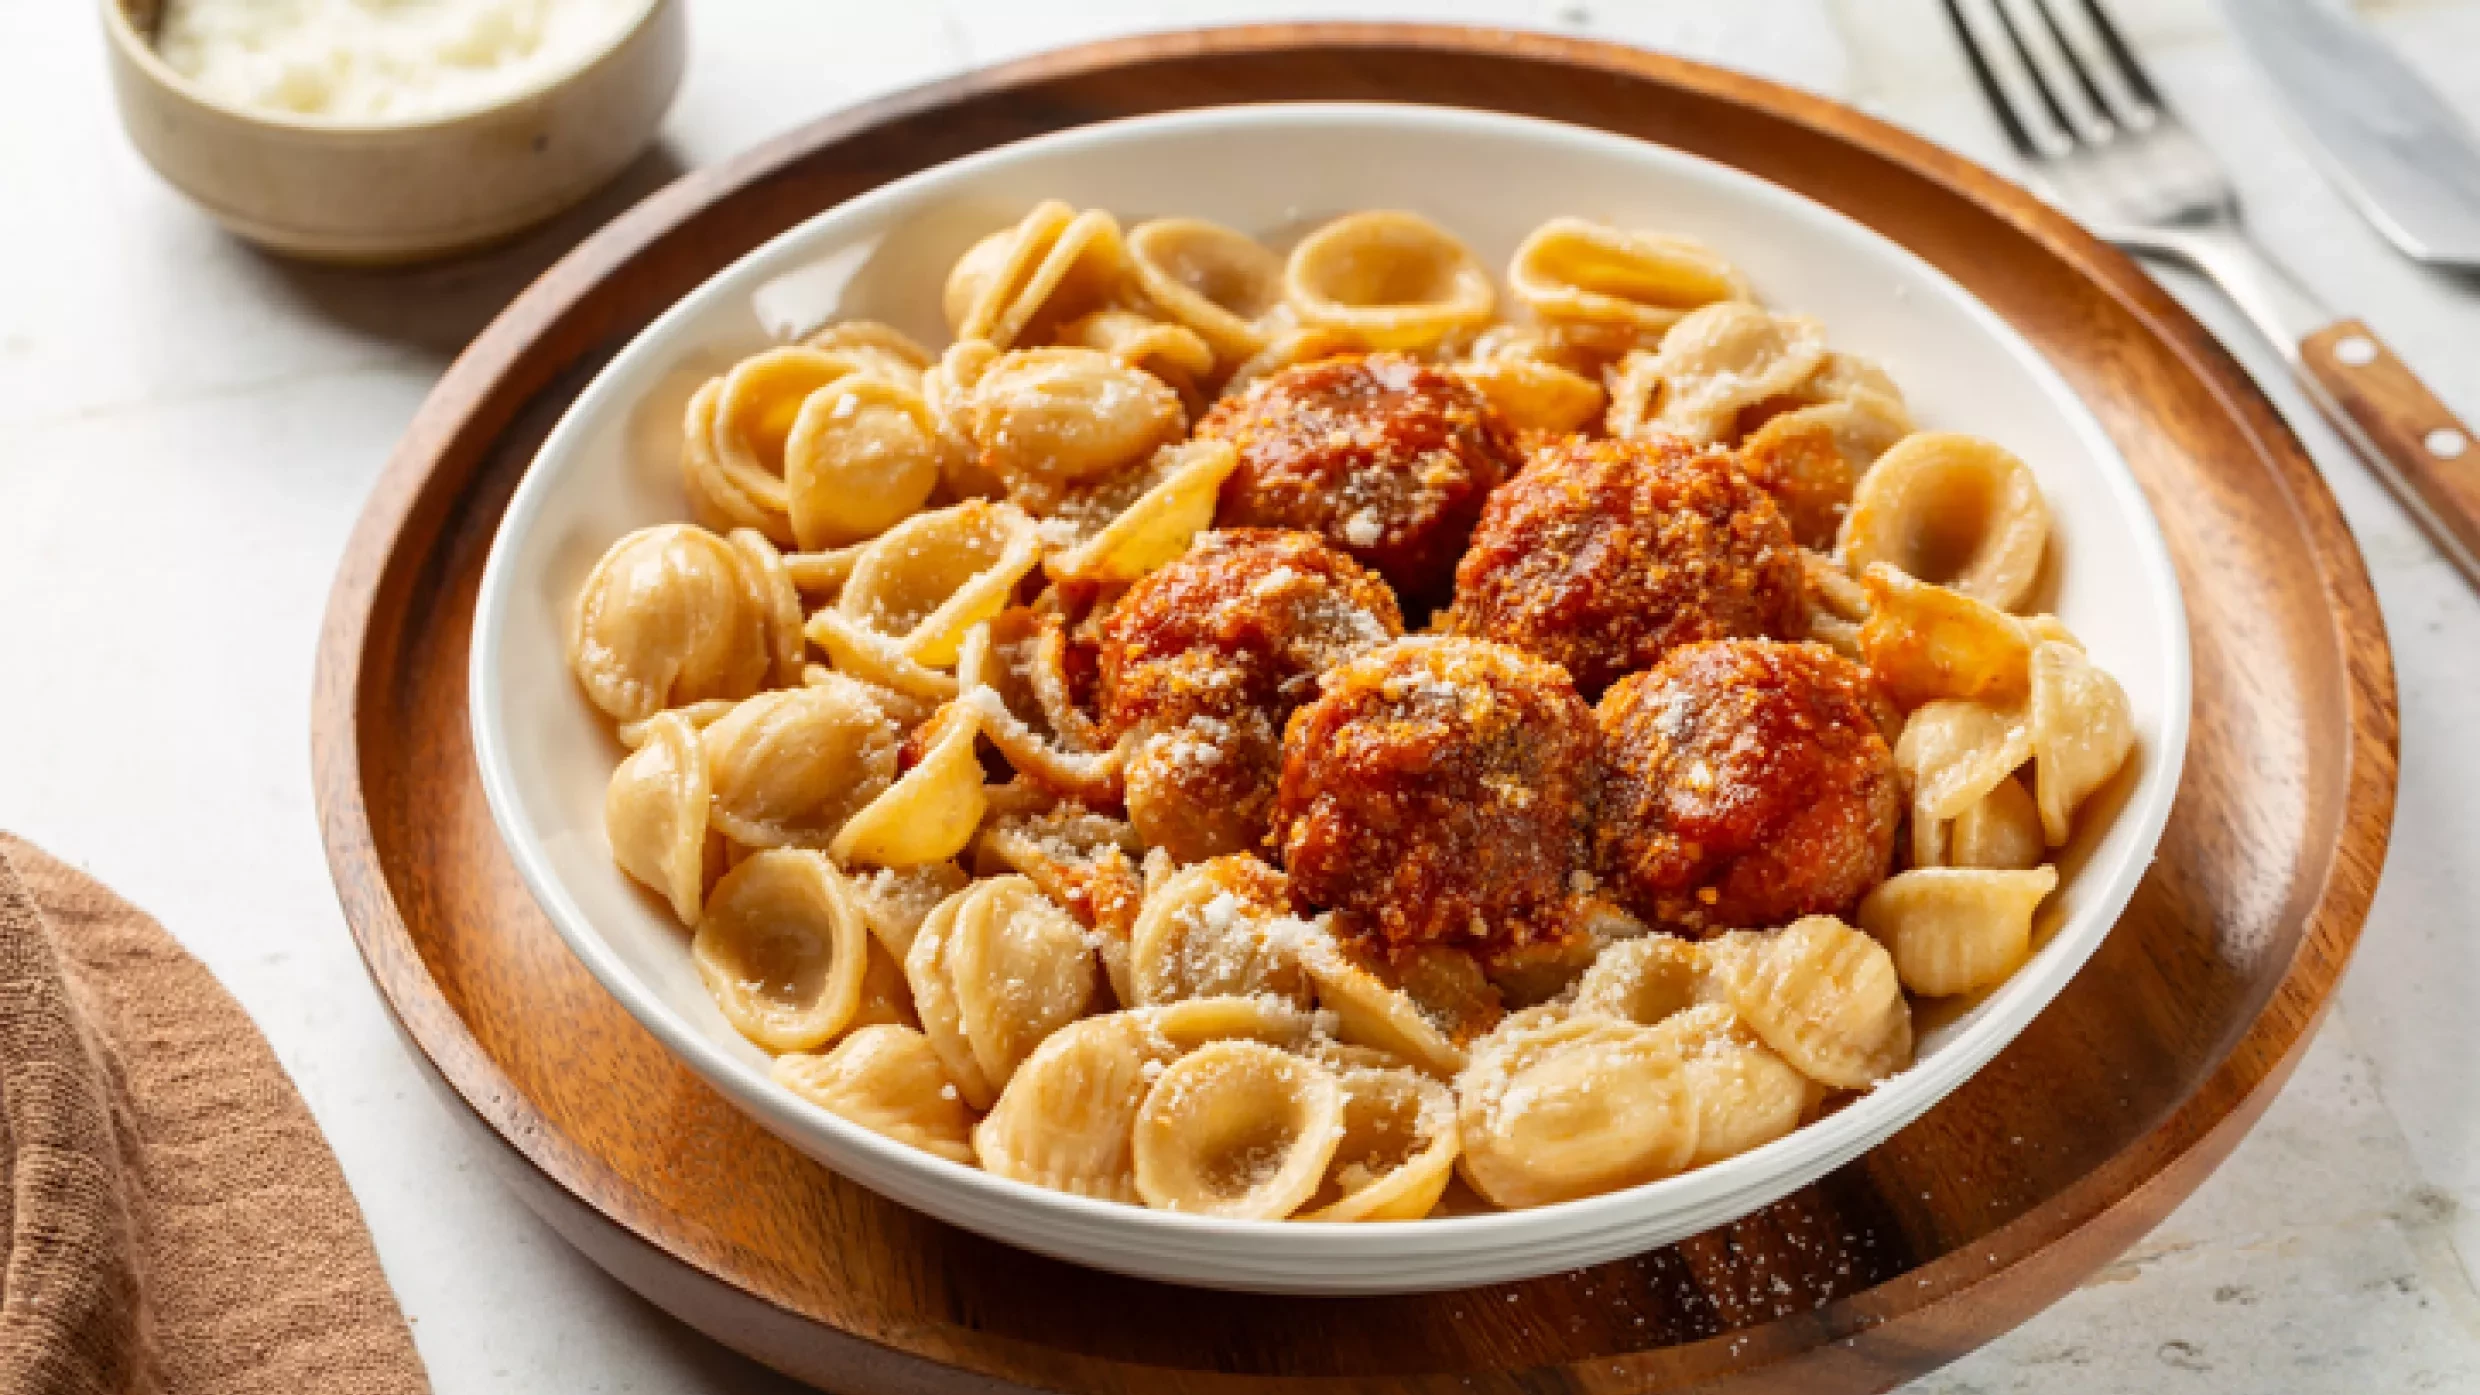
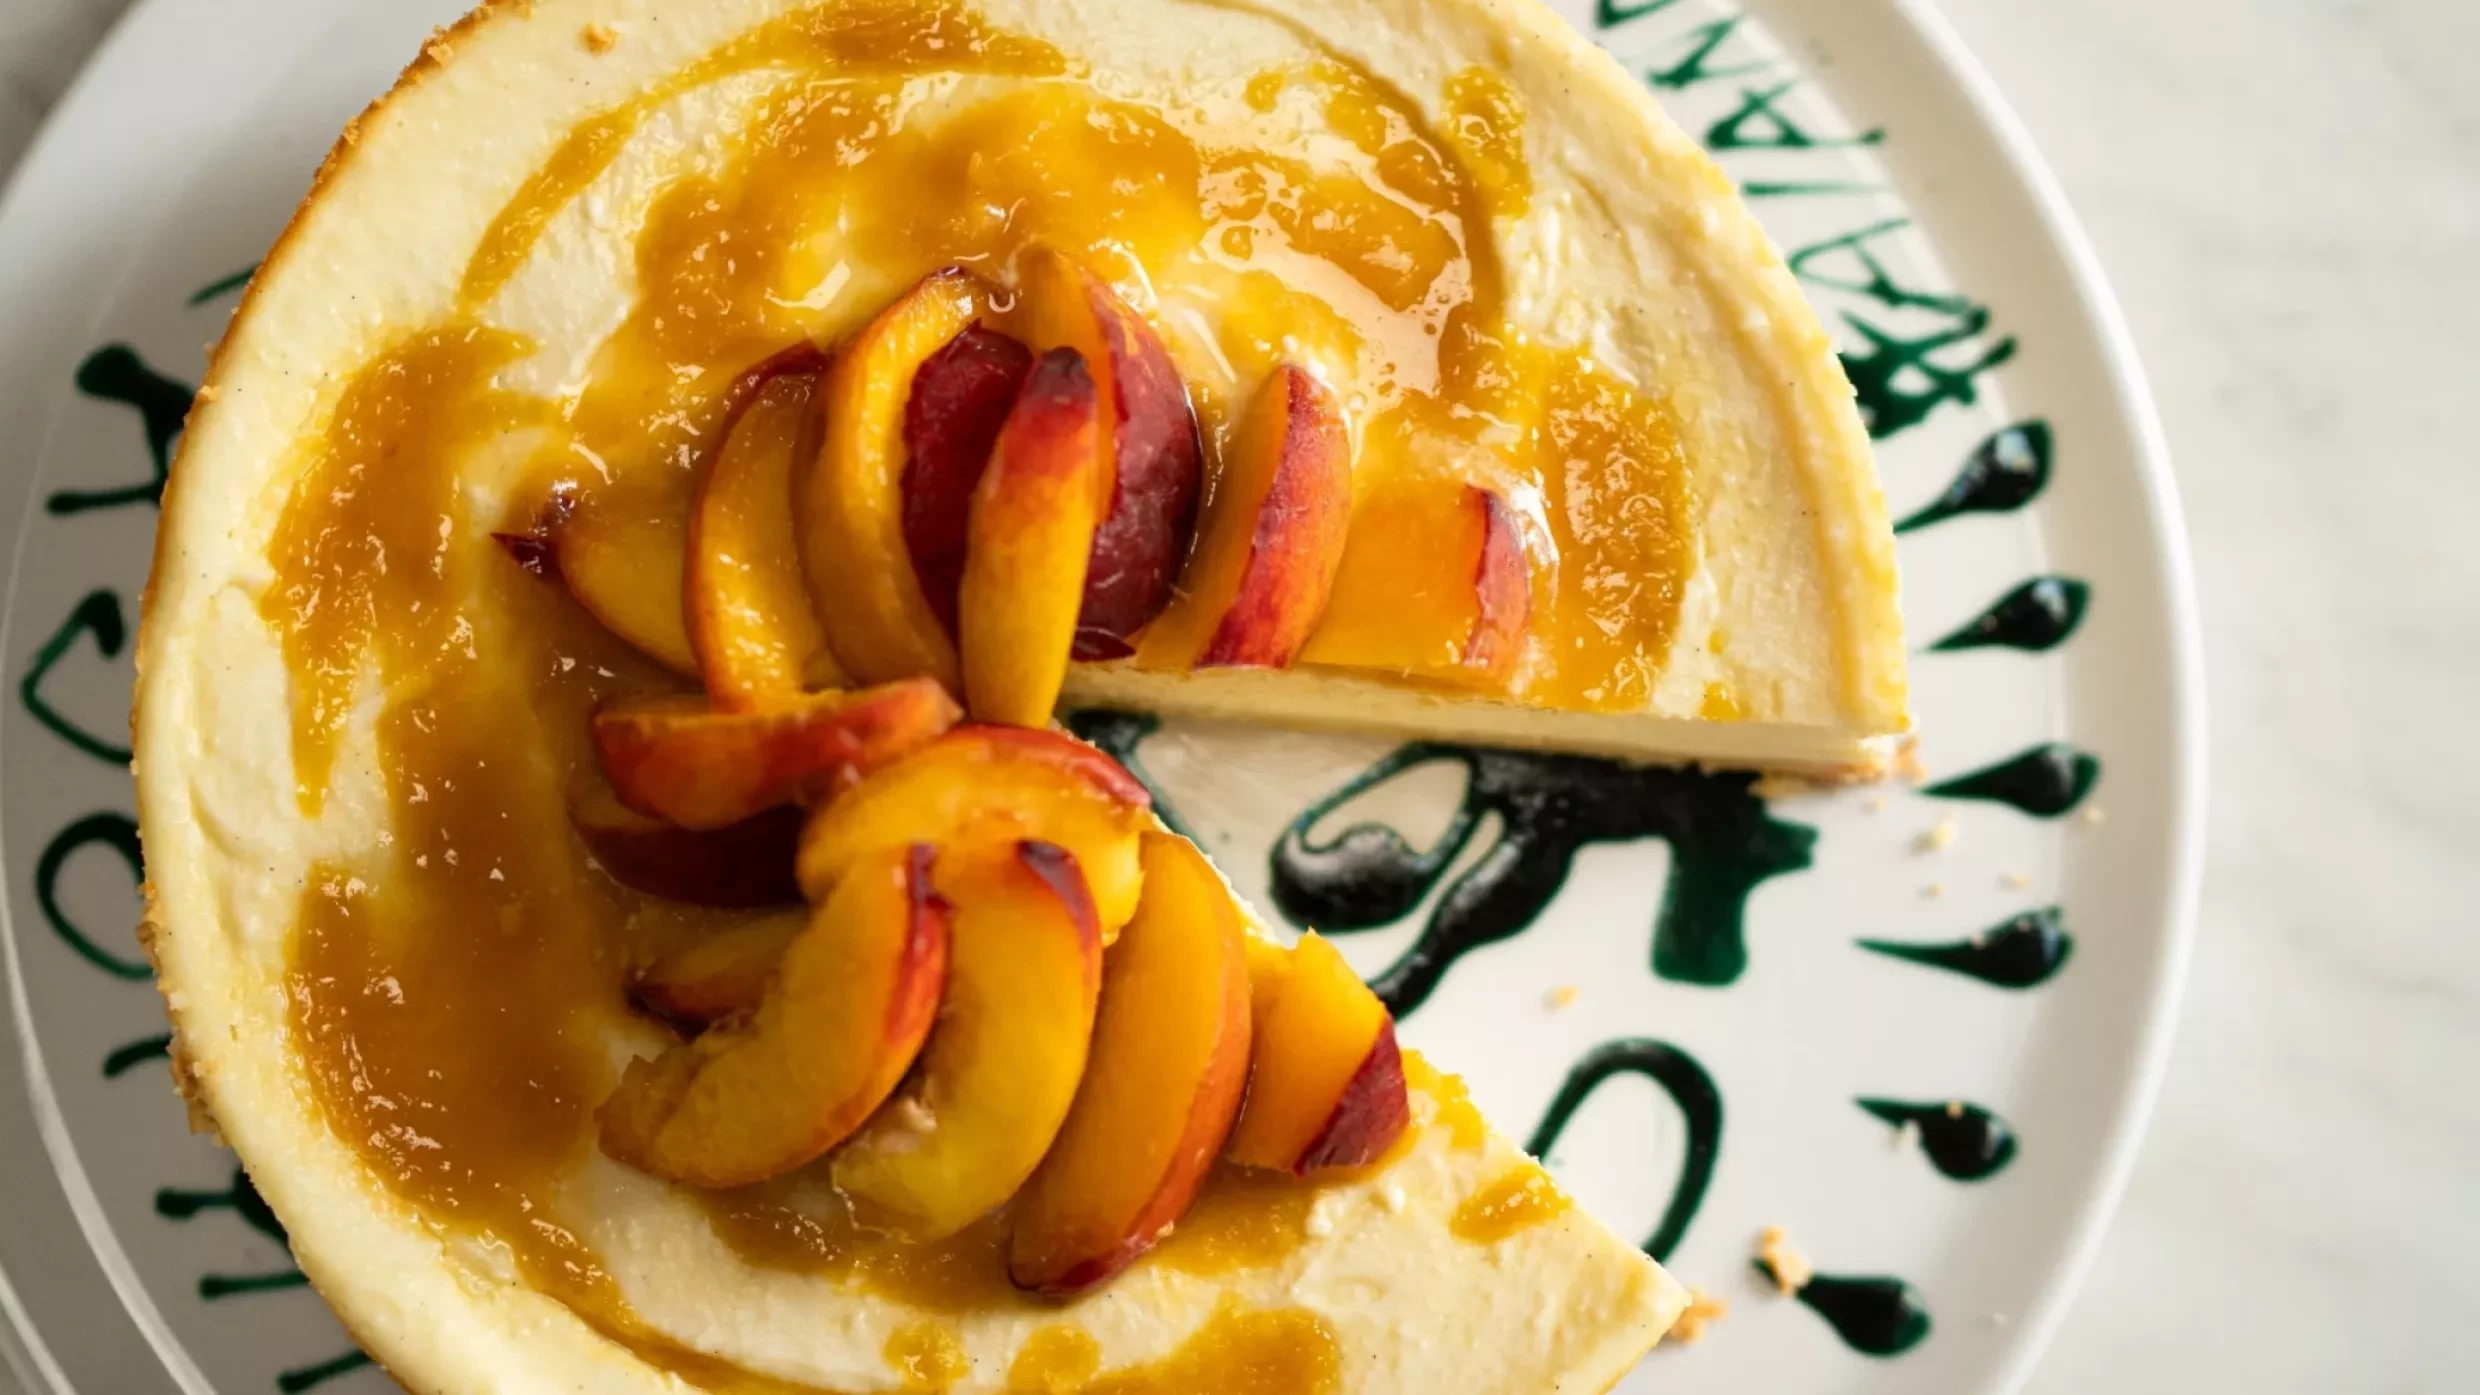
Related Recipes

Ingredients
Method
- Preheat the oven to 230C/Gas 8. In a small bowl combine the chopped rosemary, sage, garlic, chilli flakes and 4 tbsp olive oil. Season generously with salt.
- Using your fingertips, carefully work your way under the skin of the chickens to separate the skin from the breast to develop a pocket. Smear the herb paste under the skin of both chickens. Use all of the paste and try to distribute evenly.
- Drizzle each chicken with more olive oil and massage the skin. The idea here is to lube them up like suntan lotion; this will really help to get a nice brown crispy skin. Sprinkle each chicken generously with salt. Truss each chicken.
- Place the diced vegetables, bay leaves and thyme bundle in a roasting tin large enough to accommodate the 2 chickens without touching. Usually a 23 by 33cm roasting pan will be perfect. Add half the chicken stock and season generously with salt.
- Arrange the chickens on top of the vegetables in the roasting tin and place in the preheated oven.
- Check the chickens about 15 minutes into the cooking process; the skin should be starting to turn a lovely brown. Lower the heat to 190C/Gas 5 and continue roasting. After another 15 minutes, remove the chickens from the oven and turn over.
- At this point check the level of liquid in the roasting pan. If most of the liquid has evaporated, add another 225ml of stock and return the chickens to the oven.
- When the chickens have browned on the bottom, about 15 minutes, remove them from the oven and turn them back over. Return the chickens to the oven for the final 15 minutes of cooking. During this time the skin on the chickens should be very brown and crispy.
- Remove the chickens from the oven and take the temperature in the crease between the thigh and the breast. (When doing this be sure not to have the thermometer probe touch a bone or you will get an inaccurate reading.) The thermometer should read between 68C to 80C. When cooking poultry in general the rule is 17 minutes per pound. If the thermometer reads less than 68C return the chicken to the oven for an additional 10 minutes and then re-check the temperature.
- When chickens have reached the proper temperature remove them from the roasting tin, place them on a warm platter and cover loosely with foil. Leave to sit for at least 10 to 15 minutes before carving.
- Meanwhile, skim off the excess fat from the surface of the liquid in the roasting pan. The easiest way to do this is to prop up 1 end of the pan and allow the fat to run to the other end of the pan. You may not be able to get all of the fat, which is ok – fat tastes good!
- Put the roasting pan on a burner, add the wine, bring to a medium heat and reduce by half. Add the remaining chicken stock and taste. Add salt if needed – you probably will need more salt.
- At this point you can decide if you are a "strainer" or not a strainer – meaning if you would like to strain the chunky vegetables out of the sauce or not. I myself am not a strainer. When the sauce has reached the desired consistency and flavour remove from the heat and pour into desired serving vessel.
- To carve the chickens, first cut off the twine. Pull the thigh and leg away from the breast of the chicken until the thigh bone "pops" out of the socket. This is also a sign that the chicken is cooked properly. Separate the thigh and drumstick. Remove the breast from the carcass by feeling for the ridge of the breastbone in the centre of the chicken and slicing around the rib cage. Arrange the chicken on a serving platter or on individual plates. Serve with the sauce and your choice of vegetables.
This roast chicken and herbs dish is simply spectacular.
When it comes to crowd-pleasing classics, you can’t go wrong with this herb roasted chicken recipe. The rosemary, sage, and garlic combined with olive oil and a pinch (or two!) of chilli flakes to create a punchy, aromatic rub. Combine with roasted vegetables, wine and rich stock to keep everything moist and delicious, and you end up with an absolutely banging baked chicken and herbs centrepiece as well as a wonderful aromatic pan sauce. The result? Crisp, golden skin and juicy, tender meat that’s packed with herby flavour.
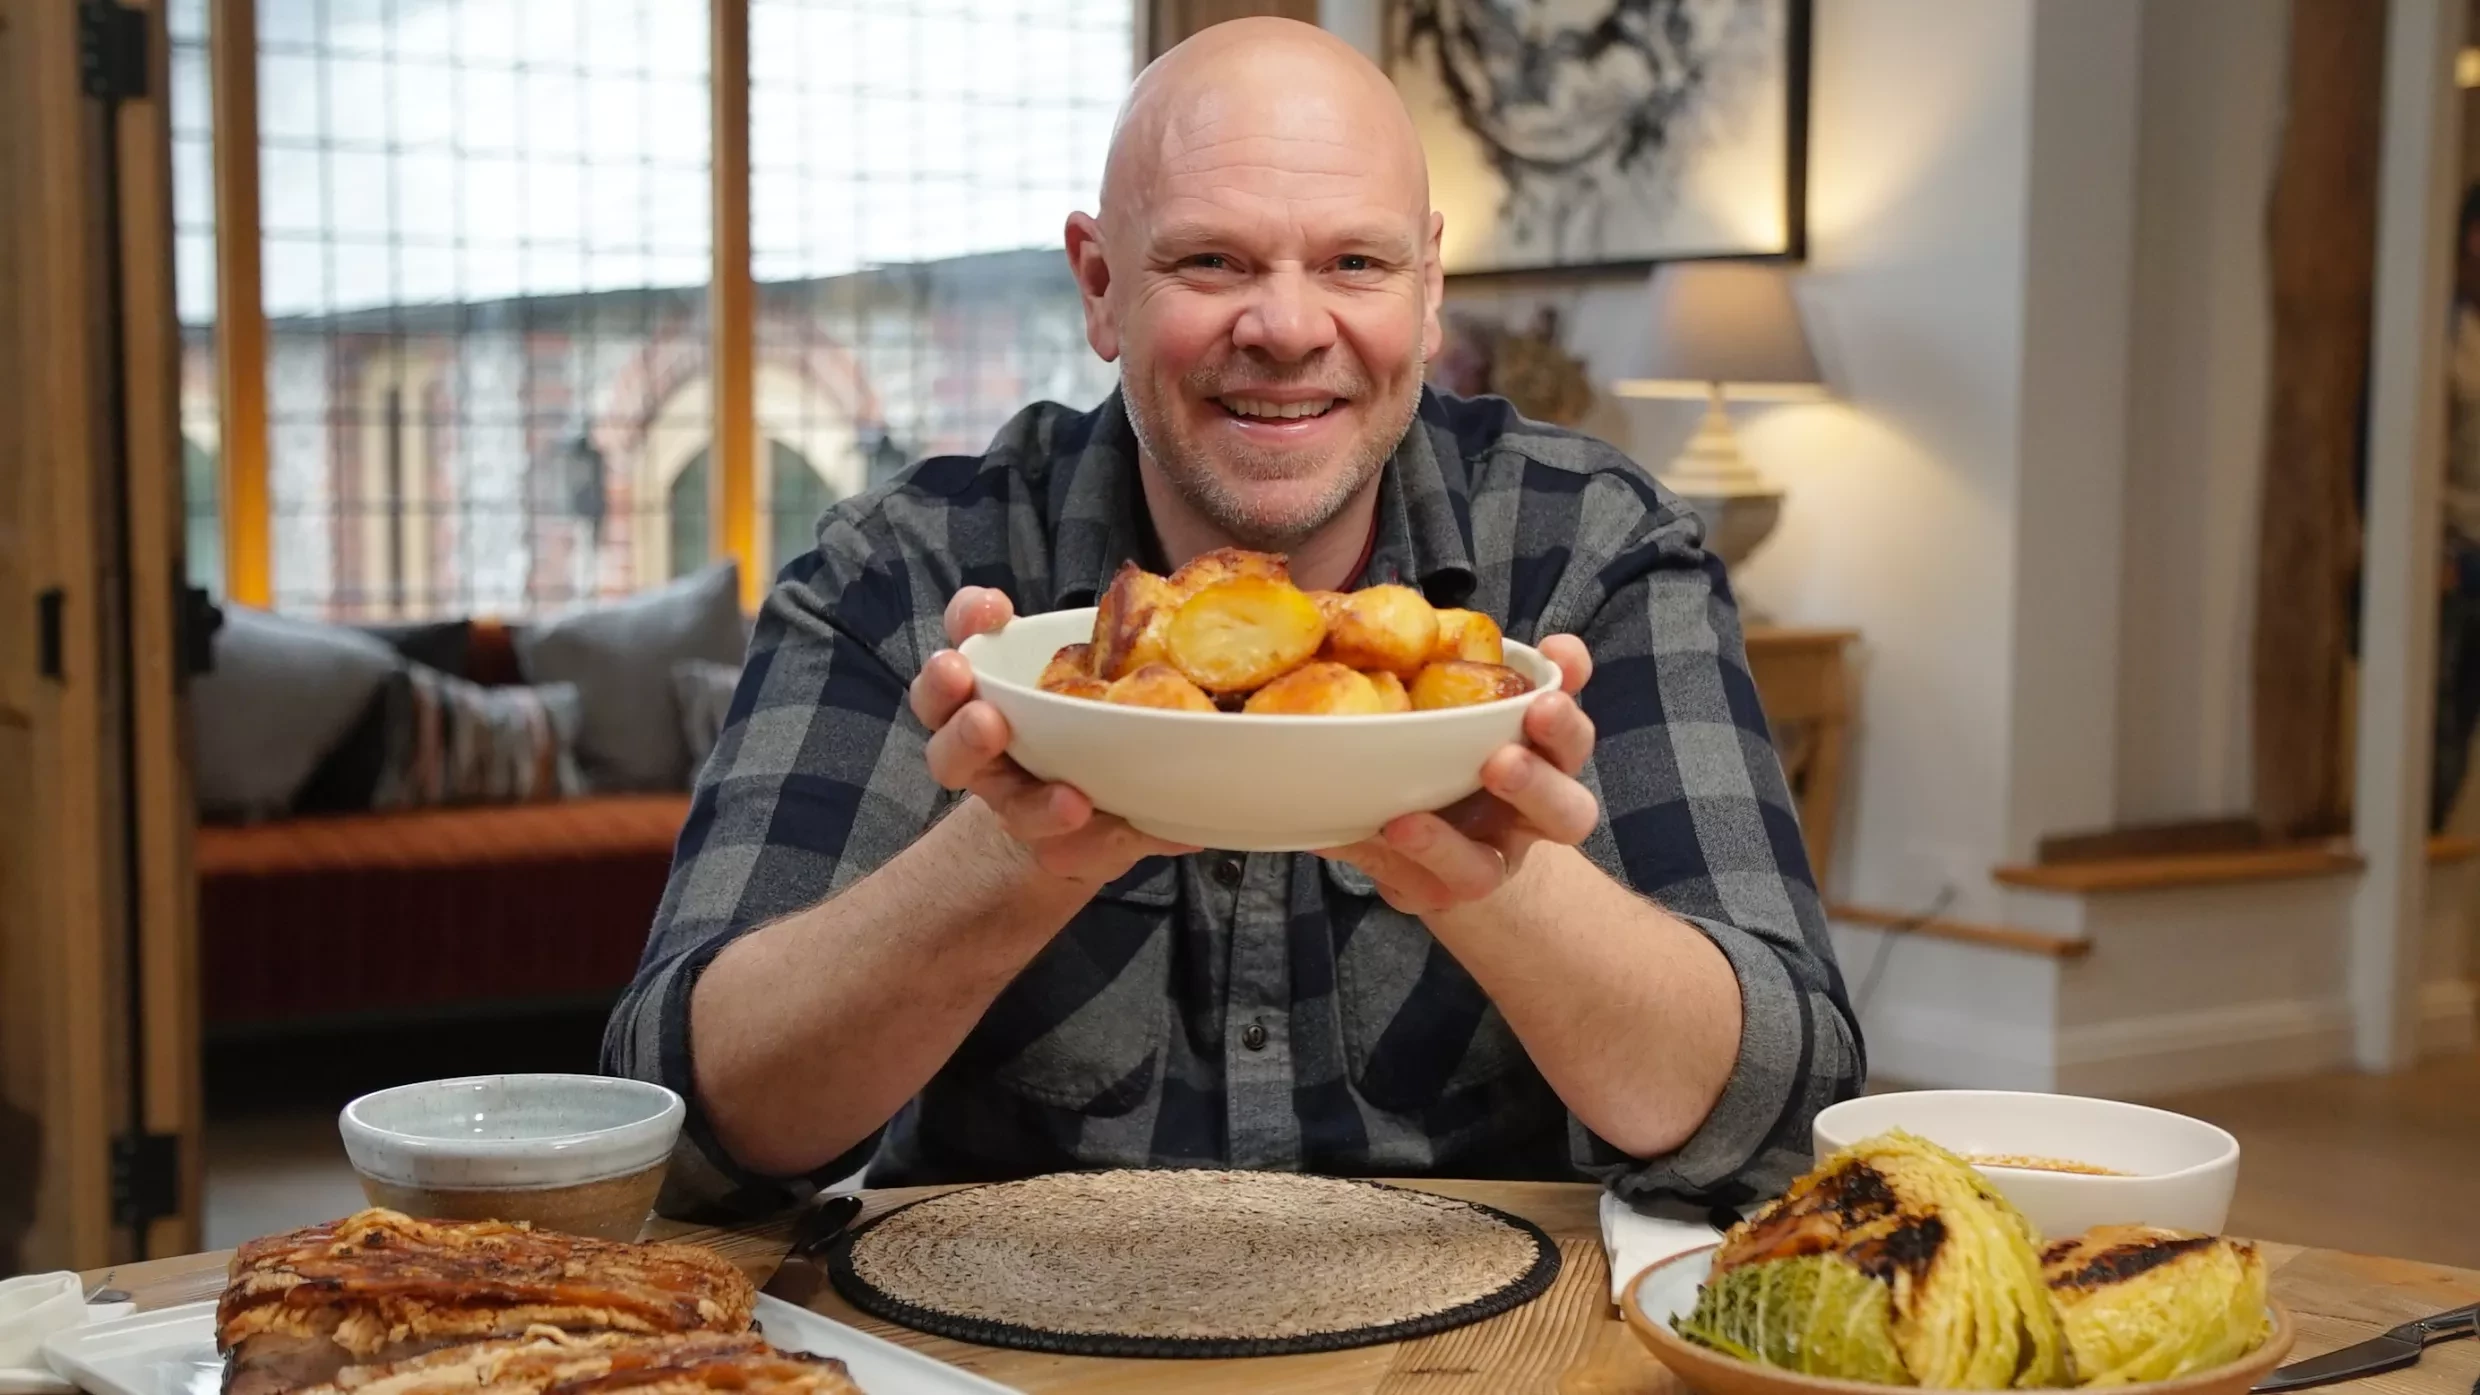
Serve with Tom Kerridge’s best roast potatoes, buttery green beans and a big pile of seasonal roasted veg, and don’t forget to spoon over those tasty pan juices. This incredible roast chicken and herbs dish is equally perfect alongside a fresh salad or even shredded into sandwiches the next day for leftovers worth looking forward to.
Whether it’s a relaxed Sunday roast or a midweek family meal with a little extra flair, this herb roasted chicken recipe proves that simple ingredients deliver seriously impressive results. And once you’ve mastered it, we’ve got more brilliant options from some of your Food Network favourites, including Michel Roux’s roast chicken with herb butter, Barefoot Contessa Ina Garten’s roast turkey with truffle butter, or Tom Kerridge’s roast five-spice duck with plum sauce.