


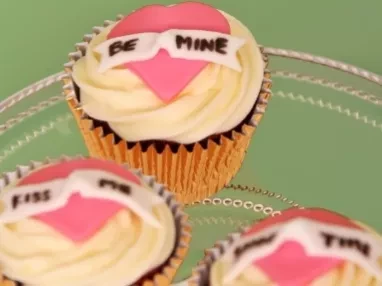
Love Tattoo Cupcakes
This mouth-watering recipe is ready in just 1 hour and the ingredients detailed below can serve up to 12 people.
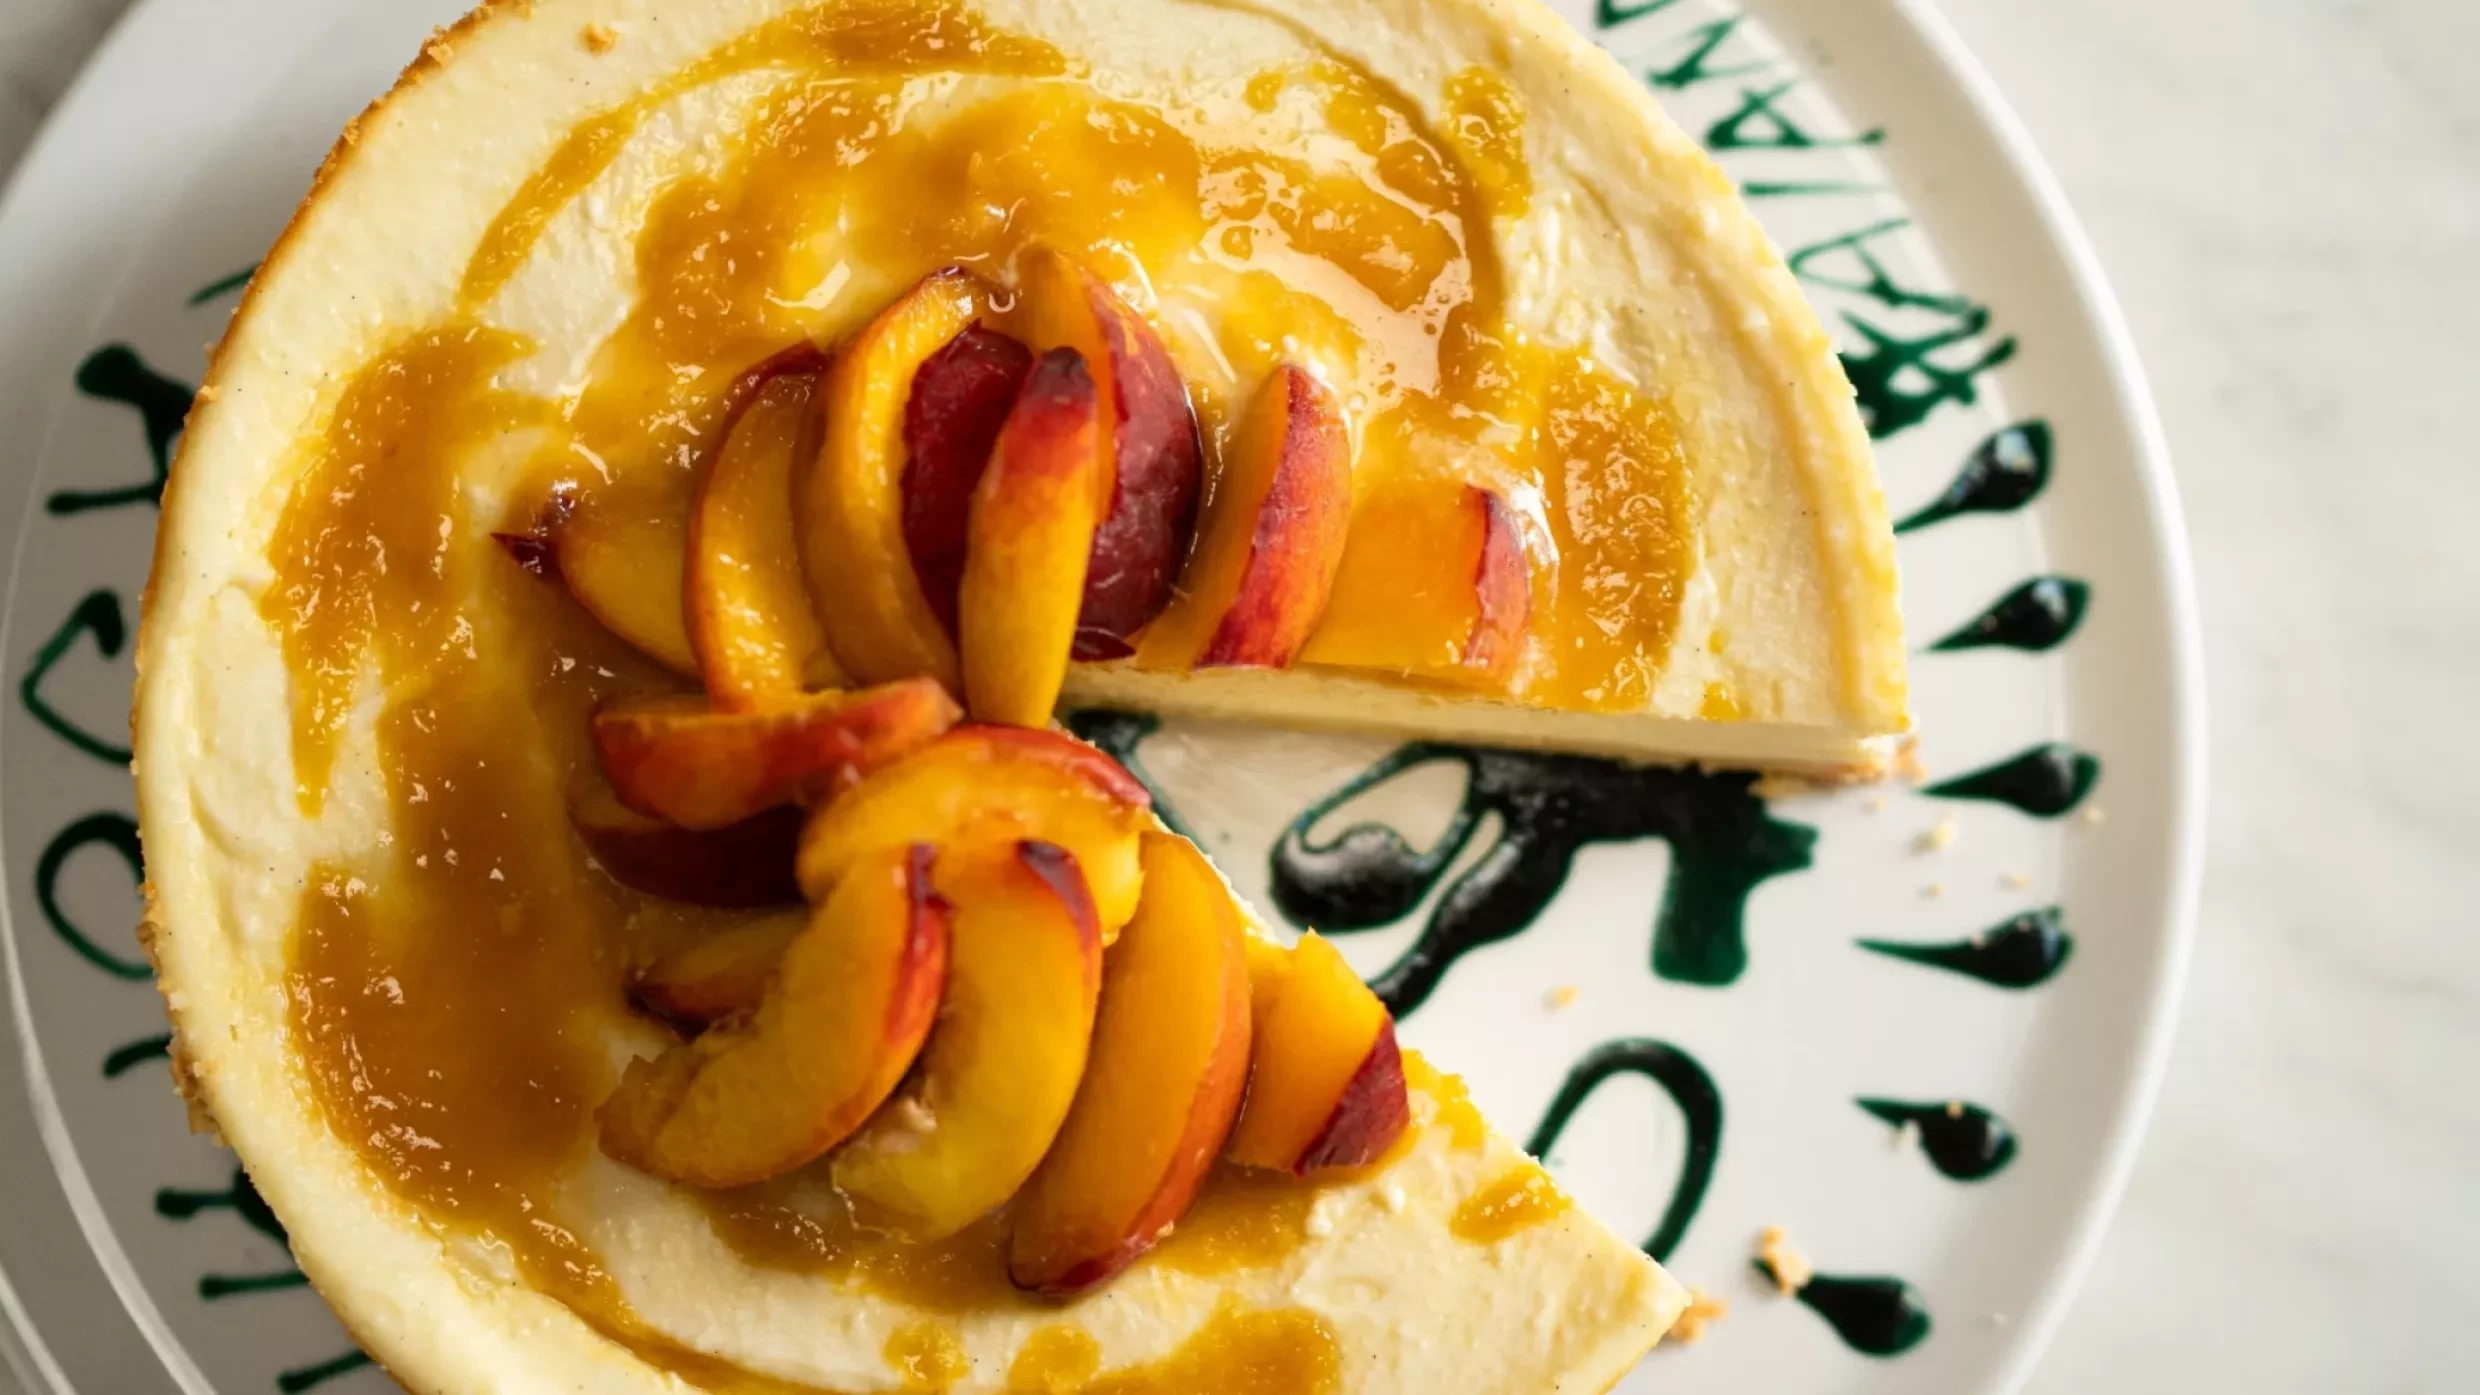
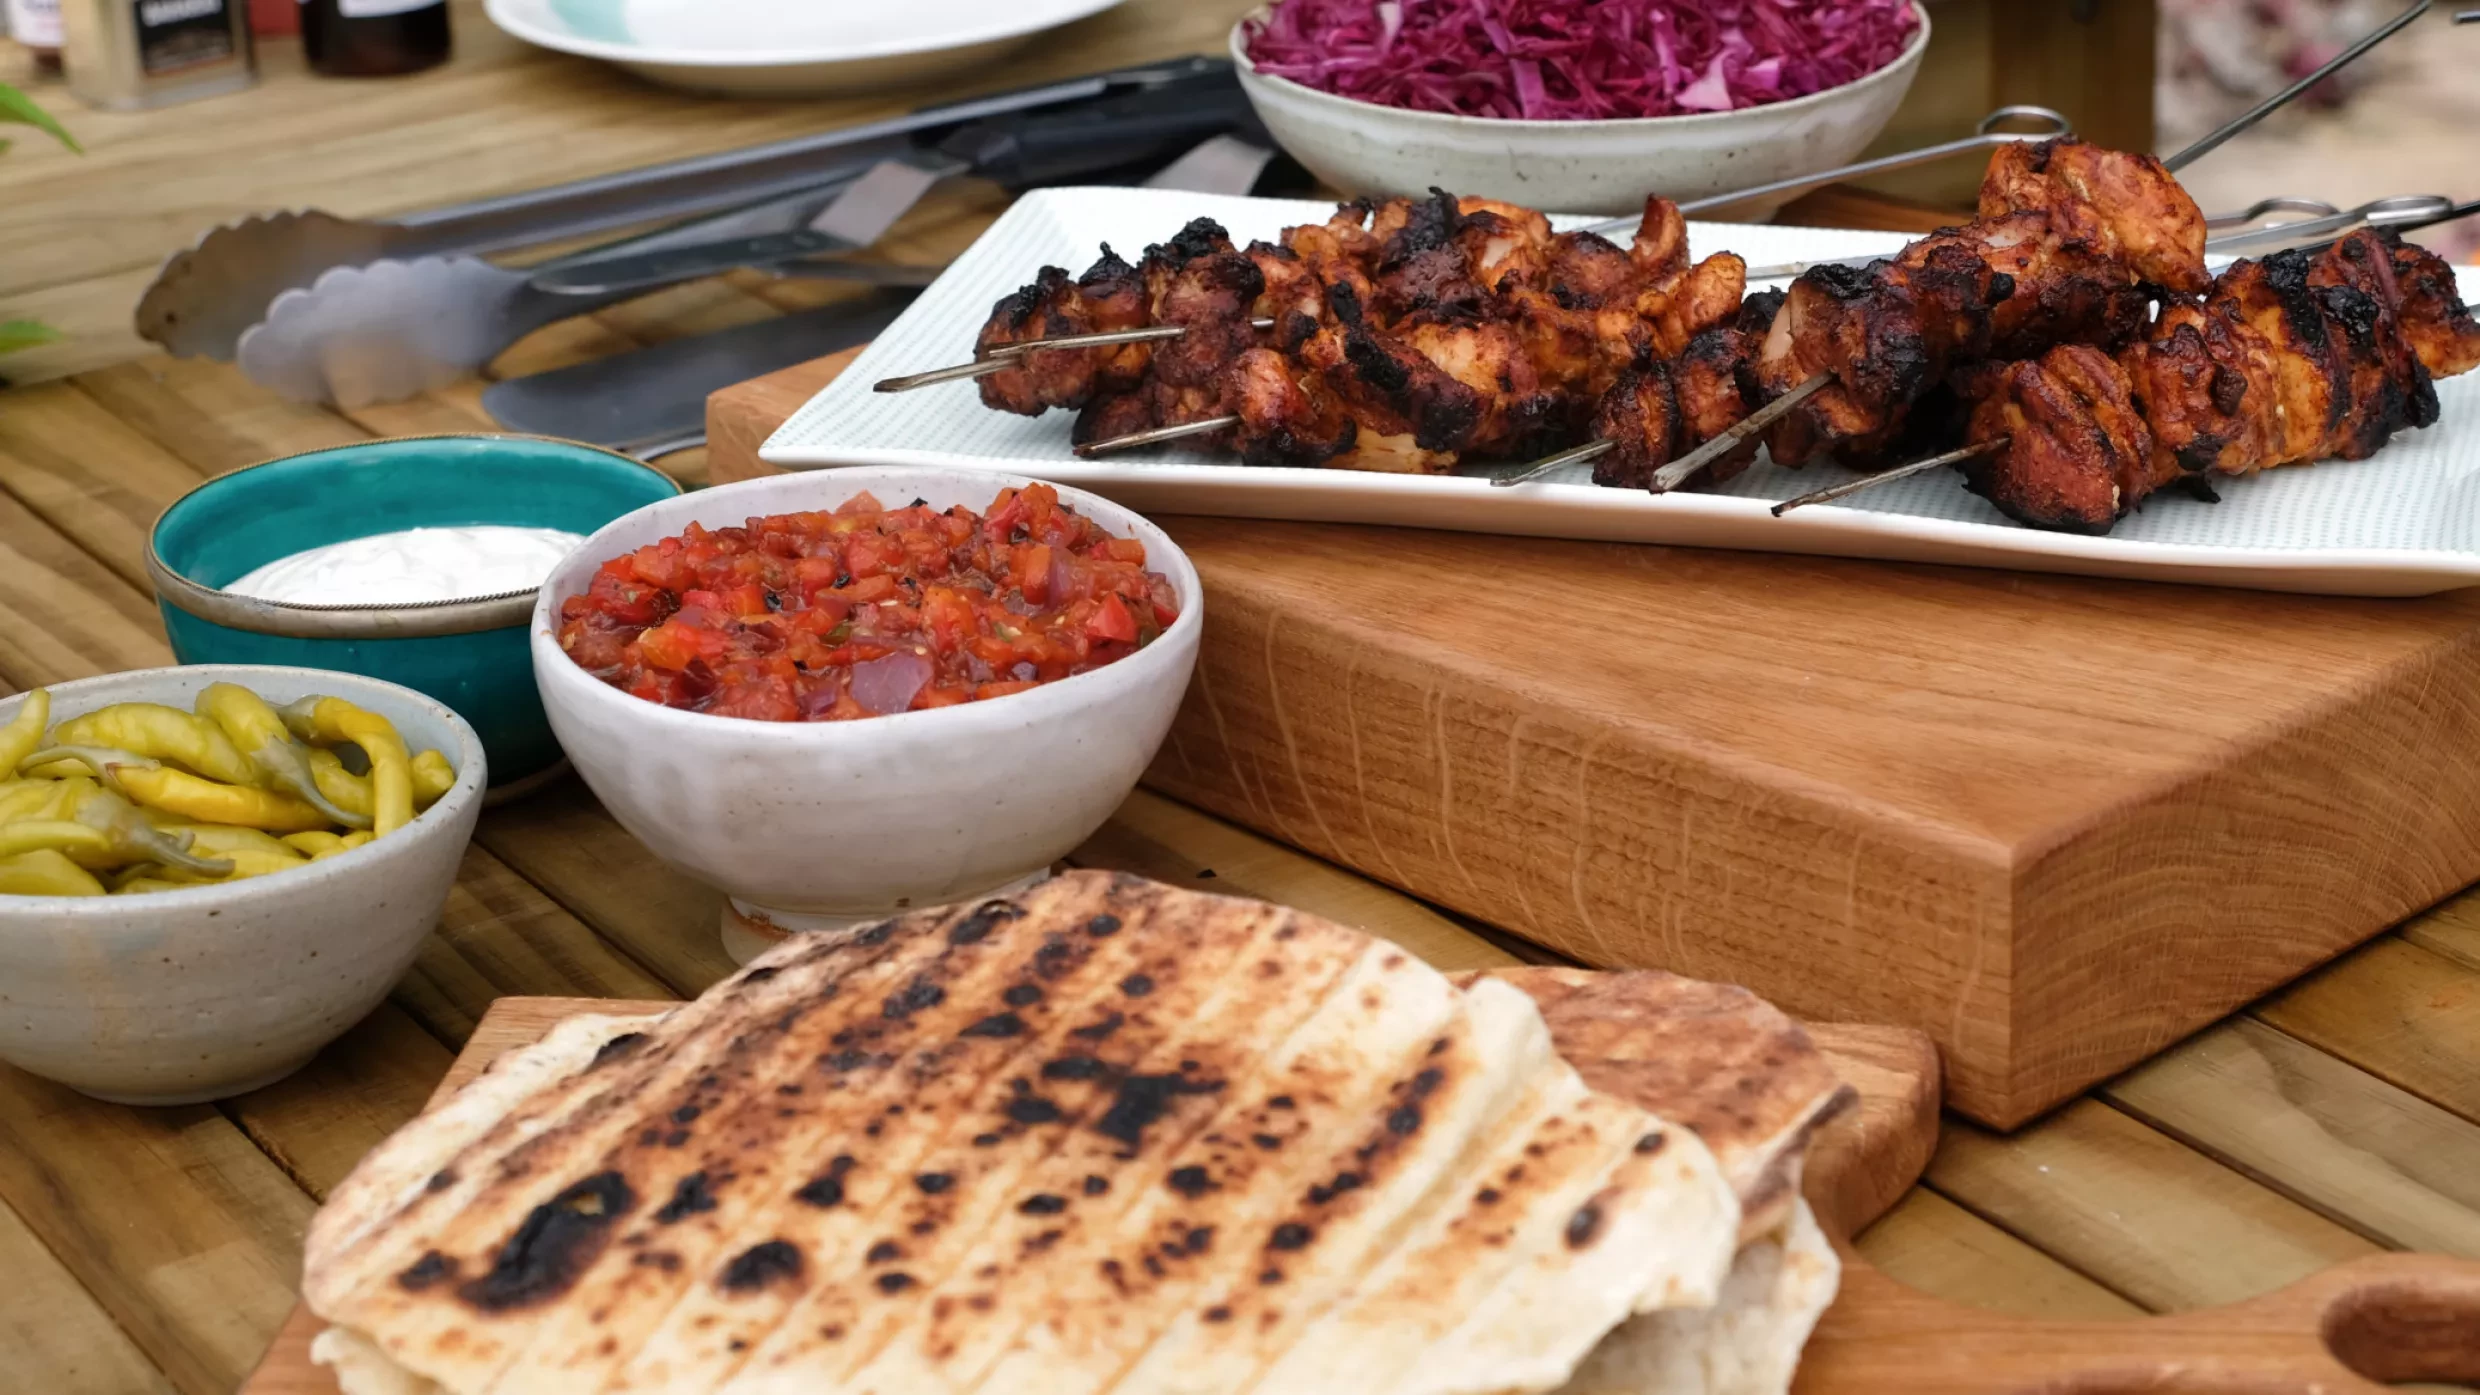
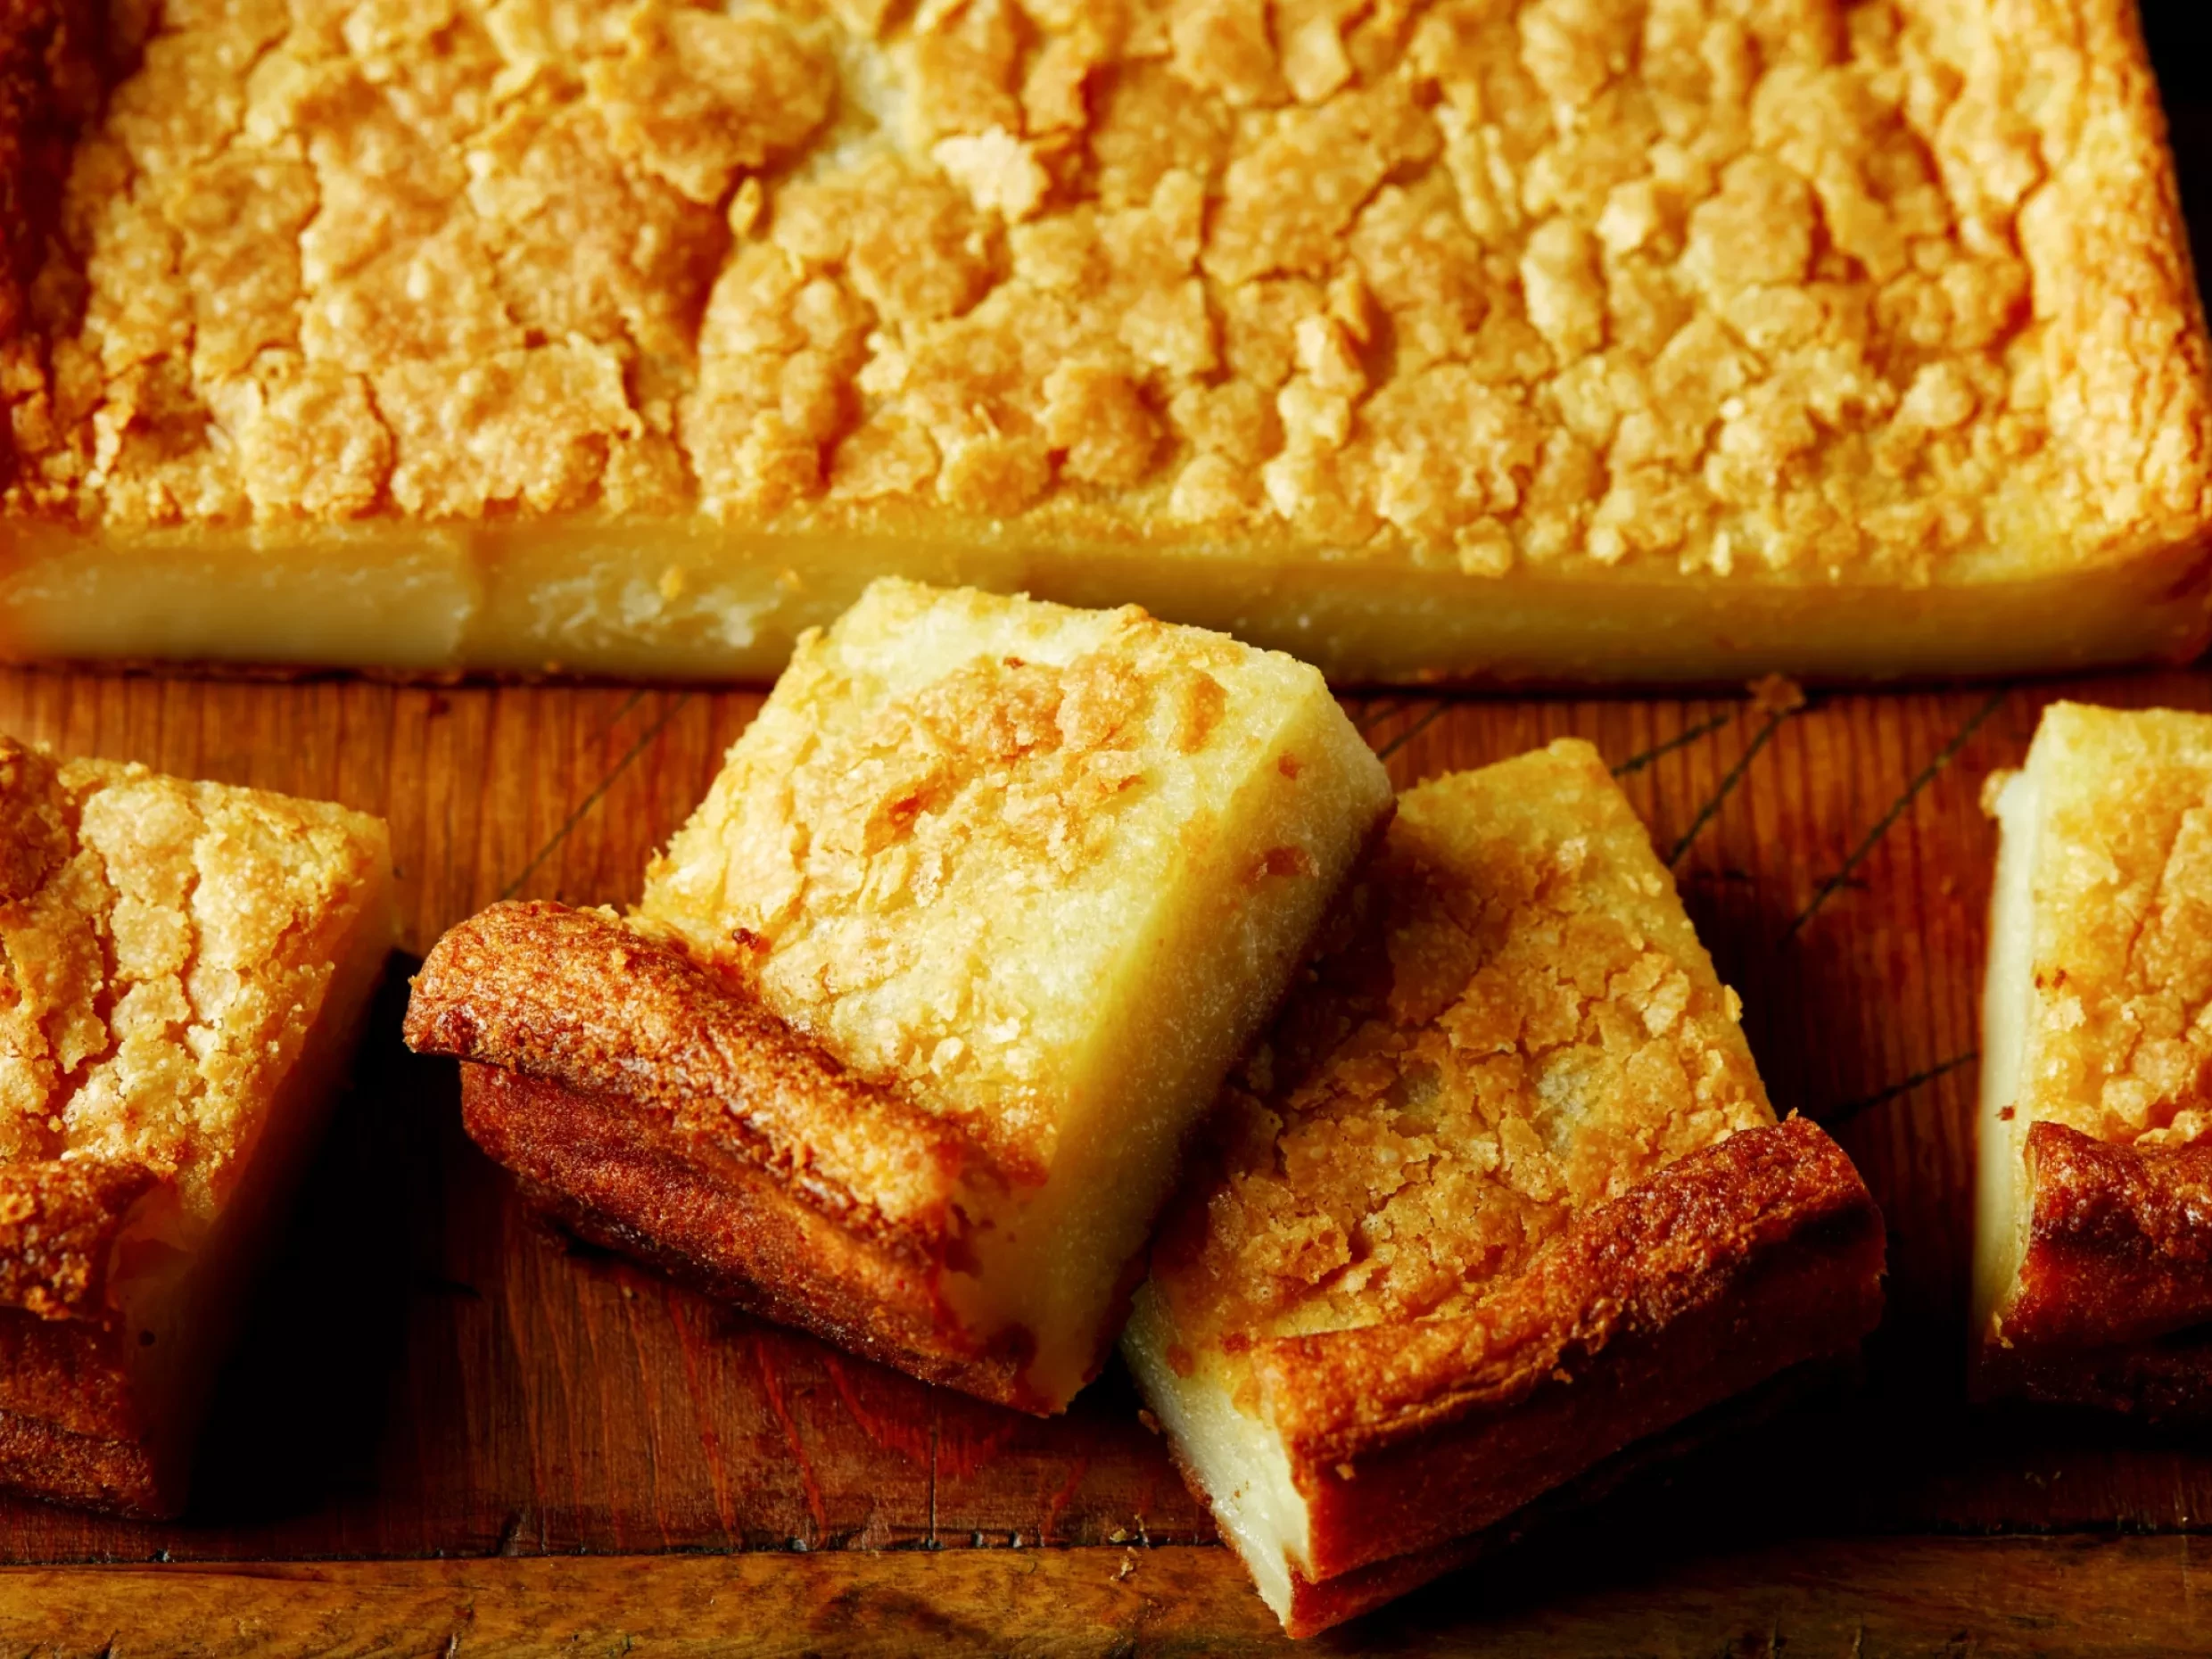
Related Recipes

Ingredients
Method
1. Cream the butter and sugar for at least 5 minutes - seriously, we need it to look pale as cream with all the sugar completely incorporated into the butter (trust me, the extra effort is worth it).
2. Add the eggs one at a time, adding a teaspoon of flour if the mixture starts to curdle. Add the vanilla and stir through.
3. Fold the flour and baking powder into the wet ingredients, being careful not to stir too hard or for too long - you need the dry ingredients mixed in completely and that is all! We do not need to beat this mixture at all. Add enough milk to make an easy dropping consistency.
4. Divide into 12 cupcake cases and bake at 180°C for 20 minutes or so (the cupcakes are done when they are risen and slightly golden on top).
5. When your cupcakes are completely cool, you might want to spread or pipe a little buttercream on the top to make them extra delicious. Start by thoroughly creaming the butter until no little lumps of butter are remaining, which should take approximately 3 minutes. Using the paddle attachment (if you are using a freestanding mixer) begin by creaming the butter on a low speed to start the process for about 30 seconds, then stop the mixer and scrape down the butter from the sides of the bowl before beating on a higher speed for about 2-3 minutes more. The same process should be followed if you are using an electric hand whisk. Beat the vanilla extract into the butter for 30 seconds.
6. Add the icing sugar to the creamed butter in thirds, mixing for at least 2 minutes after each addition to ensure that the icing is completely incorporated before adding the next third.
7. When you have all of your sugar in, turn the mixer up to a nice high speed and let it beat the buttercream for a good 5 minutes to make it extra fluffy. If you are not using a freestanding mixer, you might want to have a magazine to hand while you do this! I know that this sounds long-winded but, trust me, the extra time that you put into beating your buttercream will result in a delightfully creamy and light consistency that is well worth the effort!
8. This icing can then be spread or piped on top of your cupcakes, ready for embellishment.
9. These Love Tattoo cupcake toppers are quick and easy to make and you will not need an awful lot of equipment to make them. You will need the following:
White sugarpaste
Paste food colouring or some pre-coloured sugarpaste
Non-stick rolling pin
Small heart-shaped cookie cutter
Pizza wheel or a small knife
Food colouring pen
Paintbrush
10. You need to start by making your hearts. You want these to be a bright, vibrant colour like hot pink or red. White sugarpaste can be coloured using paste food colours (Sugarflair is the best brand to use) and these are available in craft shops and online. I have made up a hot pink using Sugarflair's Ruby paste colour.
11. Give your hot pink sugarpaste a quick knead to warm it a little, then roll out to around 3-5mm thick. Cut out your hearts using a small heart-shaped cookie cutter. Set the hearts aside to dry out a little.
12. To make the scrolls, you need to roll out some white sugarpaste to 2-3mm thick. Cut strips using a pizza wheel (this is a cake decorator's trick, the wheel is the BEST way to cut fondant smoothly!) or a small knife. The width of the strip will depend upon the size of your hearts. Aim for about a third of the height of the heart as you don't want to cover the whole heart up.
13. Now for the sneaky little clever bit... using the pointy end of your heart-shaped cookie cutter, cut the tails of the scroll. The scroll should be around the same length as the cutter, so you can use it as a measuring tool too!
14. Carefully pick up your scroll and twist it. You are trying to achieve the look of a retro sweetheart tattoo. Place this twisted scroll on top of your heart, sticking it on with a dab of water from your paintbrush. Press the scroll down gently and leave this to dry for a little while.
15. After 30 minutes or so, the top of your scroll should feel dry to the touch (the longer you can afford to leave them to dry, the better, really). You are now ready to write a cheeky little love message for your sweetheart. Foodsafe colouring pens are available in the baking section of larger supermarkets and in craft shops. They are not very expensive. Go lightly with the pen so that you can build up your lettering and write any message you like. Be as naughty as you like!
These cupcakes are the perfect way to say I love you without the 'I Wuv You'!
Recipe courtesy of Charlotte White at Restoration Cake
Photos courtesy of Rockabetty Studios