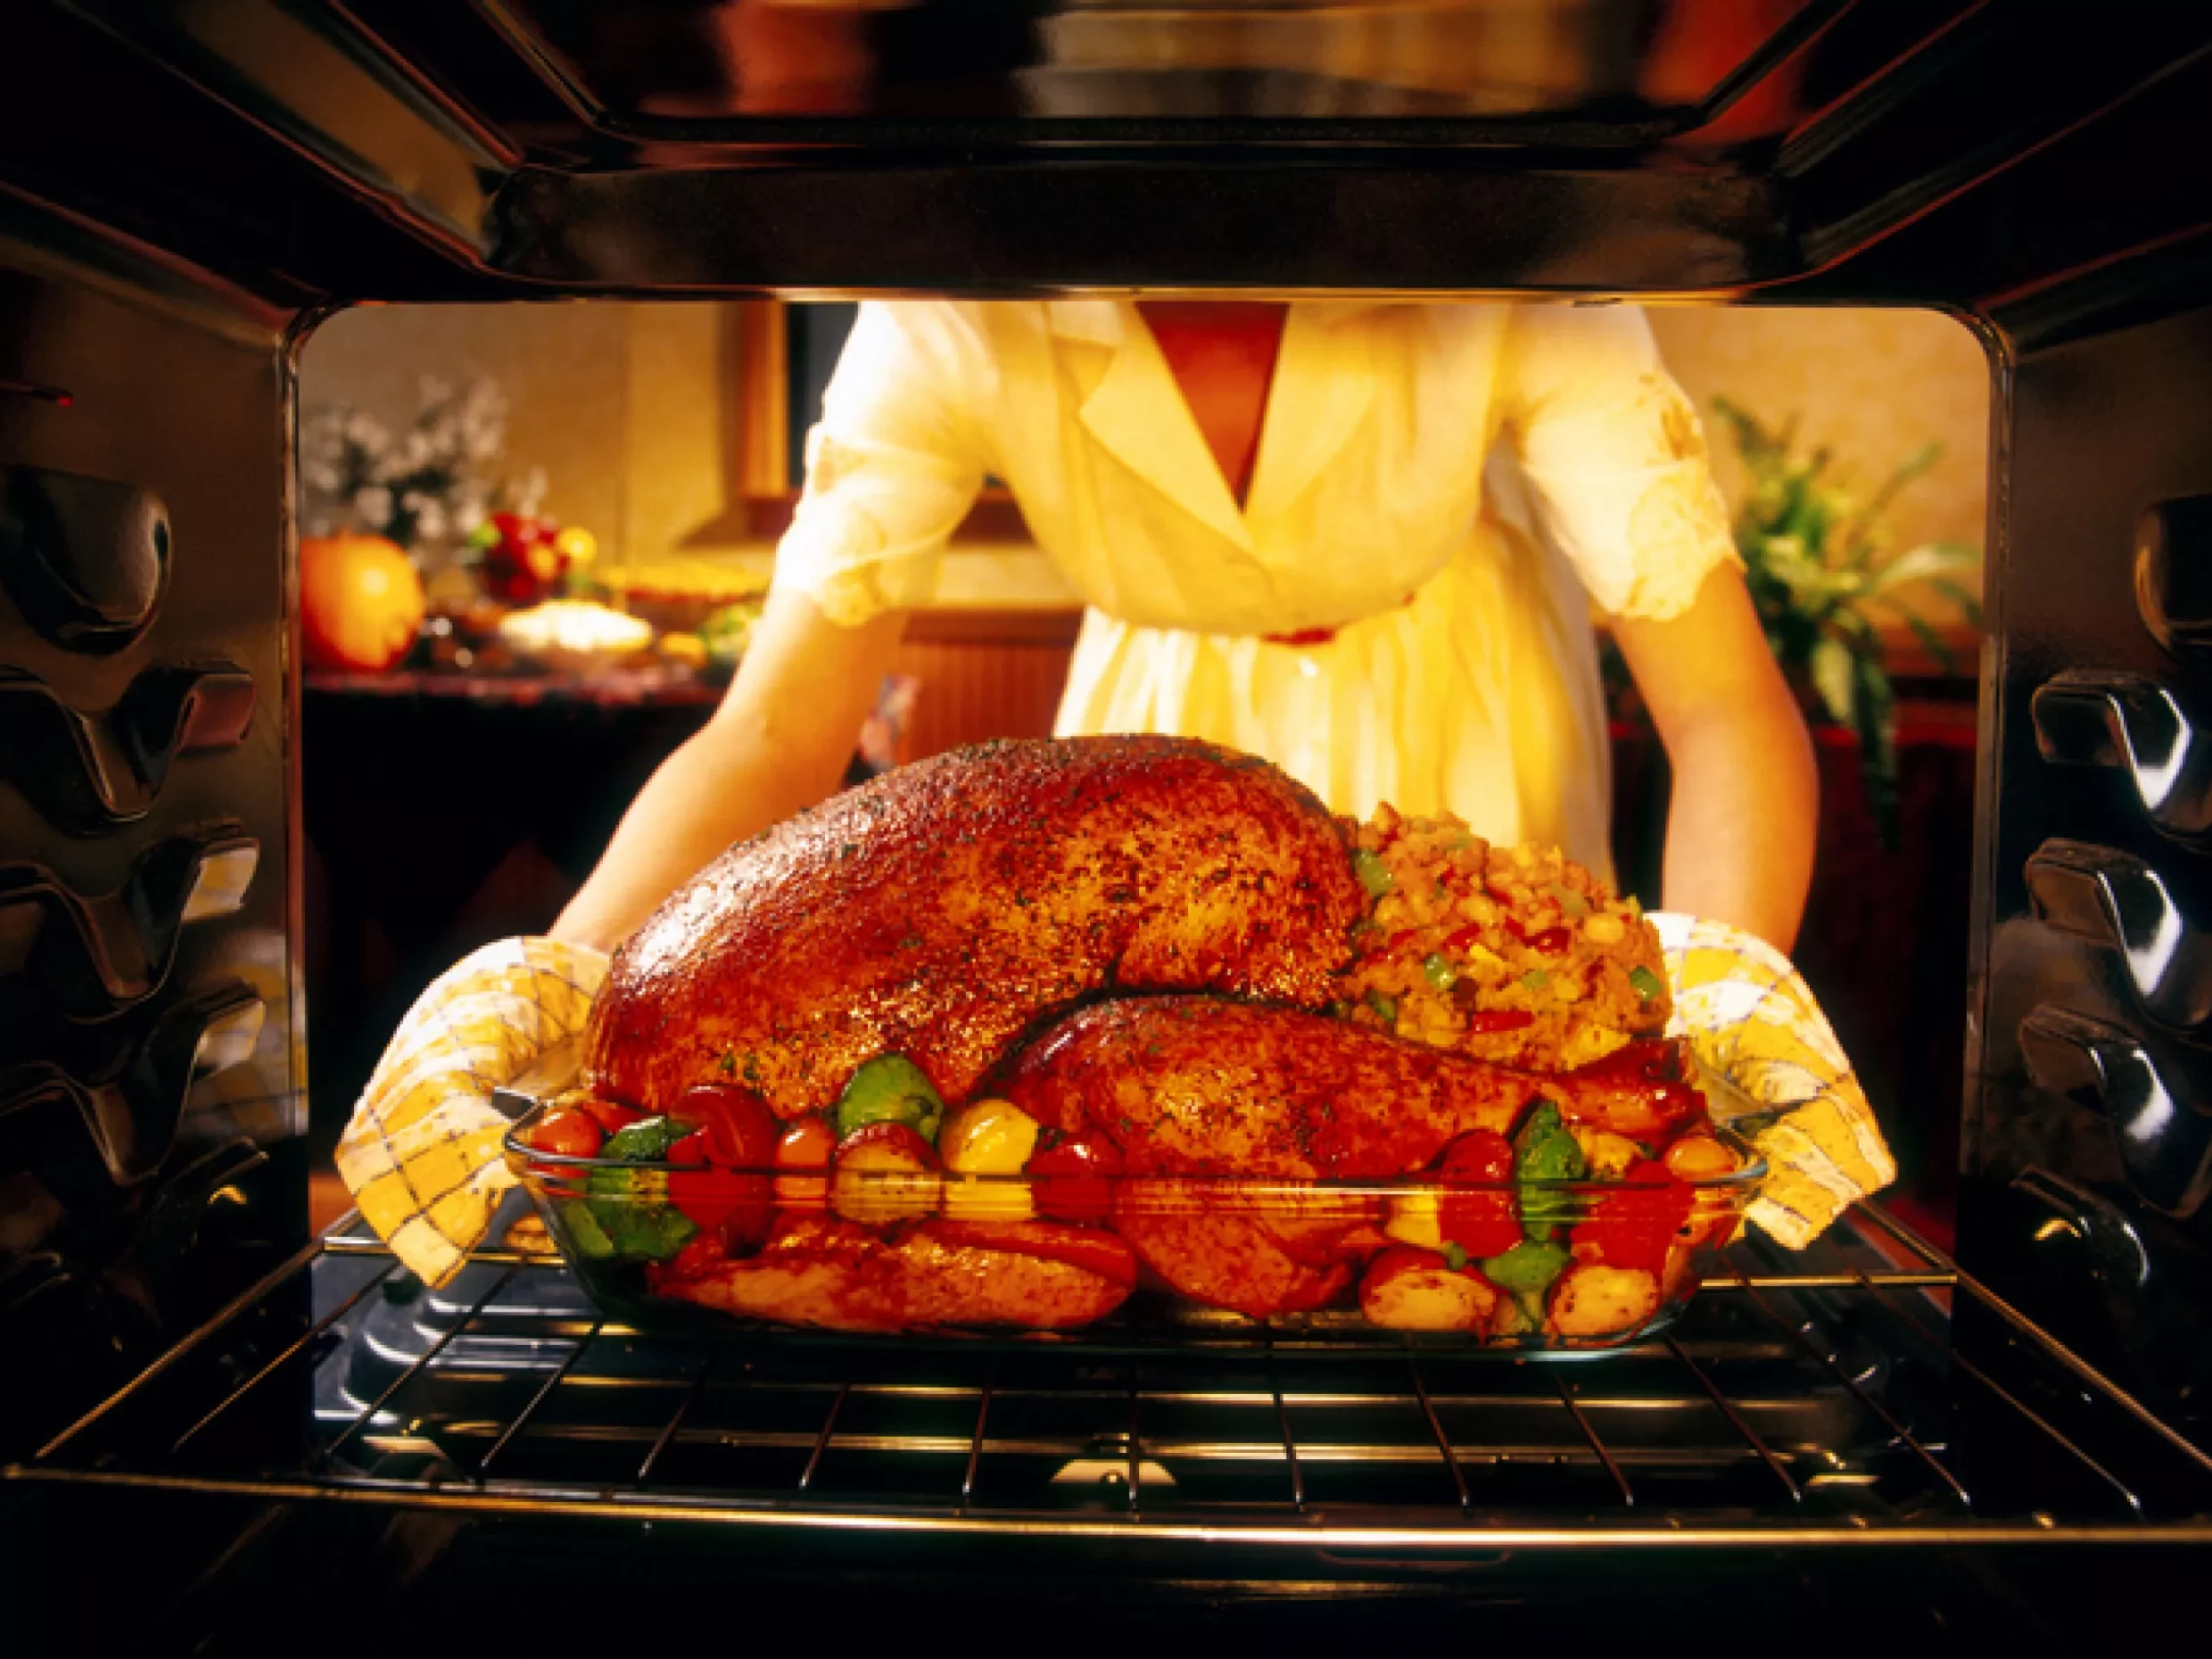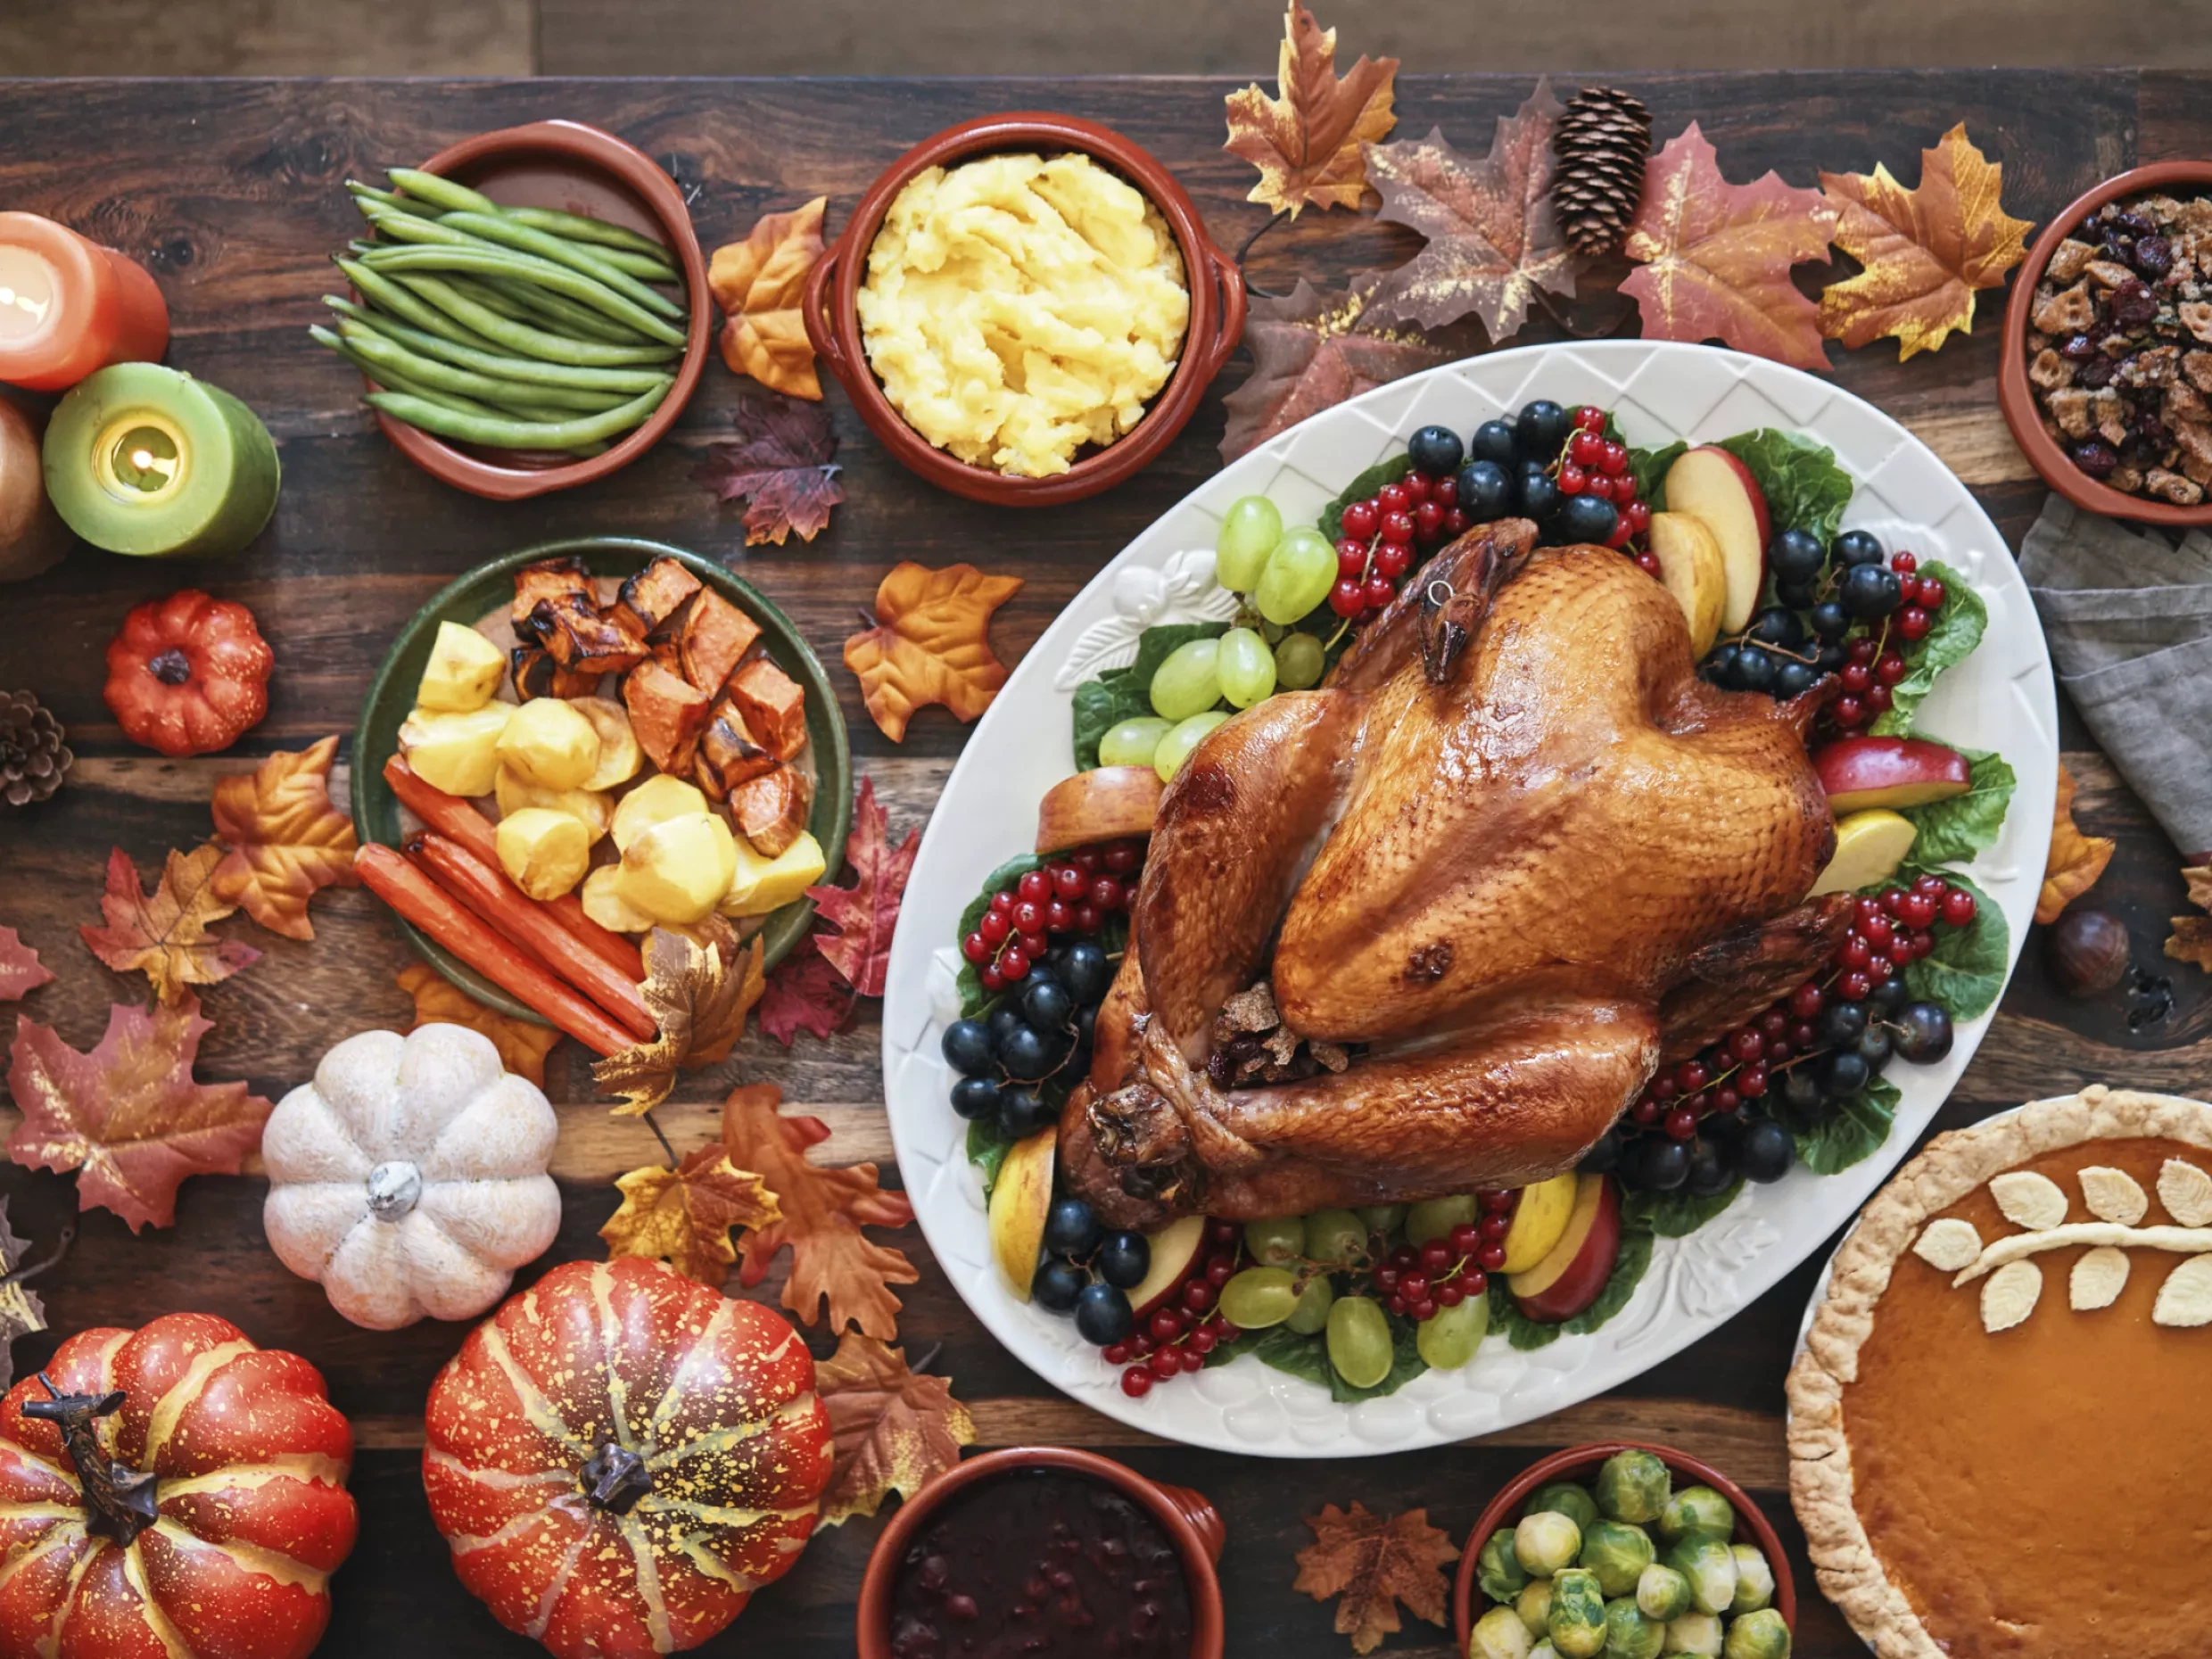


Whether you’re cooking Christmas for the first time or the fiftieth, the festive feast can quickly tip from happy and joyful to overwhelming and stressful without a proper plan. As anyone who’s done it will know, the secret to a calm kitchen isn’t last-minute Christmas Eve heroics, it’s a tried and tested timeline that starts weeks in advance, so when it’s time to carve and serve, you’ve got everything under control. From plans to prep to pudding, this Christmas dinner checklist walks you through everything you need to know.
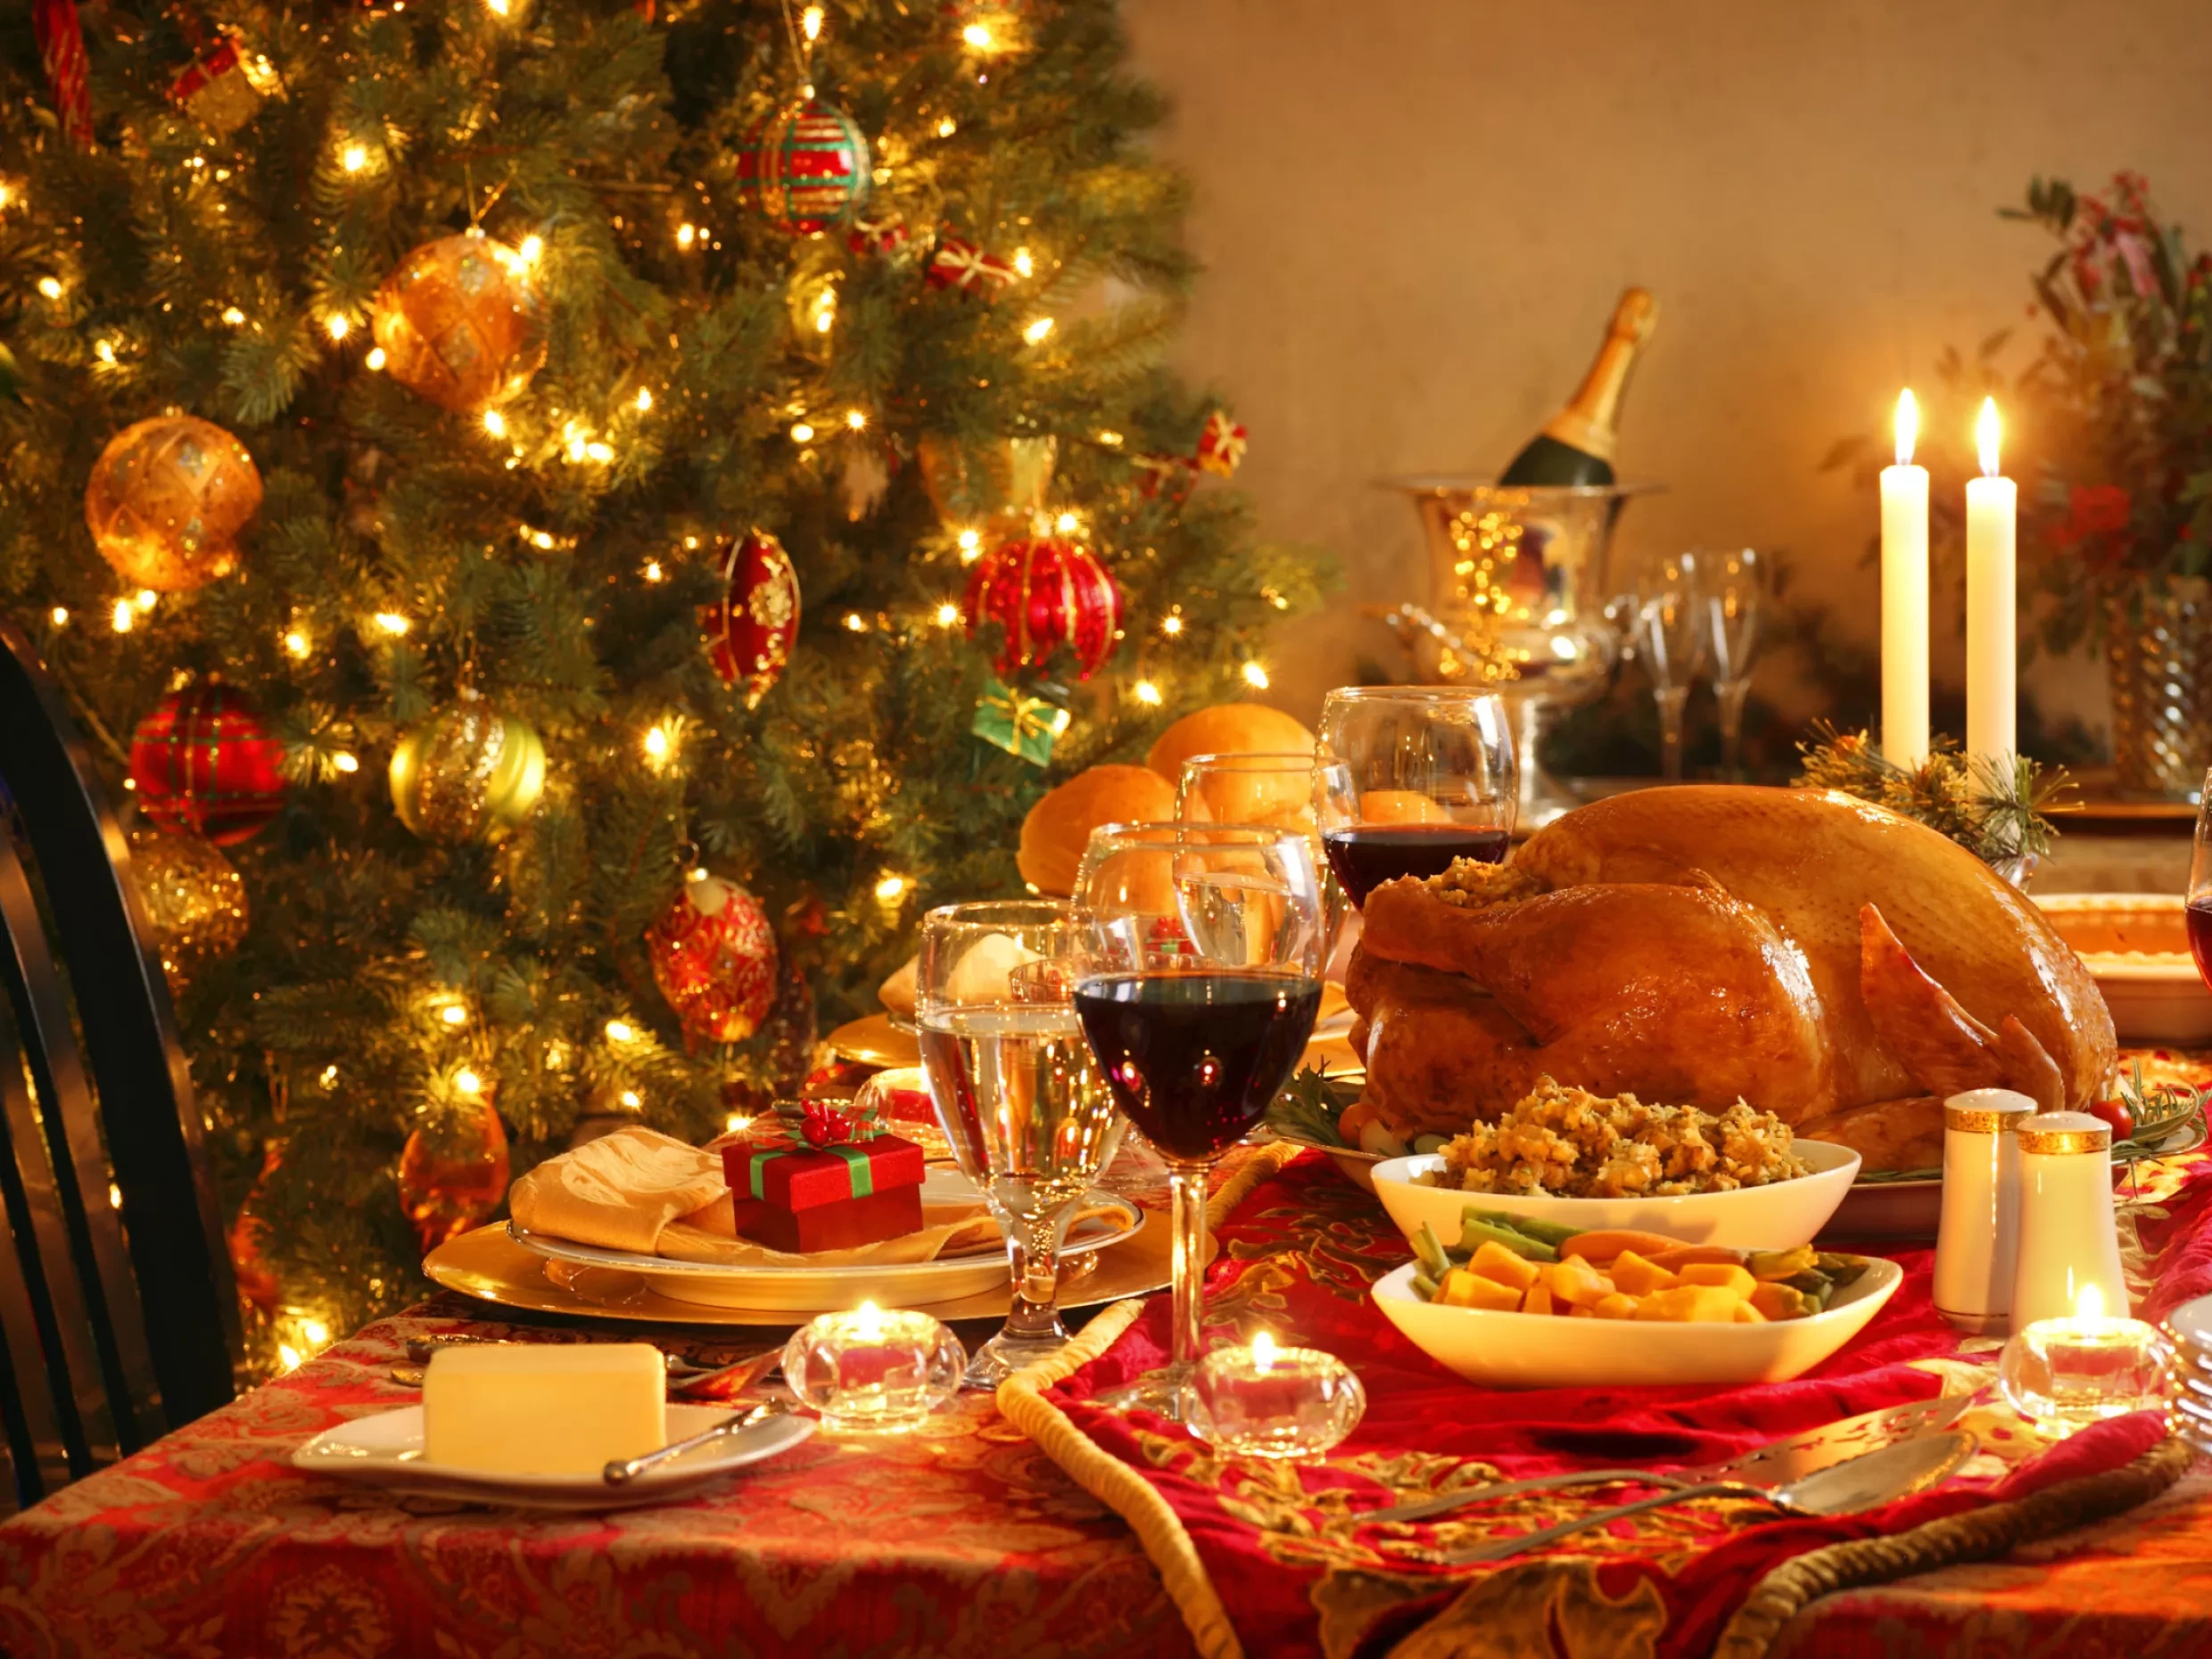
The Calm Before the Christmas Storm
Fear not, we’re here to try and take away as much stress as possible from the daunting task of making Christmas dinner! This checklist has been created for a typical gathering of 6-8 people and is focused on turkey as the centrepiece, but it’s easily scaled up or down depending on how many you’ve got coming. It also assumes a mid-afternoon serving time. If you keep broadly to each stage of the list, you’ll have an absolute cracker of a Christmas Day!
Stage 1 | Mid To Late November | 4-6 Weeks Before Christmas
Thanks to supermarket shop displays and endless festive marketing emails, Christmas seems to come earlier every year. So, even if it may seem a little early, six weeks out is the ideal time to start thinking about the big day. Once you’ve got these early jobs done, the rest of the plan will fall into place far more easily.
- The Guest List: A confirmed headcount means you can size your turkey accurately.
- Dietary Requirements: At the same time you’re confirming the guest list, it’s also worth asking about dietary requirements, intolerances and preferences (vegetarian, vegan, gluten or dairy-free etc) so you can plan which dishes to adapt or make separately.
- The Showstopper: Now’s the time to order your turkey, goose, beef, chicken, or veggie or vegan main. Whether from the supermarket or local butcher, get that order in early to avoid sold-out sizes and guarantee a pick-up or delivery slot.
- Leftovers: If you’re planning on making turkey sandwiches on Boxing Day, or you want enough to make a pie or soup, add a few extra pounds to the size of the bird.
- Kitchenware: It’s vital you have enough plates, glasses, knives, forks and spoons, but don’t forget things like serving dishes, roasting tins, saucepans, scales, whisks, turkey-sized tin foil, and a meat thermometer.
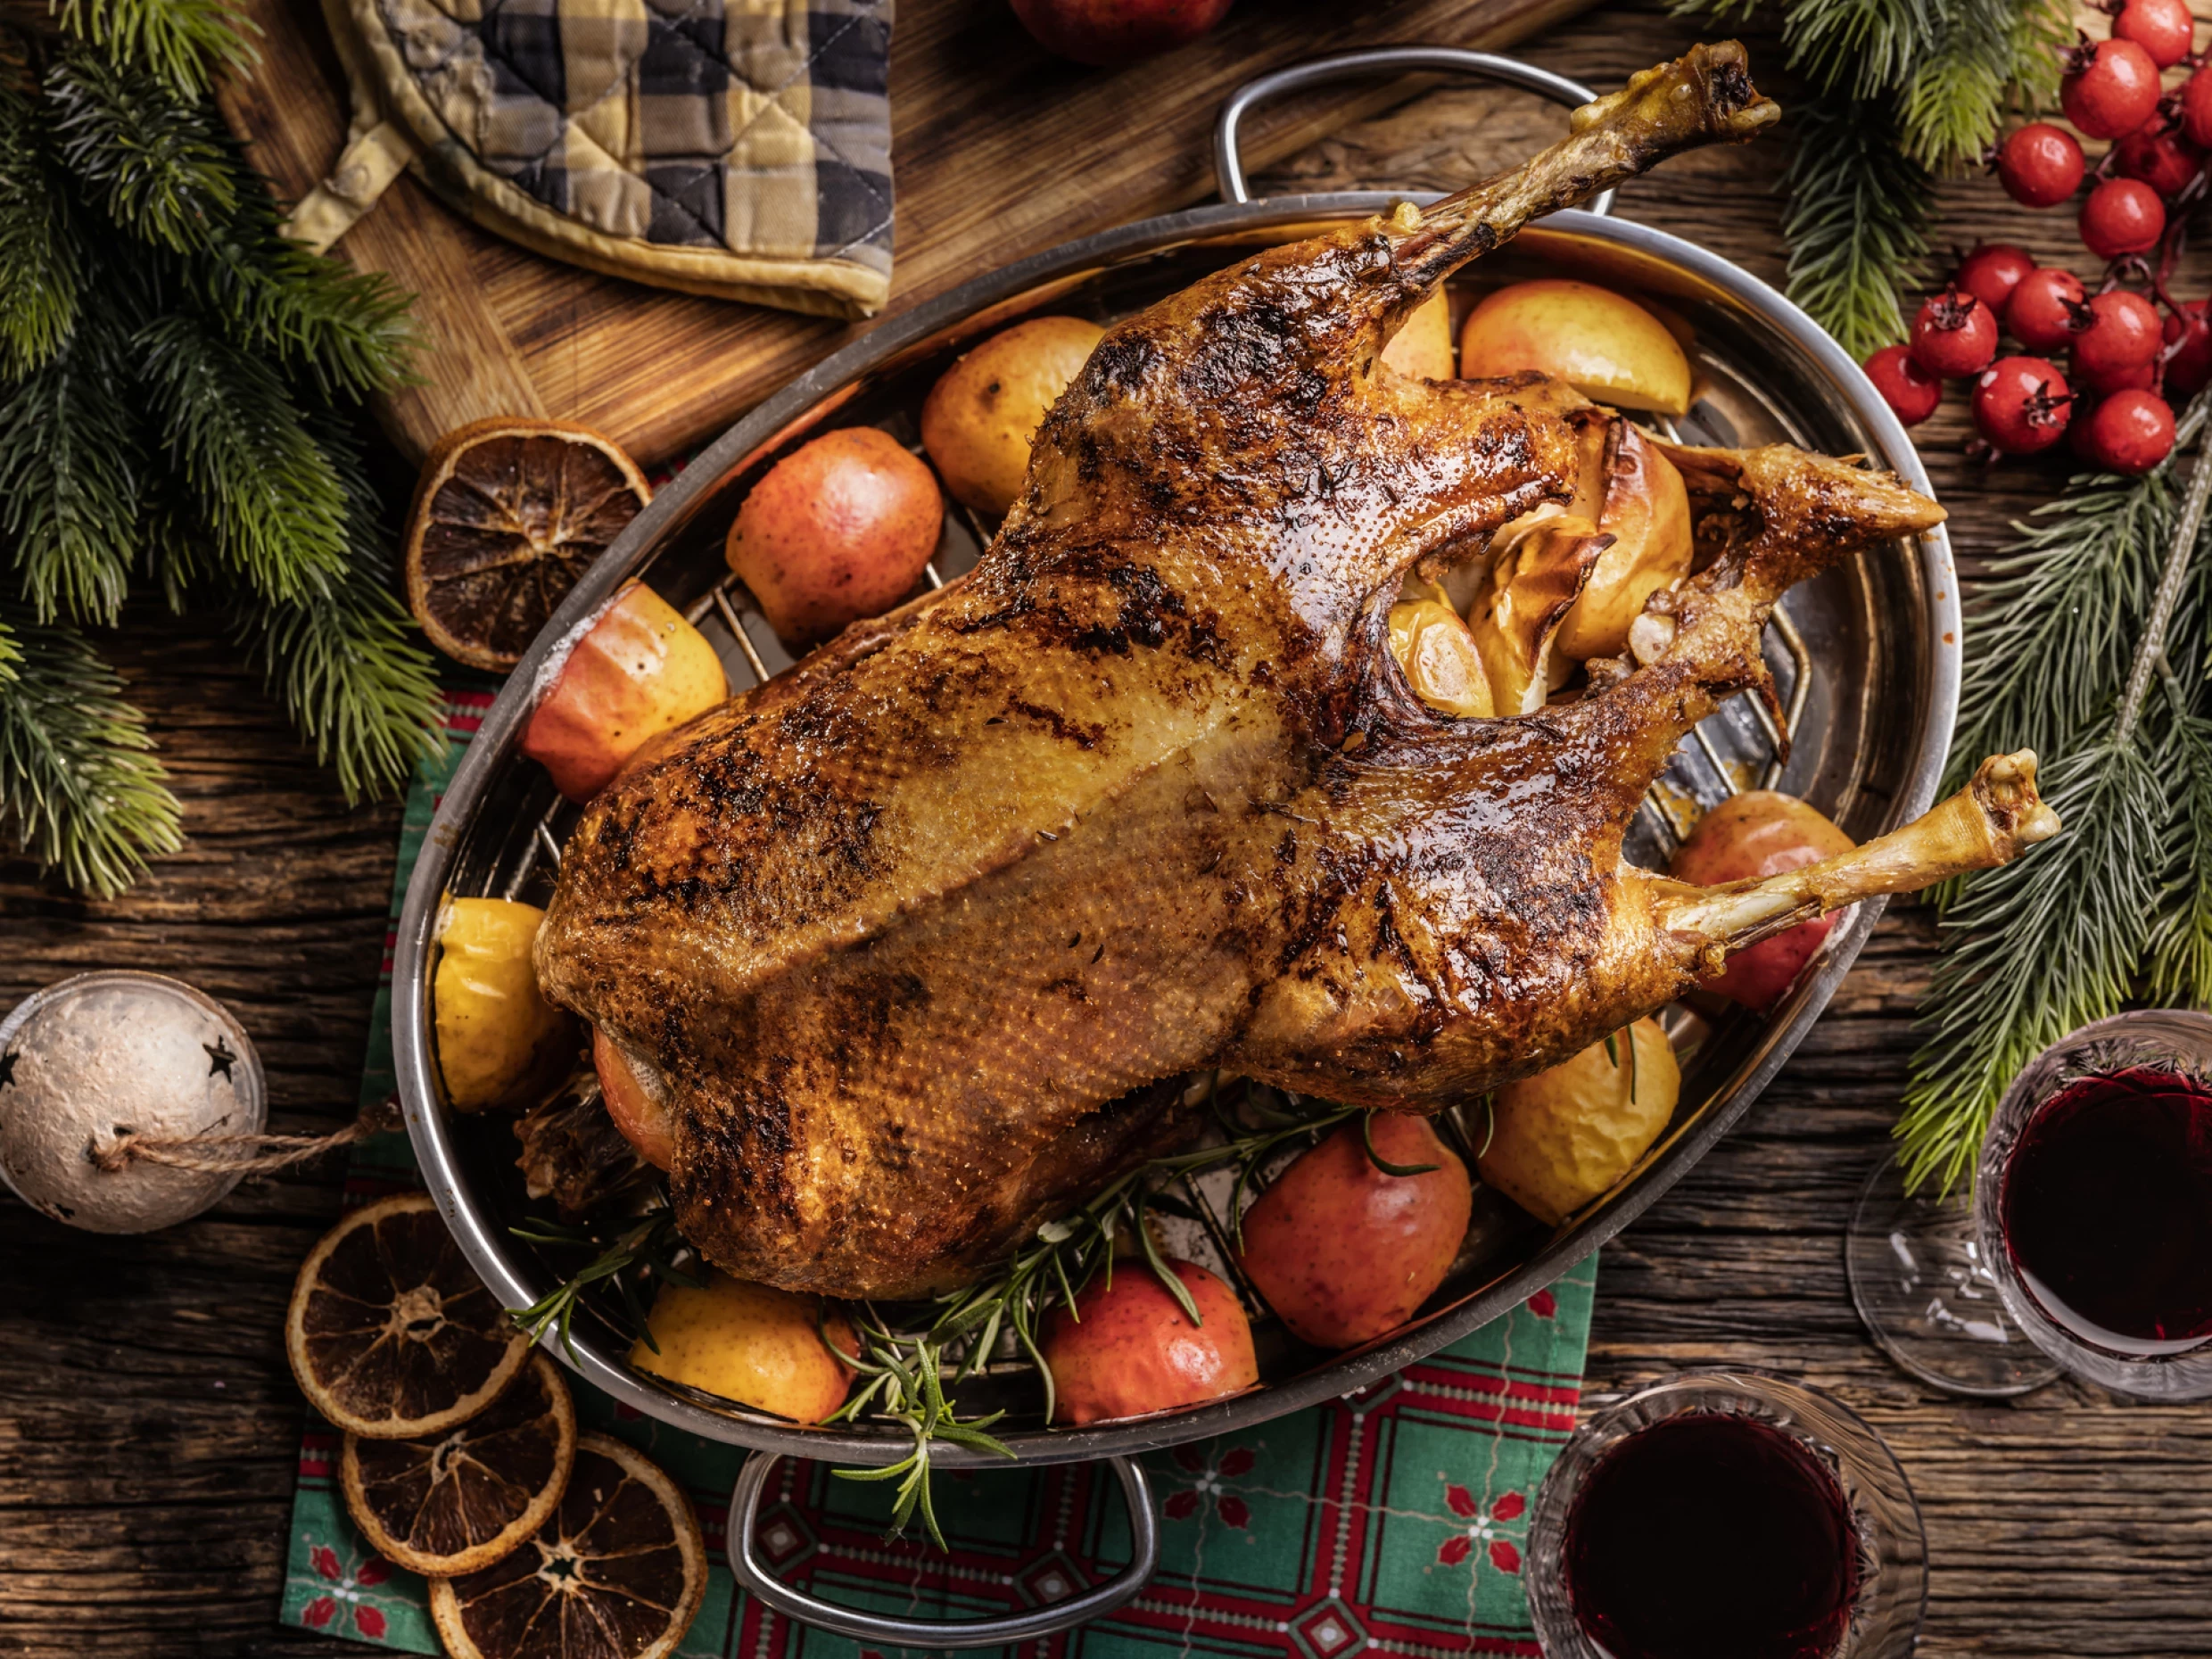
Stage 2 | Early-ish December | 2-3 Weeks Before Christmas
With the guest list sorted and the main dish ordered, the next phase of Project Successful Christmas is to turn your big-picture plans into a concrete menu and shopping strategy. It’s at this point you need to decide exactly what’s going on the table. It may be an idea to split your shopping into a couple of separate trips. Again, getting these jobs done ahead of time gives you less to worry about as the big day approaches.
- The Menu: Finalise your starters, mains, sides, desserts and drinks (as well as any canapés or nibbles). Aim to have at least half the dishes to be fully or partly make-ahead friendly.
- Rough Cooking Order: It doesn’t need to be carved in stone right now, but have an idea of what goes in the oven and when, so you can see whether your plan is realistic and reversion as necessary.
- Write the Shopping Lists: One idea is to split what you need into two lists. The first are the non-perishables, such as tinned goods, alcoholic and non-alcoholic drinks, sauces, crisps and nuts, and anything that is or can be frozen. The other list is for your perishables - for example fruit and veg, potatoes, herbs, dairy products, meat, and desserts.
- Make Space: Your fridge and freezer will do a lot of the heavy lifting where Christmas dinner is concerned, so start eating all the pies and fish fingers that have been taking up space to make room for your Christmas goodies.
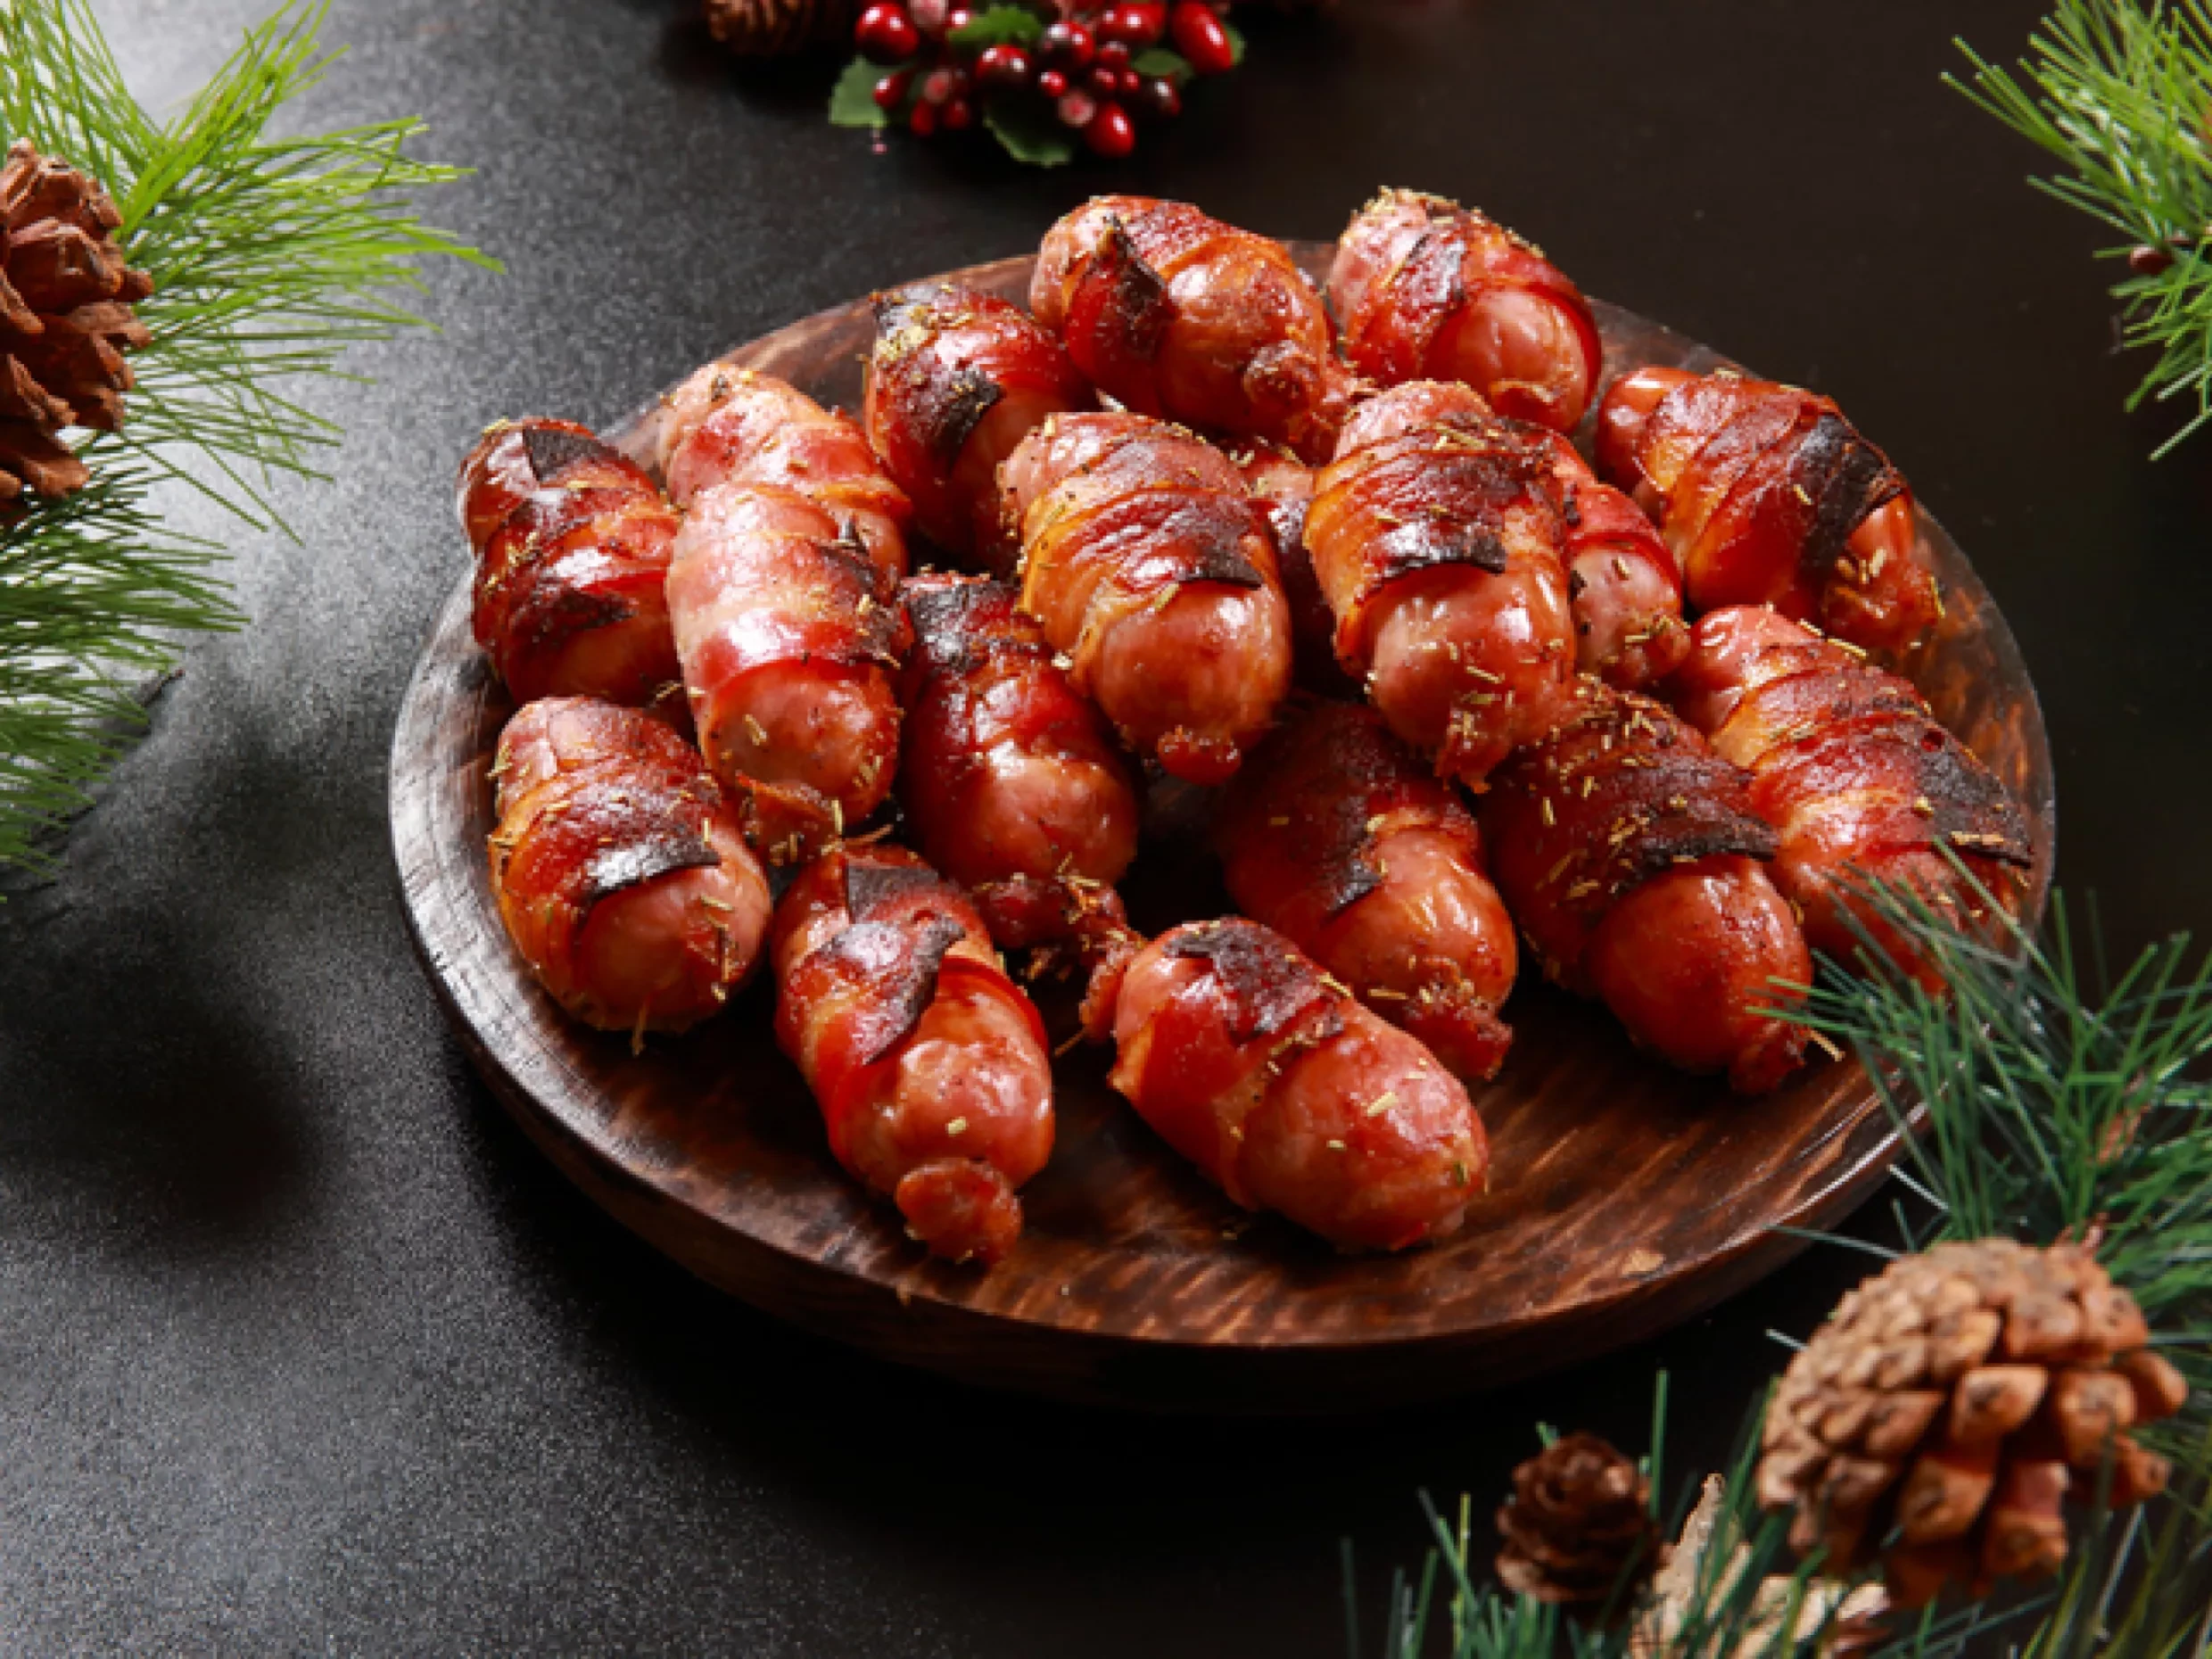
Stage 3 | 20 - 22 December | 3-5 Days Before Christmas
This is when your plans move from theory to reality. It’s about now when your timeline properly kicks in, and the fresh ingredients start to arrive. It’s also the time to double-check food safety around the turkey and make sure your countertops can handle a serious few days of food prep and cooking. Work through these steps to set yourself up nicely for a smooth ride.
- The Oven: It’s something that most of us put off for another day, but think about cleaning the oven so it cooks efficiently, heats evenly, and doesn’t smoke when you’re roasting the turkey. You may also wish to check the oven temperature with an oven thermometer to ensure it’s accurate. You certainly don’t want to put the turkey in at 160°C only to find out it’s ten degrees off.
- On The Day Timeline: A good rule of thumb is to work backwards from your serving time to map out when each element needs to go on the hob or in the oven.
- Prep Your Workspace: Clear your counter space, put away unnecessary items, and make sure there’s room for resting meat, plating, and keeping everything hot.
- The Perishables: Now’s the time to buy your fresh ingredients, checking use-by dates and storage instructions to make sure everything will stay safe to eat until Christmas Day.
- Defrost Your Turkey: A large turkey can take three to five days to defrost fully in the fridge, so check the instructions on the packaging and allow plenty of time. If you’re unsure, you can always ask your local butcher or at the supermarket’s meat counter for advice. Keep it covered on the bottom shelf of the fridge in a suitable container to catch any drips.
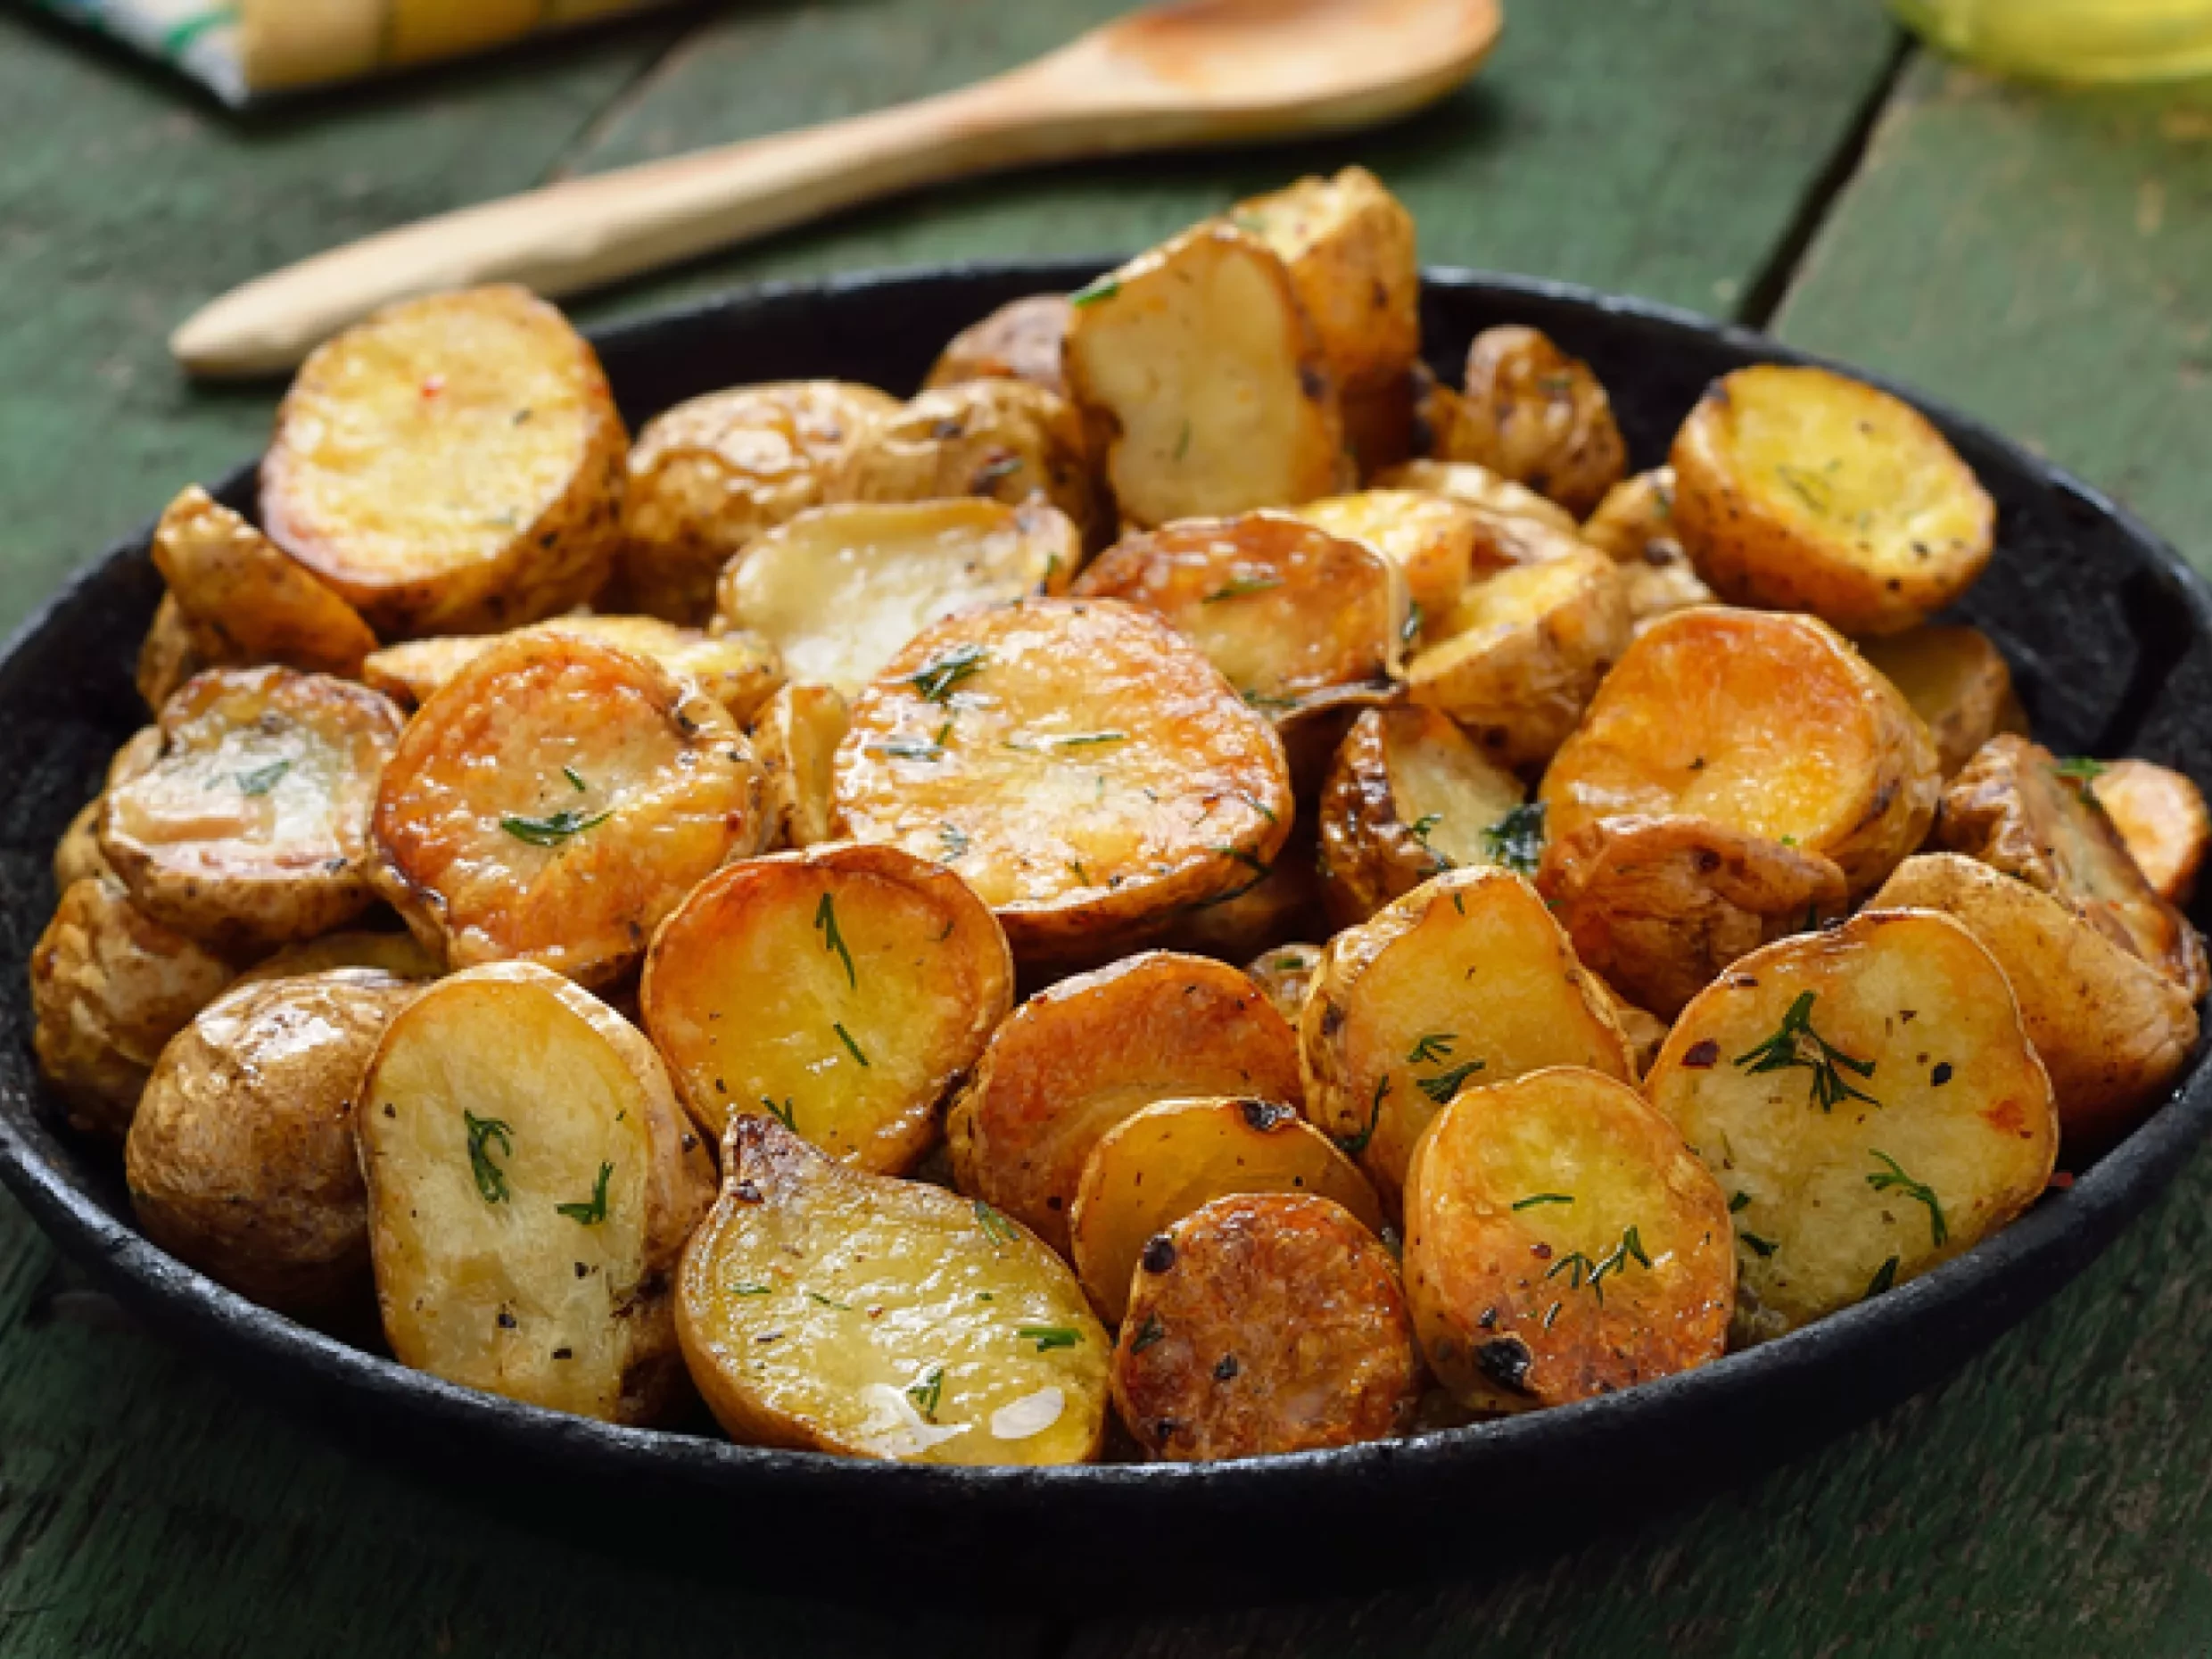
Stage 4 | Christmas Eve | One Day To Go
Make no mistake, Christmas Eve is going to be a busy one.This is the time to dig in and stay calm. You’ve come this far, there’s not long to go. This is when you can do the majority of your chopping, mixing and setting so on the day itself, it’s mostly cooking and assembling. By bedtime, you should be relaxed in the knowledge that you’ve got a clear run on Christmas Day itself.
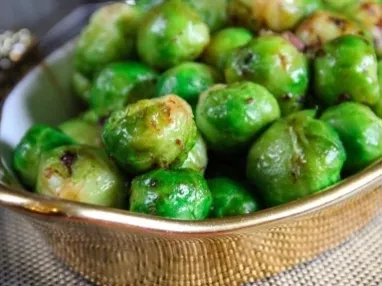
- Veg Prep: Peel and chop your carrots, parsnips, sprouts and other vegetables. Store them in covered containers in the fridge overnight, keeping peeled potatoes and suitable root vegetables submerged in cold water if needed to prevent discolouration.
- Stuffing & Sauces: On Christmas Eve, prepare your stuffing mixture, bread sauce and cranberry sauce, following the recipe’s make-ahead and storage instructions. Keep anything that needs to be in the fridge properly chilled, and cook stuffing thoroughly in a separate dish on Christmas Day.
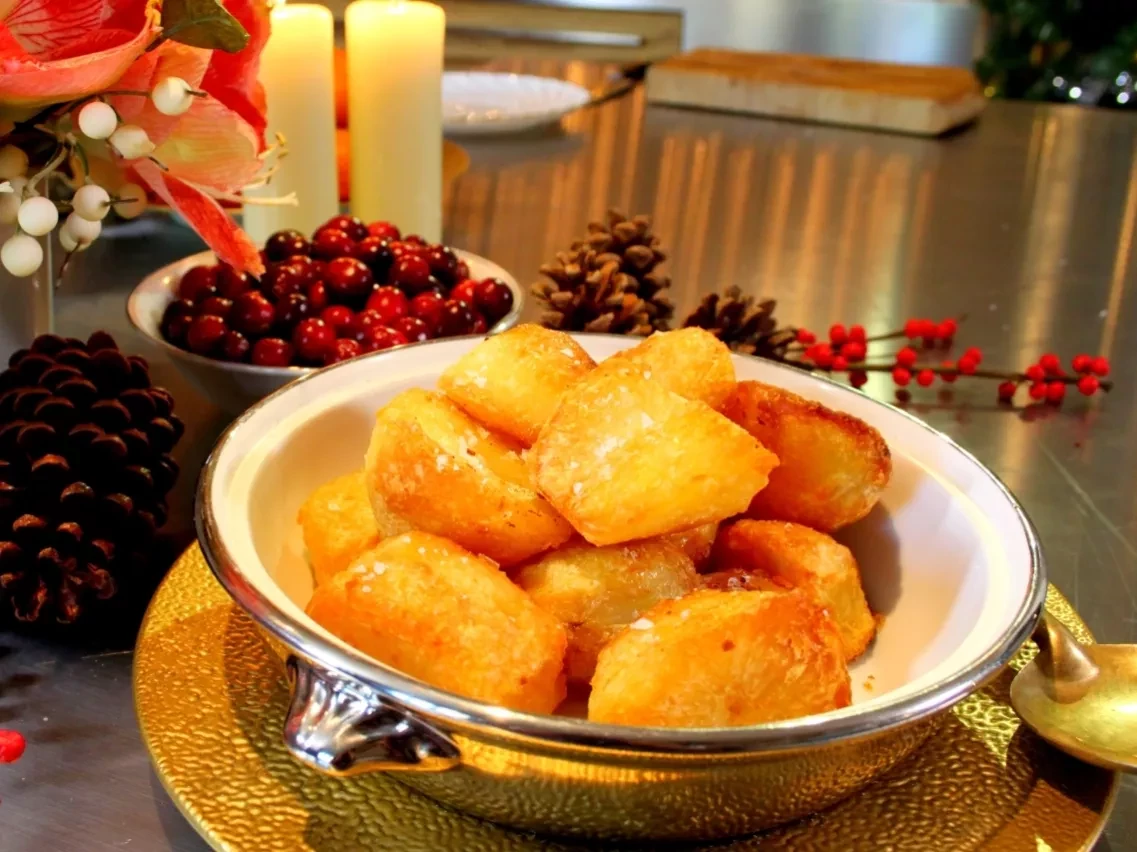
- Potatoes: Peeling, chopping and boiling your spuds is a big job on Christmas morning, but it can be taken care of the day before. Parboil them, leave to air-dry and then give them a shake to fluff up the edges for maximum crunch. Put them in the fridge until they’re ready to roast.
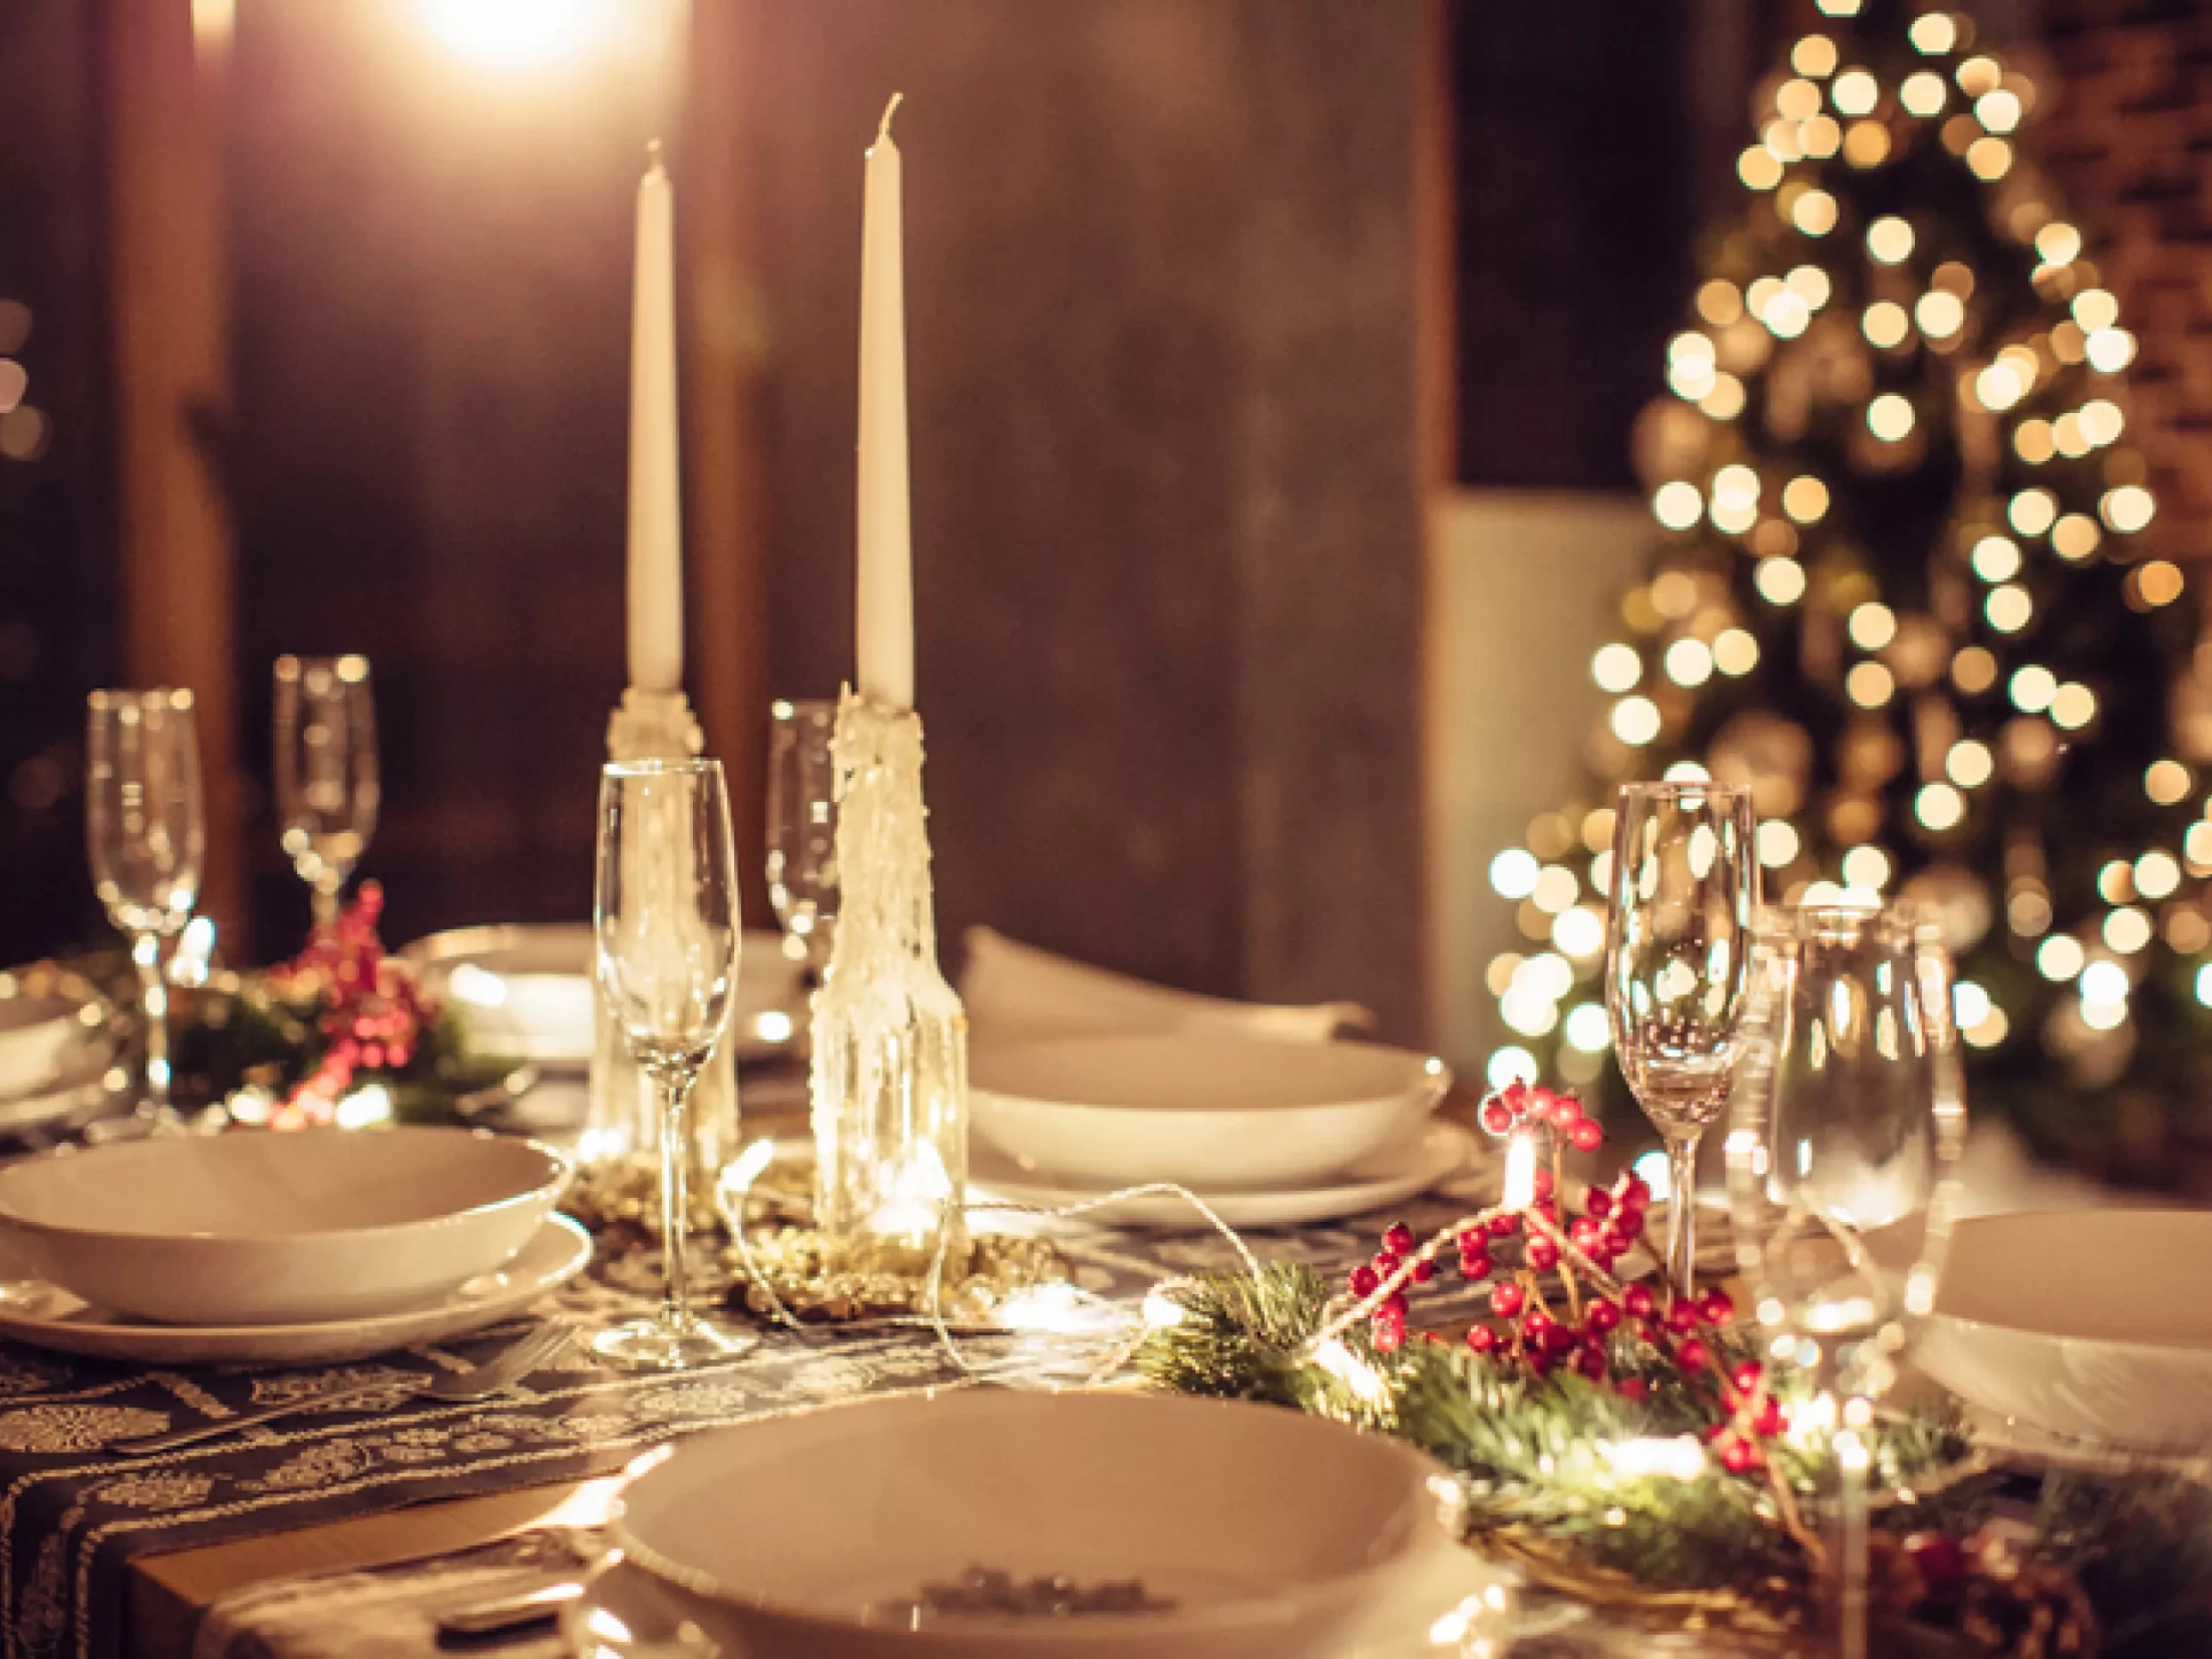
- The Christmas Table: Food prep can be a bit of a chore, but setting the table is the fun bit! Lay out the tablecloth, plates, cutlery, glasses, table decorations and crackers on Christmas Eve to save stress and last-minute scrambling.
- Gravy Station: Many people like to prepare a gravy station by putting the stock, whisk, jug and anything else you need in one place so it’s quick to assemble on the day.
- Final Checks: If you’re following recipes on a tablet, laptop or phone, make sure everything is charged and ready, and make sure your minute-by-minute list is complete.
Stage 5 | Christmas Day
The big day has arrived, and if you’ve been following the plan, you should have everything - or most things - under control! There will always be a wildcard, something that’s come out of the blue you didn’t expect - perhaps an extra guest, or forgetting the sherry, but if you stay calm, these things have a habit of working themselves out.
One thing to note - this guide is based on the fact you’re having turkey. If you’re having chicken, beef, pork, goose or anything else, follow the cooking instructions on the pack or in the recipe.
So, without further ado, here’s the plan for Christmas Day, aiming for a 2pm lunch.
- Approx. 8am: Keep your turkey refrigerated until you’re ready to prepare it for cooking. Make sure it’s fully defrosted, and follow the preparation and cooking instructions supplied. Don't wash your turkey, as this can spread harmful bacteria around your kitchen. Wash your hands thoroughly after handling raw poultry, and clean any surfaces or utensils it touches.
- Approx. 8.30am: Preheat your oven and prep your turkey for cooking whether that’s seasoning, butter or oil, or however you like to do it.
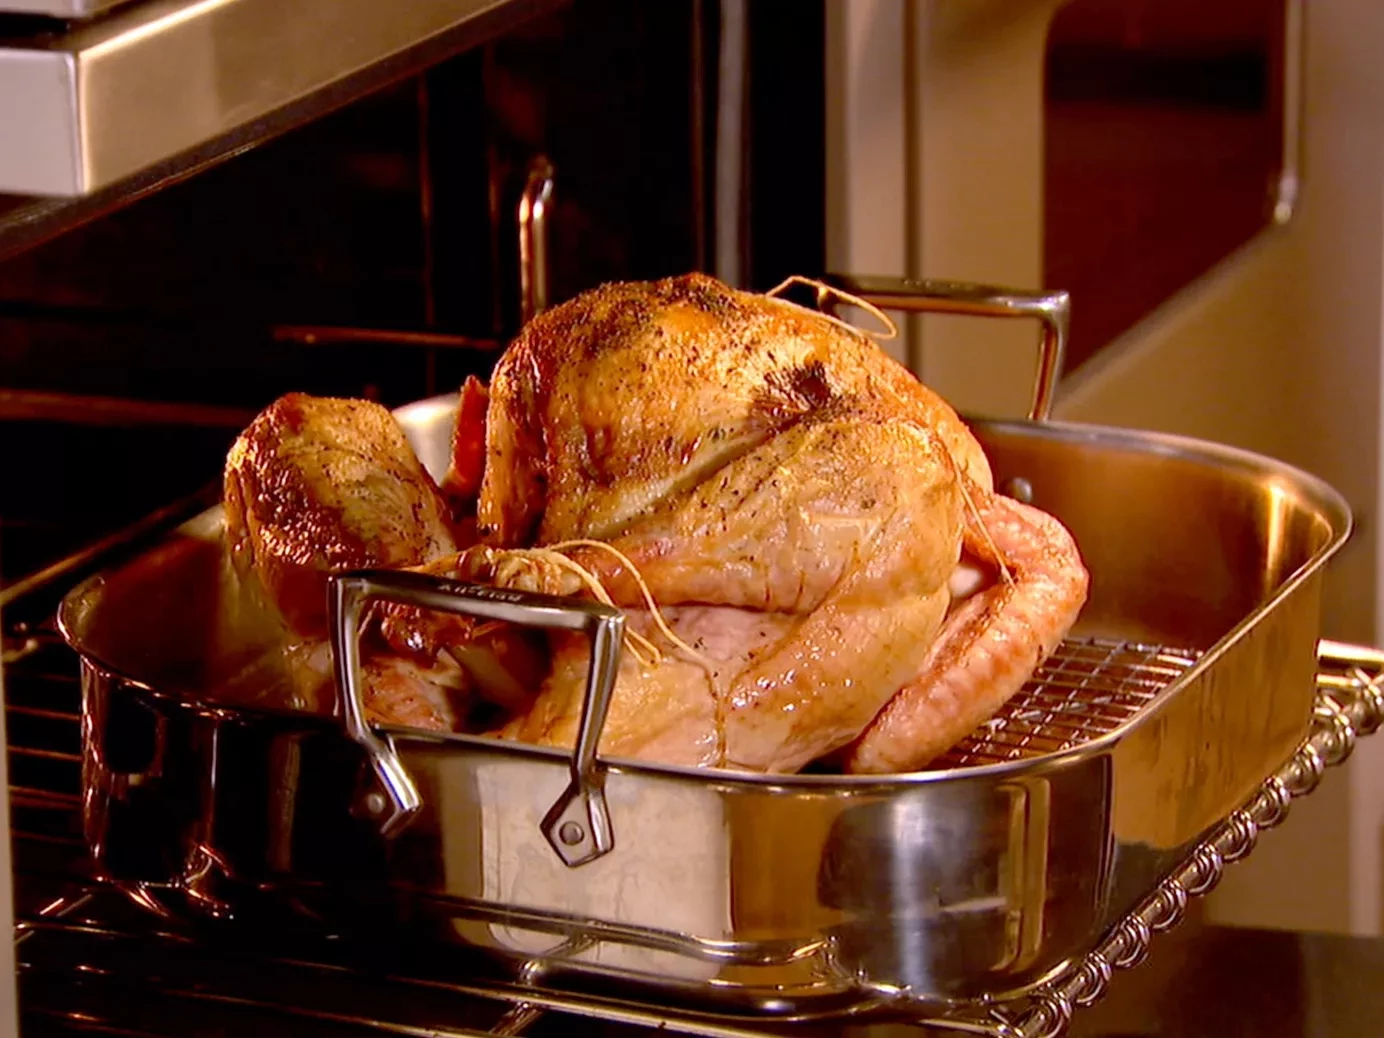
- Approx. 9am: Put the turkey in the oven, setting timers for both the planned cooking time and any basting or checking points. Follow the weight-based instructions supplied with your bird rather than relying on a one-size-fits-all timetable.
- Approx. 11.30am: This is when you can start to get your side dishes ready. Take your pre-prepped vegetables out of the fridge and assemble everything that needs to go in the oven or on the hob.
- Approx. 12.40pm: Heat fat or oil in roasting trays before very carefully adding your fluffed-up, parboiled potatoes and parsnips, then turn them partway through cooking for an even, crisp finish.
- Approx. 1pm: If your turkey’s been cooking since 9am, it will have been in the oven for around four hours. Check whether it’s fully cooked using a meat thermometer, following the cooking instructions supplied with your bird. Larger turkeys may need considerably longer. Once your turkey is thoroughly cooked, check the thickest part with a clean meat thermometer to ensure it’s reached a safe internal temperature - you can check the latest UK government recommendations here. Once cooked, transfer it to a suitable board. Cover loosely, and leave to rest.
- Approx. 1.15pm: Depending on their cooking times, put your stuffing and pigs in blankets into the oven, following the instructions for each dish and ensuring any meat-based items are cooked thoroughly before serving. Around the same time you can make your gravy. Whether you make it your own way in the turkey’s roasting tray with the cooking juices, or from a jar, the key is to get it ready on a low heat, and to give it a good stir just before you put it on the table.
- Approx. 1.40pm: Cook your prepared vegetables and thoroughly reheat any chilled sauces until piping hot. Keep finished dishes properly hot until serving, rather than relying on covering them alone. This is also the time when you can start to get your desserts ready but you might want a little break between the main and the pud. Totally up to you!
- Approx. 1.50pm: Now’s also the time to carve the rested turkey. Once that’s done, get everything into the serving dishes and onto the plates, and get a few willing volunteers to help take everything to the table. If you’ve got room, warm your plates and serving dishes before serving.
- Approx. 2pm | You did it! Now there’s nothing more to do except fill a plate with all your perfectly-cooked goodies, pour yourself a well-earned glass, and wish everyone a very merry Christmas!