



Reina Pepiada Arepas (Arepas with Chicken-Avocado Salad)
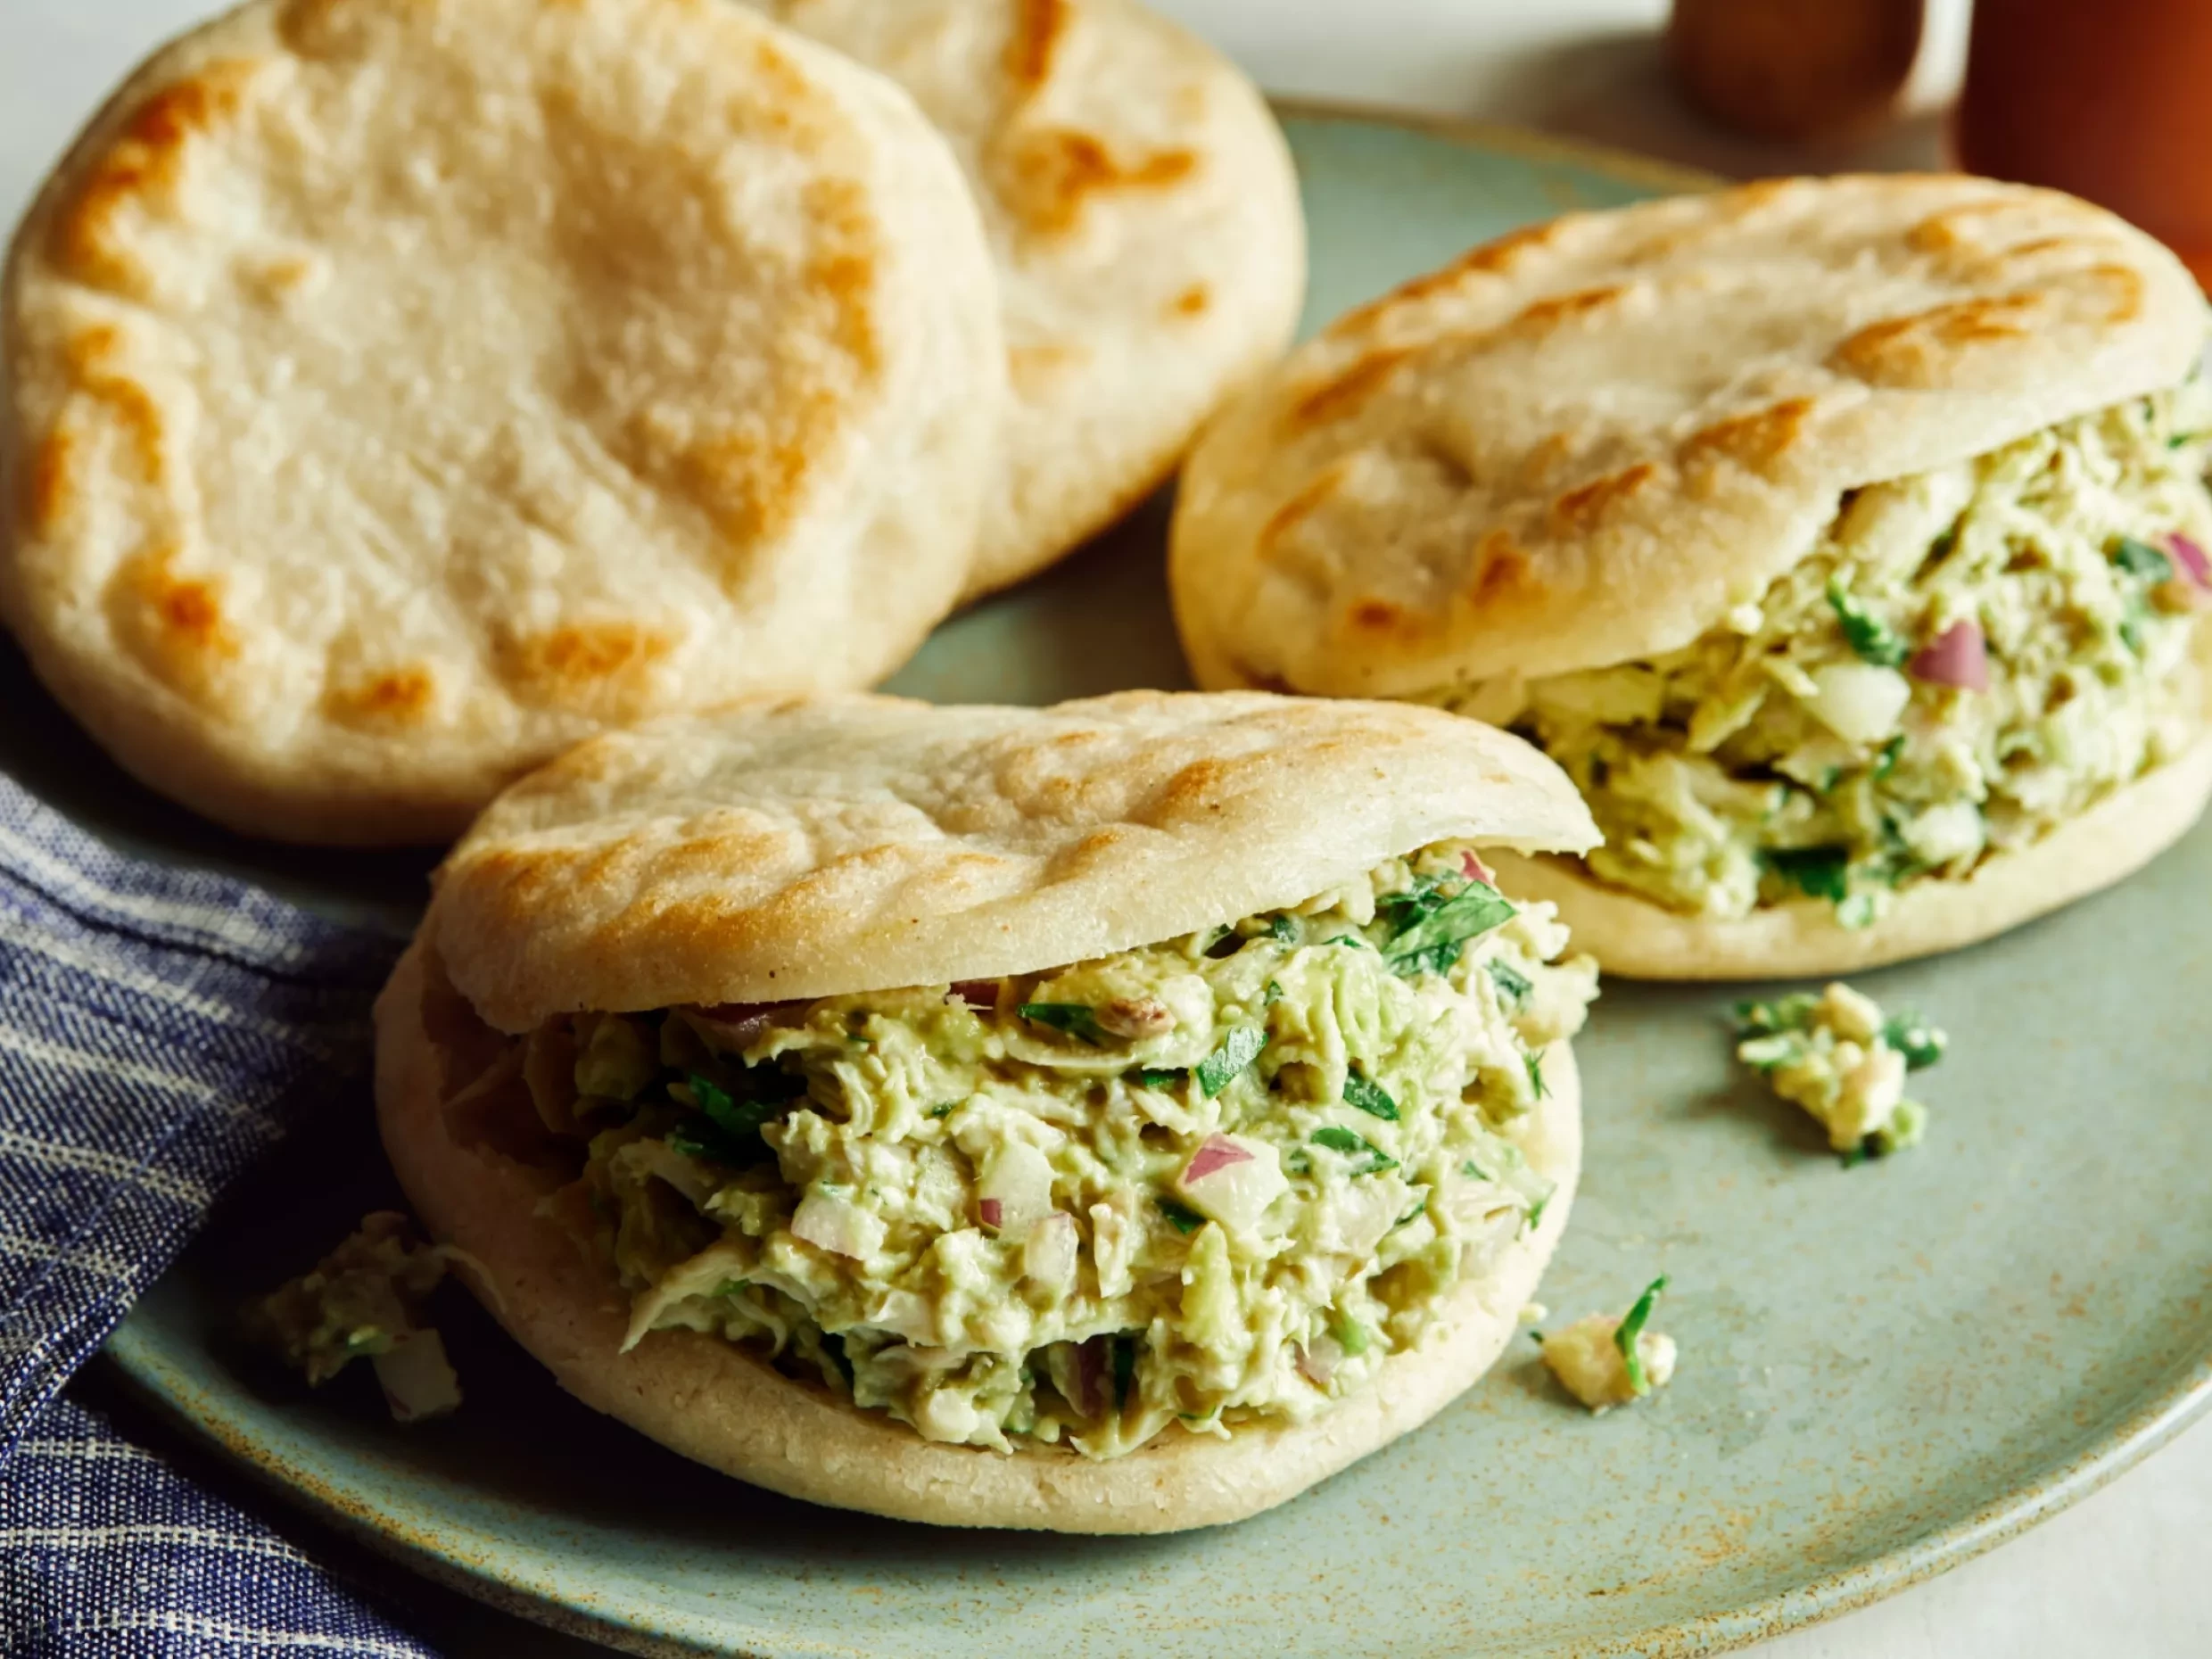
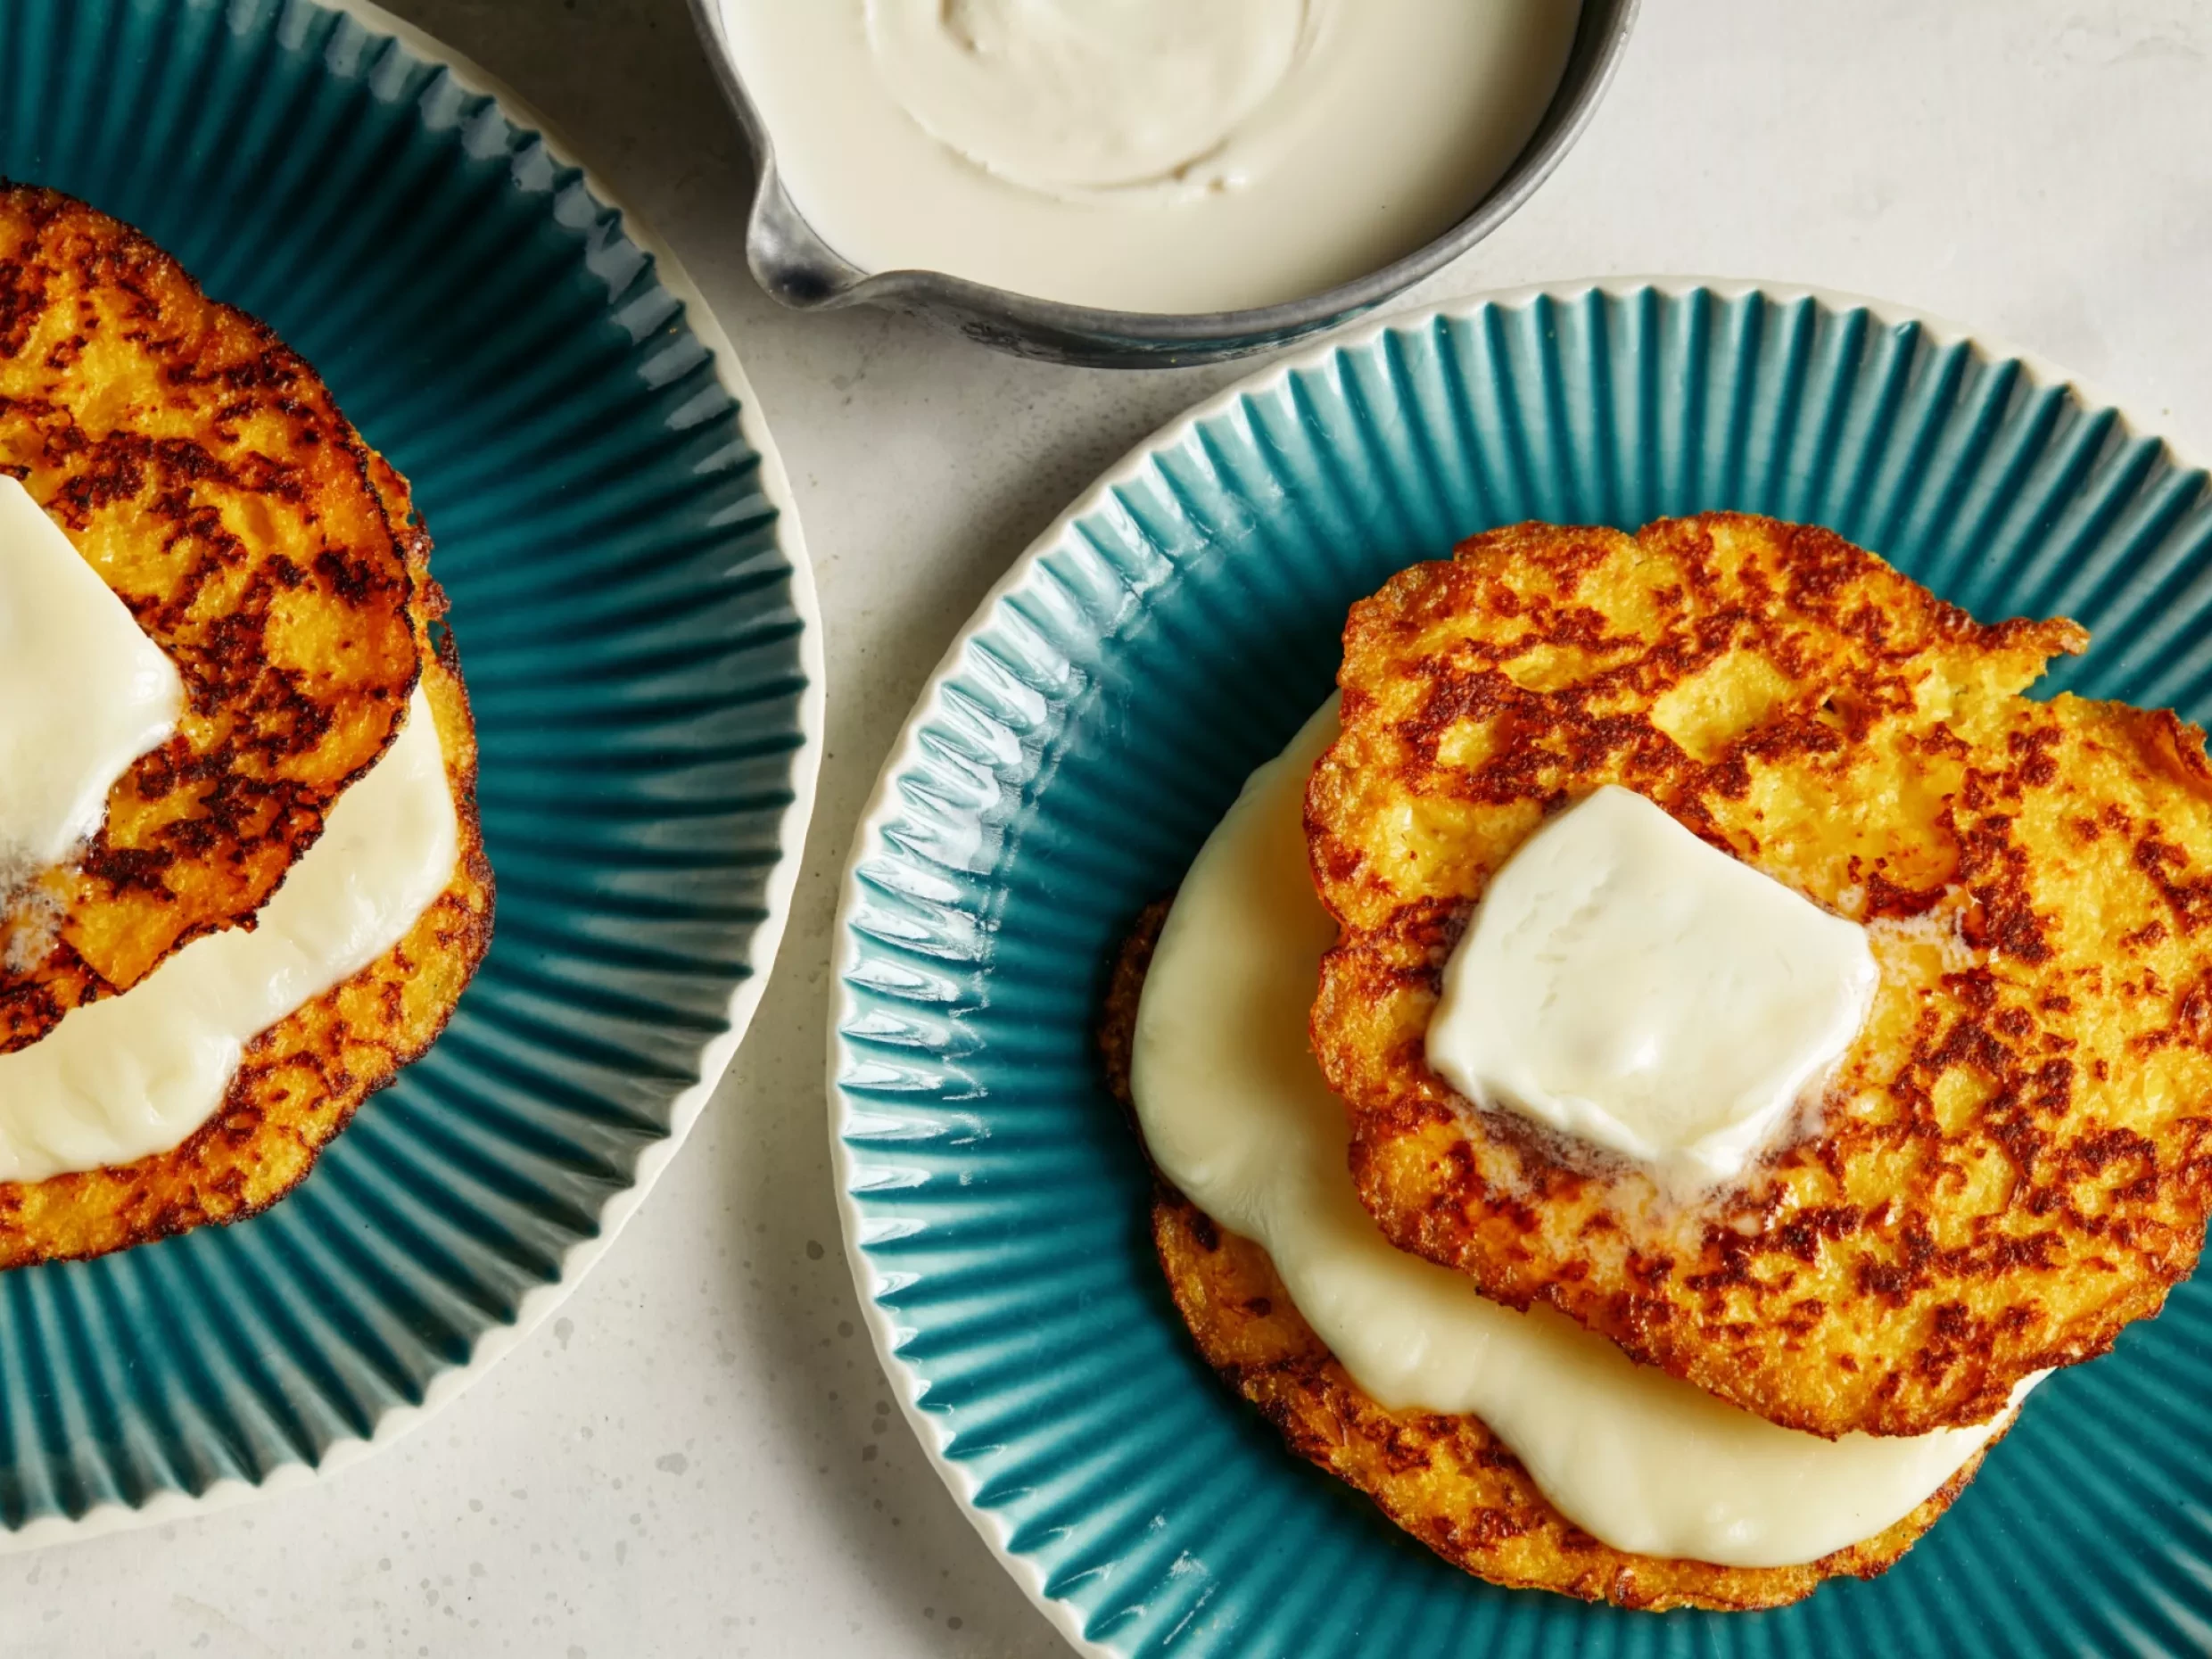
"My family, like most Venezuelan families, has been eating arepas for as long as I can remember. It felt like there was a never-ending supply of these white corn cakes when we lived in Venezuela -- we ate them with every meal, every day. My parents had plain arepas with their morning coffee, we would have them on the side if there was soup for lunch, and with whatever meat and rice we were eating for dinner (they come in very handy when trying to wipe deliciousness off a plate at the end of a meal). We also stuff them with our favorite fillings to have as sandwiches. When we moved to the States, there were a couple of years when I thought I was too cool for arepas, but my mother insisted on making them every Sunday to preserve our traditions and culture. Now I'm so grateful that she did. This is how she makes them."
Related Recipes
Ingredients
Reina Pepiada (Chicken-Avocado Salad)
Method
- Preheat the oven to 190°C/170°C Fan/Gas 5.
- Combine the arepa flour and salt in a large bowl. Spread your fingers apart to form a claw with one hand, then begin circling the flour mixture while adding 120ml water with your other hand. Make a fist a couple of times to bring the clumps of dough together, then squeeze to break apart any remaining larger dough pebbles. Repeat three more times, adding 120ml water each time (480ml water in total) to the dry spots in the dough. Squeeze out the pebbles and combine the larger clumps.
- After the final addition of water, bring the dough together, incorporating any flour left in the bowl. Make a fist to squeeze the dough through your fingers and repeat until no more clumps remain. Bring the dough together again and leave to rest, uncovered, for 5 minutes.
- Poke a couple of holes in the dough and add 2 tablespoons (30ml) water, then knead again. The goal is to get the dough dry enough that it doesn't stick to your hands or the side of the bowl, but not so dry that it cracks when you squeeze a small piece between your fingers. If necessary, add another 2 tablespoons (30ml) water and knead to combine once more. If the dough is too wet, sprinkle in a little flour at a time, then mix to combine. Leave to rest, uncovered, for another 5 minutes.
- Heat a large cast-iron or non-stick frying pan over a medium heat and lightly grease with an oiled kitchen towel.
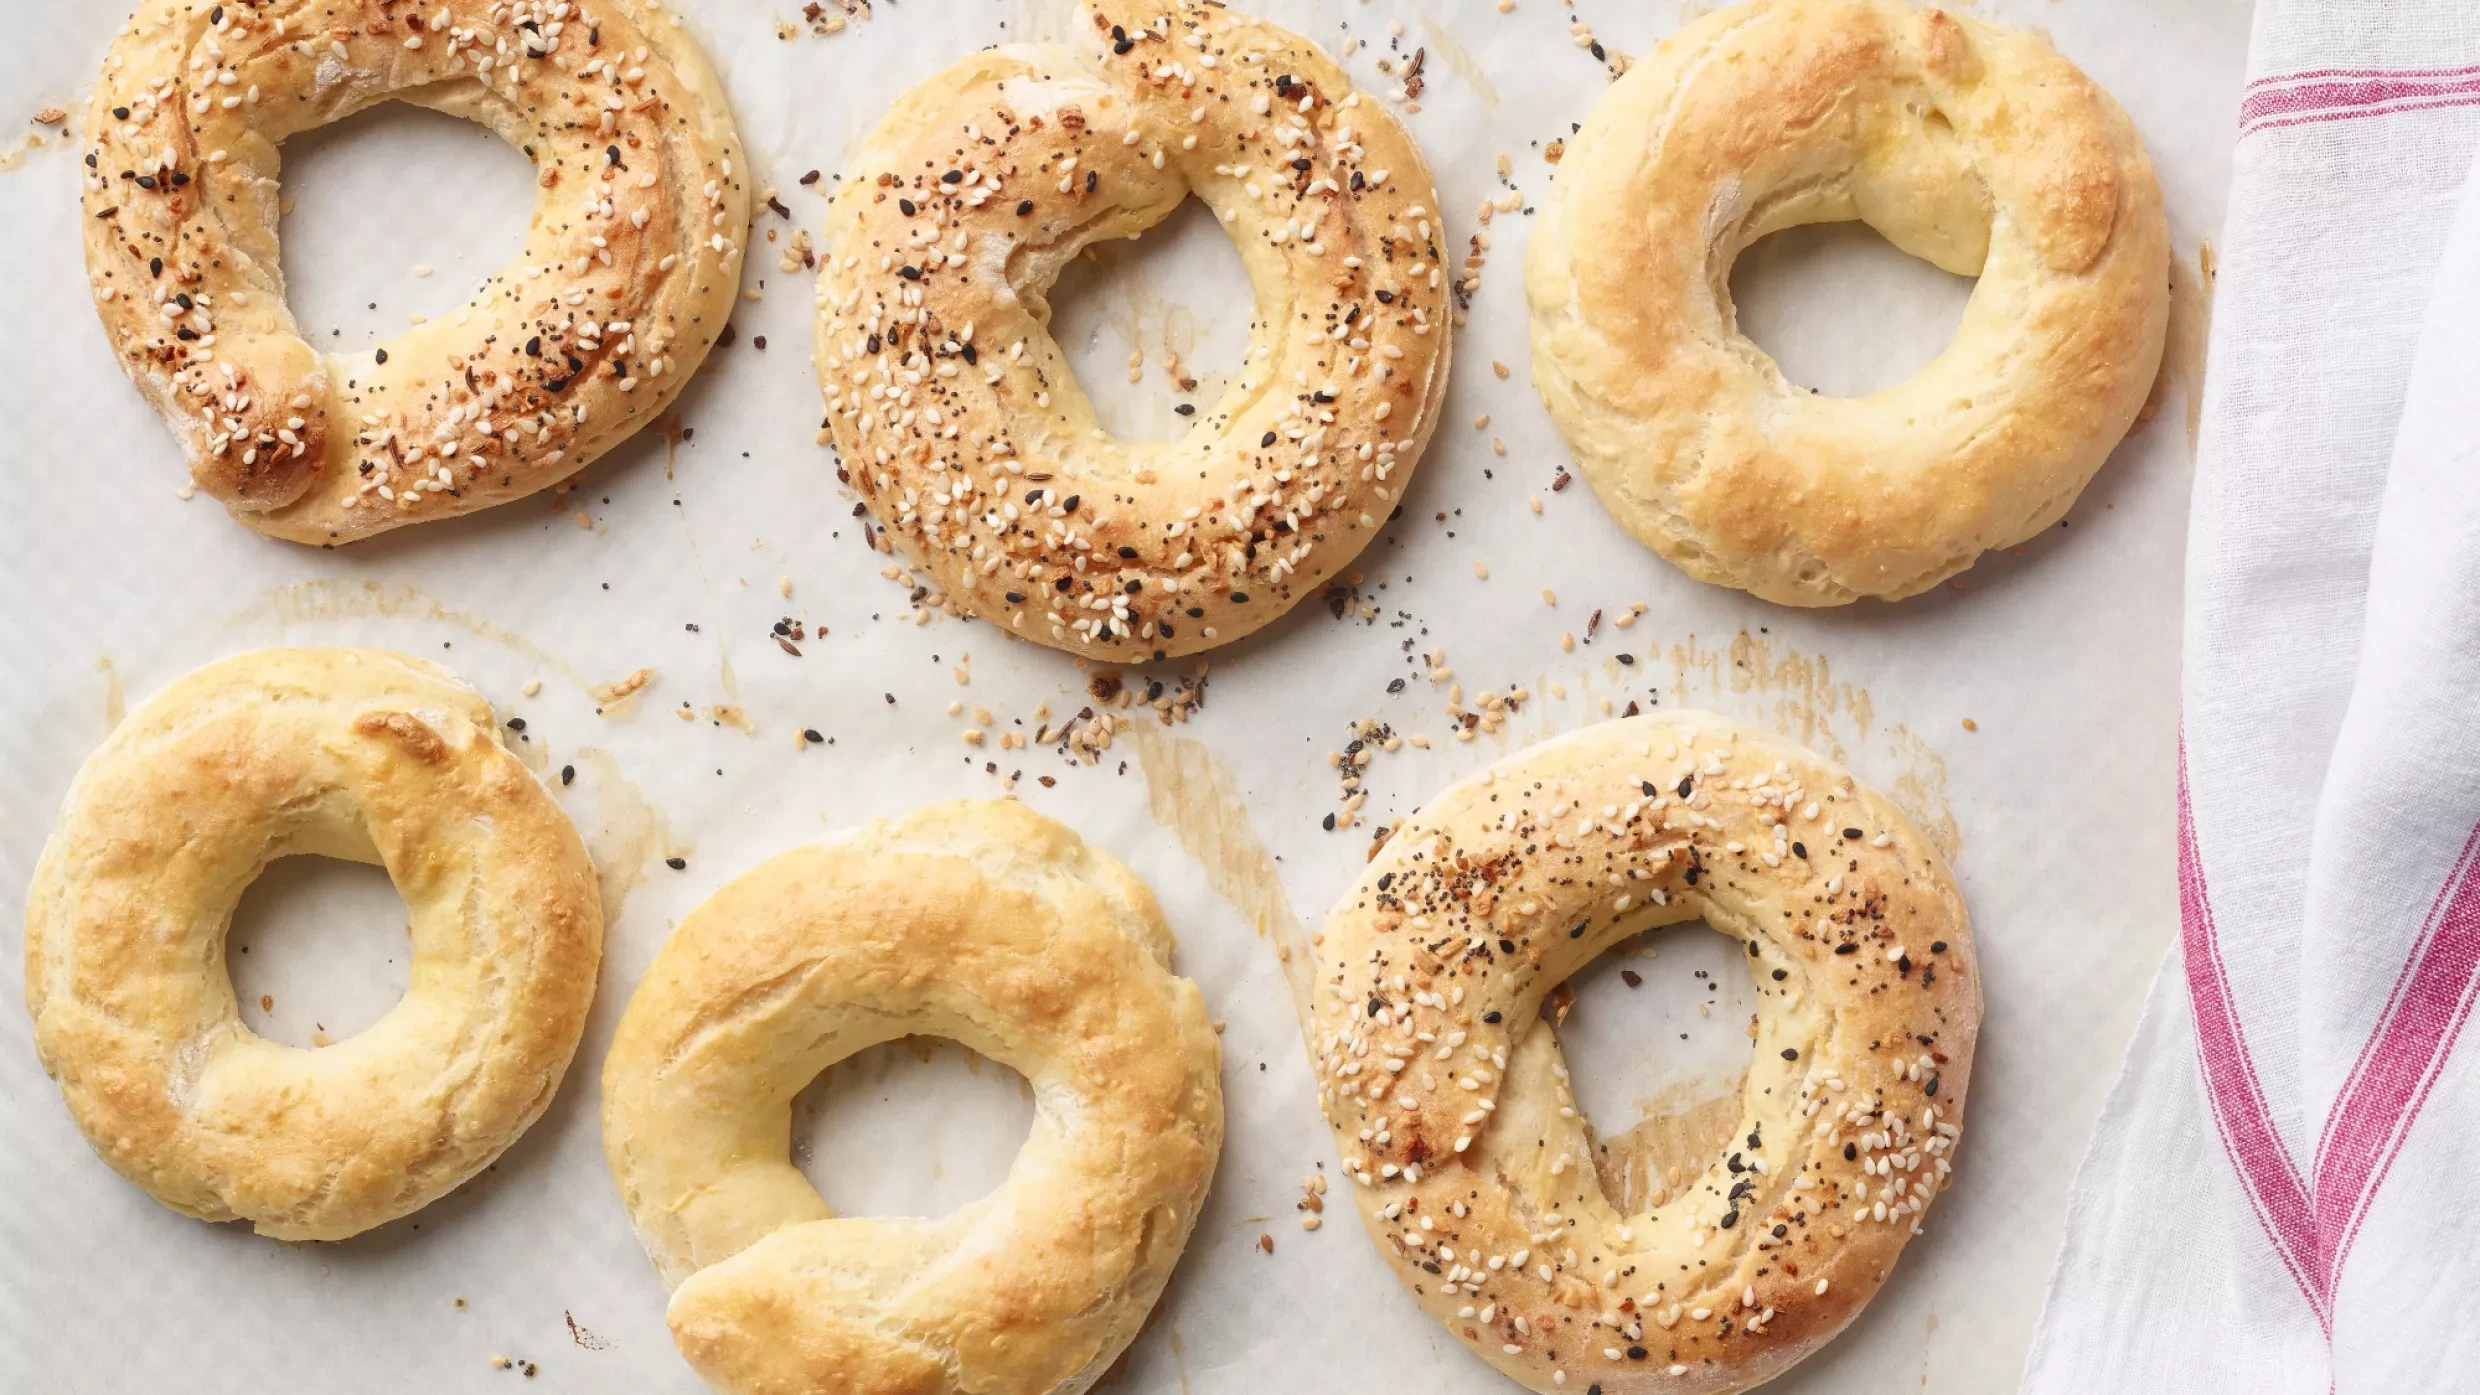
- Divide the dough into six equal pieces, each weighing approximately 128g. Roll each piece into a ball, then flatten into a disc approximately 9cm wide and 2.5cm tall. According to my mother, if the edges crack slightly while flattening the discs, your dough is too dry. If this happens, add another 1–2 tablespoons of water and leave to rest again.
- Working in batches, if necessary, place the discs in a single layer in the pan and cook until a golden-brown crust has formed on the bottom, approximately 5 minutes. Flip and repeat on the other side, cooking for a further 5 minutes. Re-oil the pan for each additional batch.
- Place the arepas directly on the oven racks and bake until crusty all over and the insides feel slightly hollow, 20–25 minutes. (Or, if you're my mother, until you tap them three times, like a drum, and hear a deep ‘poh poh poh’.)
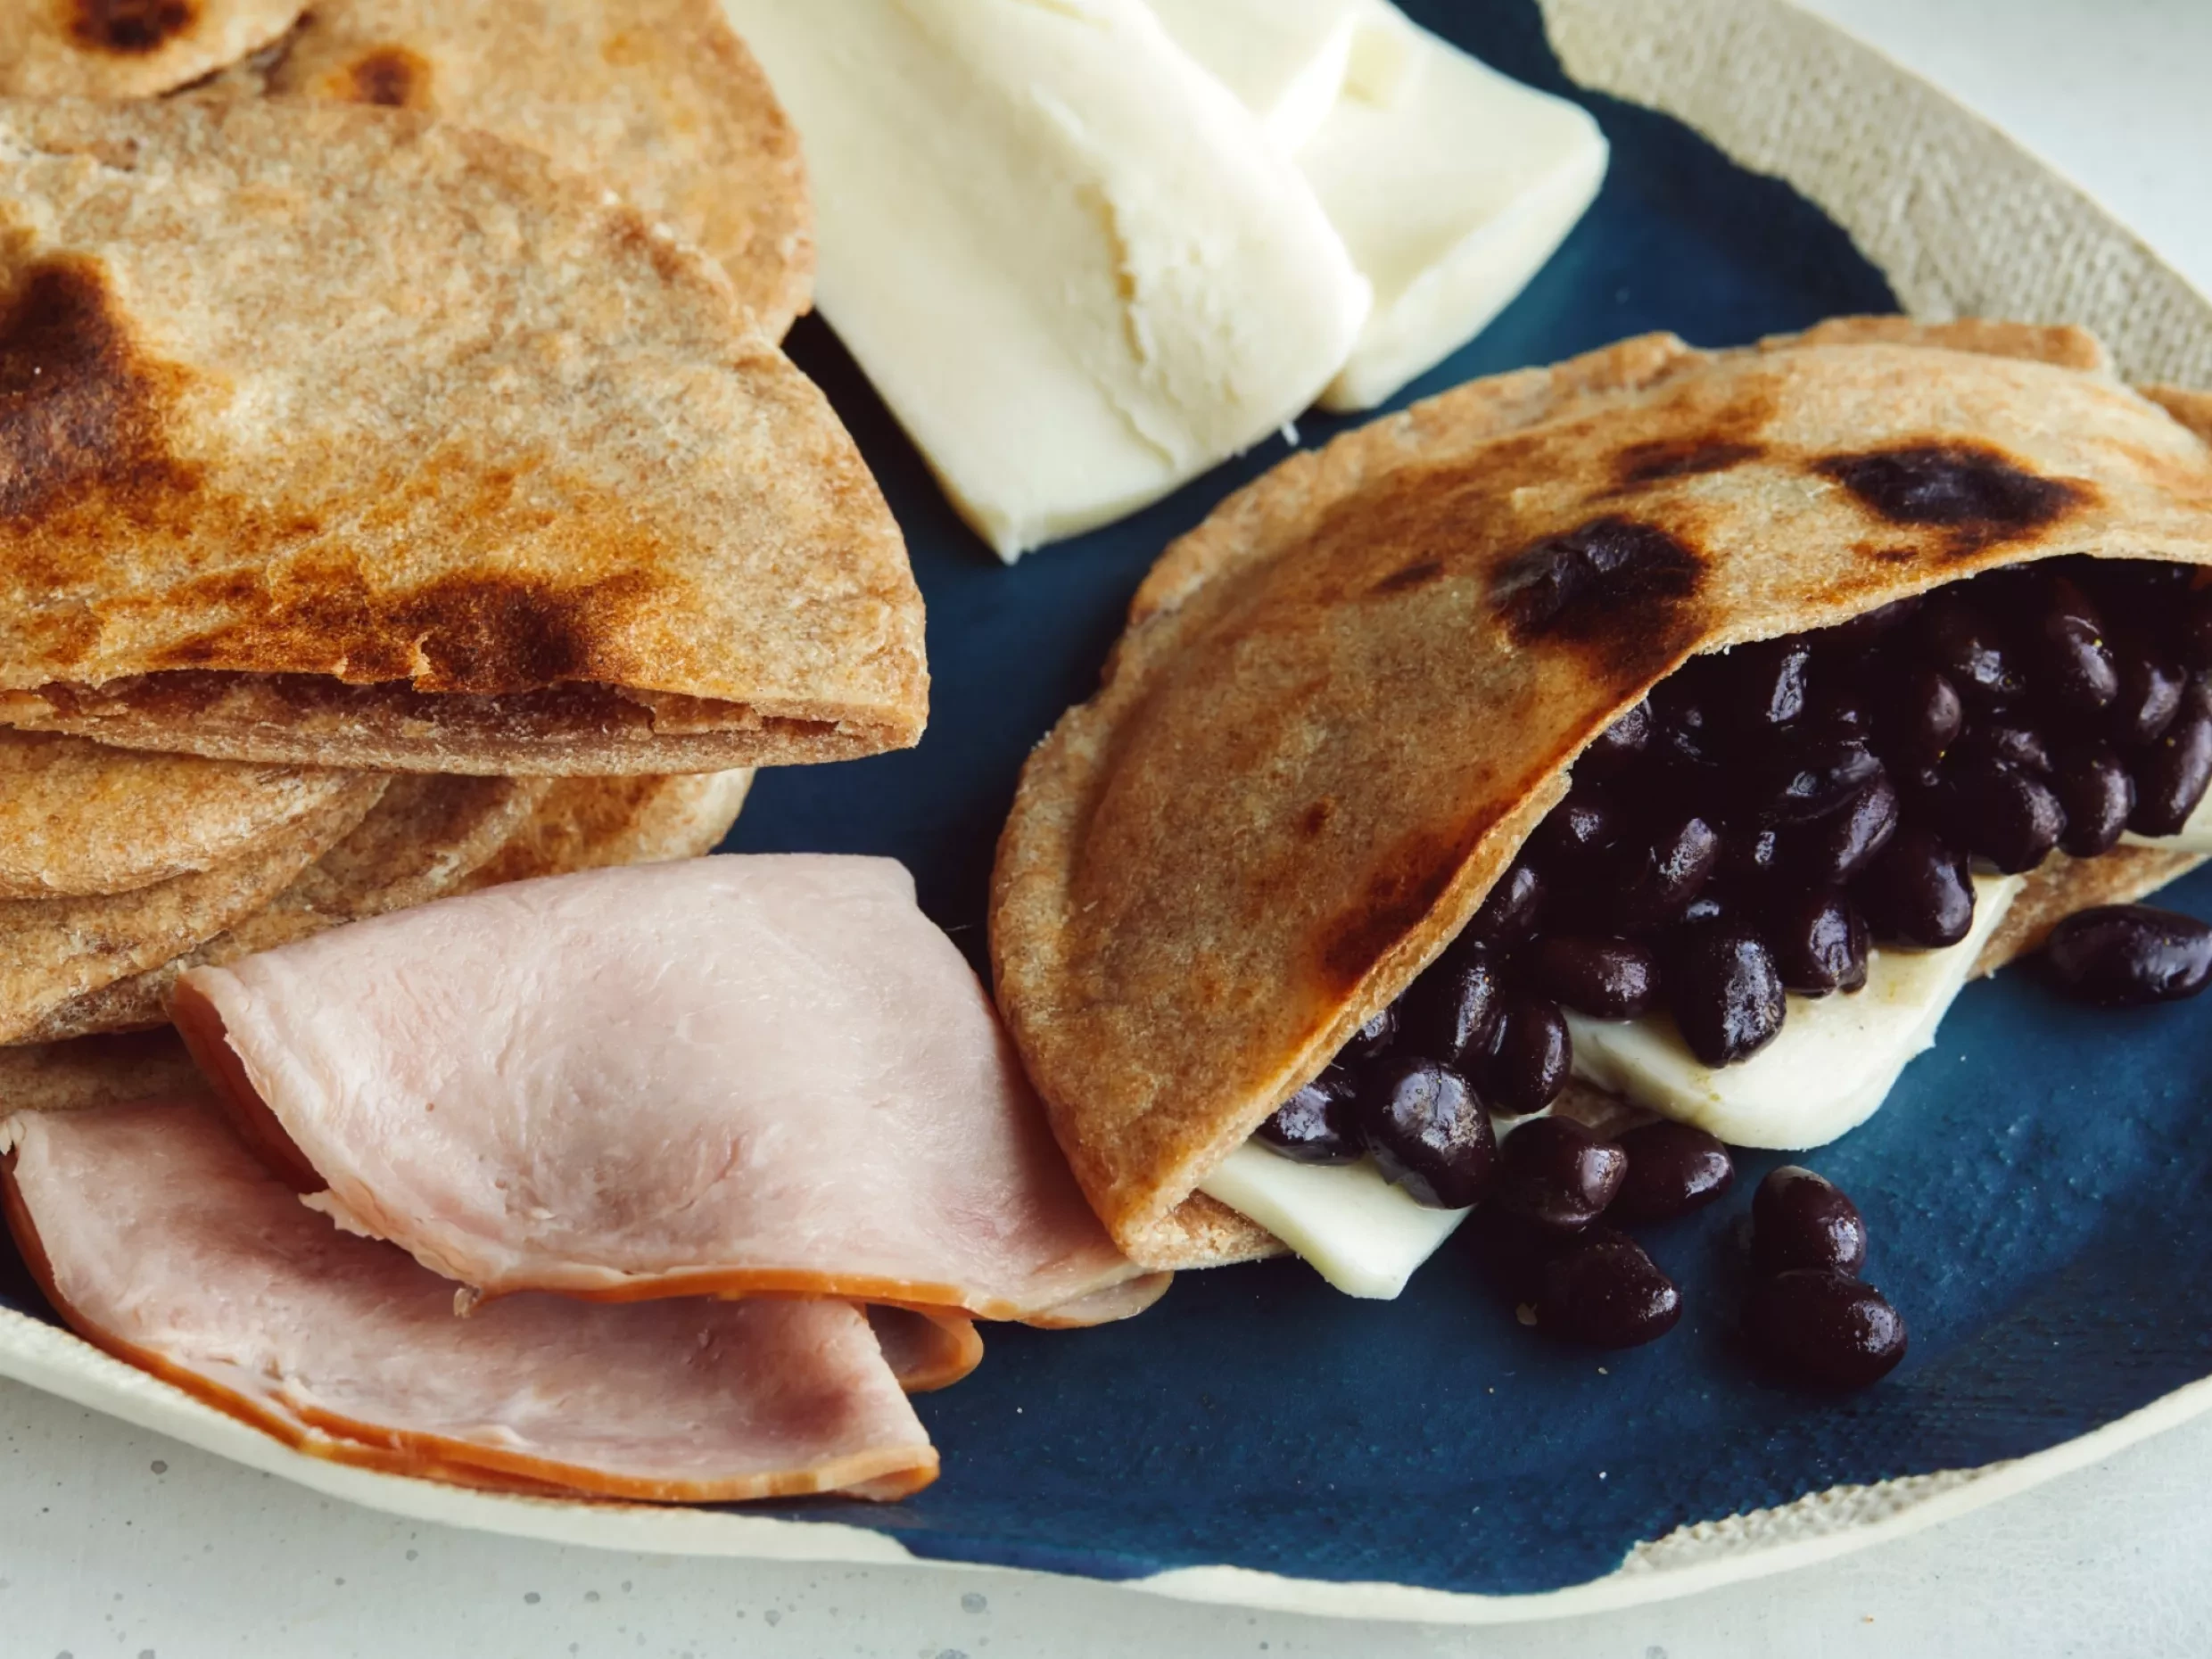
- Serve immediately, plain or with your favourite fillings. You can cut the arepas in half to make two half-moon pockets, or lay them flat and cut halfway through the side to make one large, round pocket. My favourite fillings are black beans, queso duro (aged, hard cheese) and crema, or the classic Reina Pepiada filling. Alternatively, store the arepas in a resealable plastic bag at room temperature for 3–4 days, or in the freezer, where they'll last for months.
Reina Pepiada (Chicken and Avocado Salad)
- Combine the avocado, mayonnaise and lime juice in a medium bowl, mashing the avocado with a fork as necessary. Stir in the onion, chicken, coriander (if using), a sprinkle of pepper and a generous sprinkle of salt. Taste for seasoning and adjust if necessary. Serve with the arepas and garnish with hot sauce, if desired.
Cook’s Note
Look for arepa flour at a shop or market that sells Latin American ingredients.